
Nail Tools Guide: Everything You Need for a Salon-Quality Manicure at Home
A salon-quality manicure at home needs about a dozen tools, and most of them cost little and last for years. The core kit is a file, clippers, a cuticle pusher, a base coat, polish, and a top coat. Everything beyond that is optional, and this guide separates the tools that matter from the ones you can skip.
What Are the Essential Tools for a Basic Manicure?
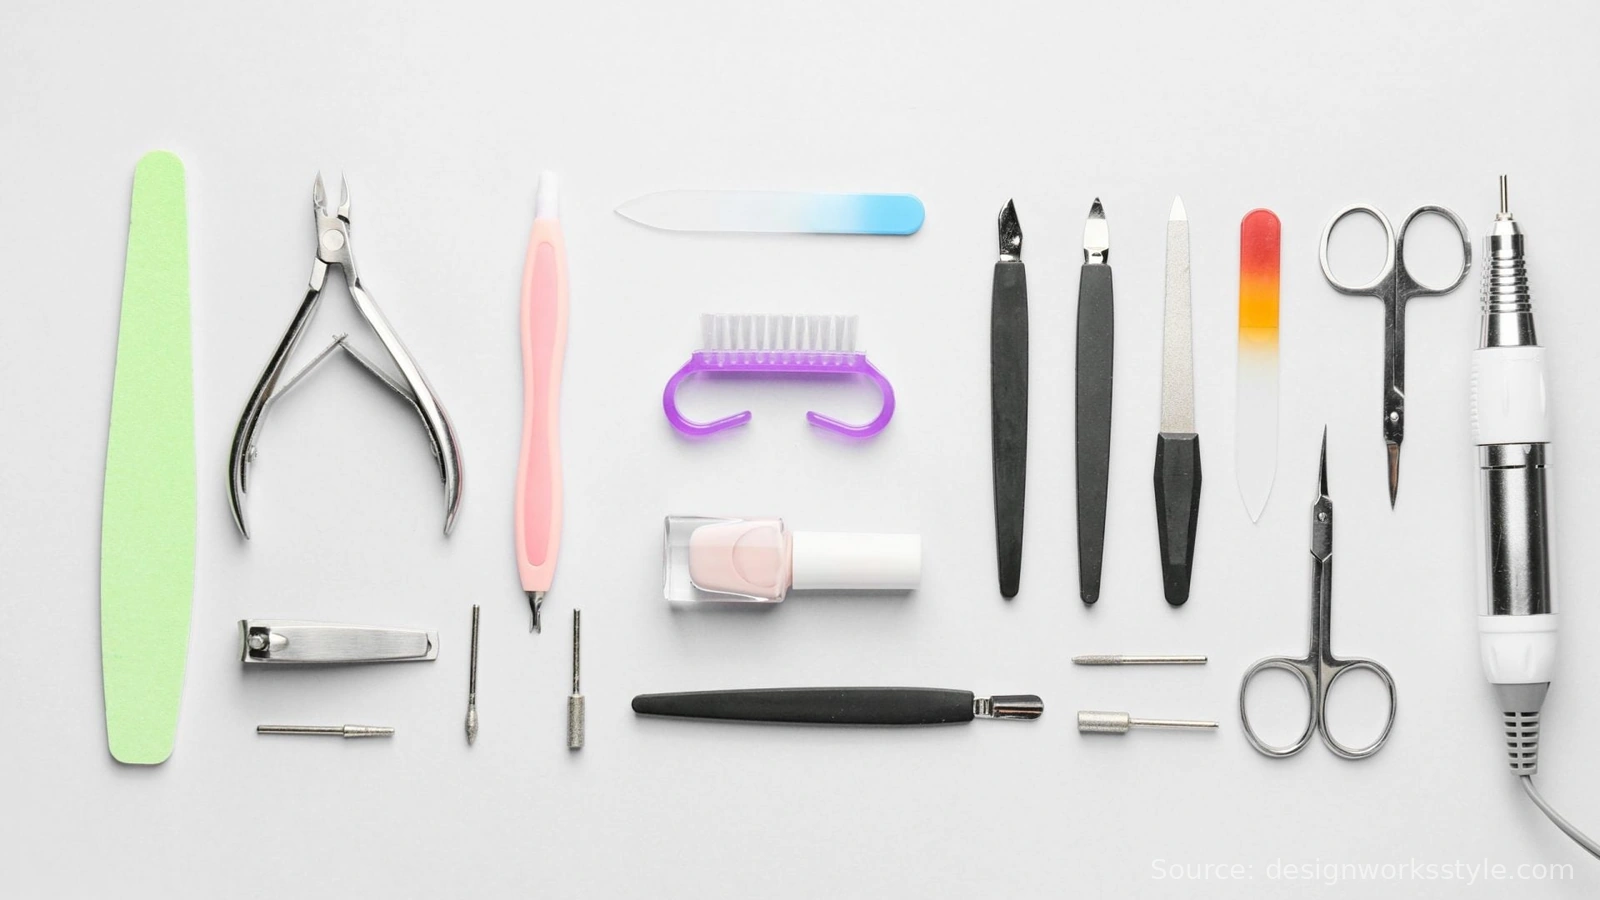
The essential kit covers five jobs: trimming, shaping, cuticle care, cleaning, and polishing. You need nail clippers, a nail file, a cuticle pusher, a small brush or wooden stick for cleaning under nails, and cotton pads with remover. With those plus polish, you can do a full manicure at home that looks as neat as a salon job.
Start with clippers. A straight edge clipper suits fingernails, and a curved edge suits toenails, but one good straight clipper handles both in a pinch. Sharpness matters more than brand. Dull clippers crush the nail edge instead of cutting it, which causes splits. Replace clippers when they start to pinch or tear rather than cut cleanly, and wipe the blades with rubbing alcohol after use.
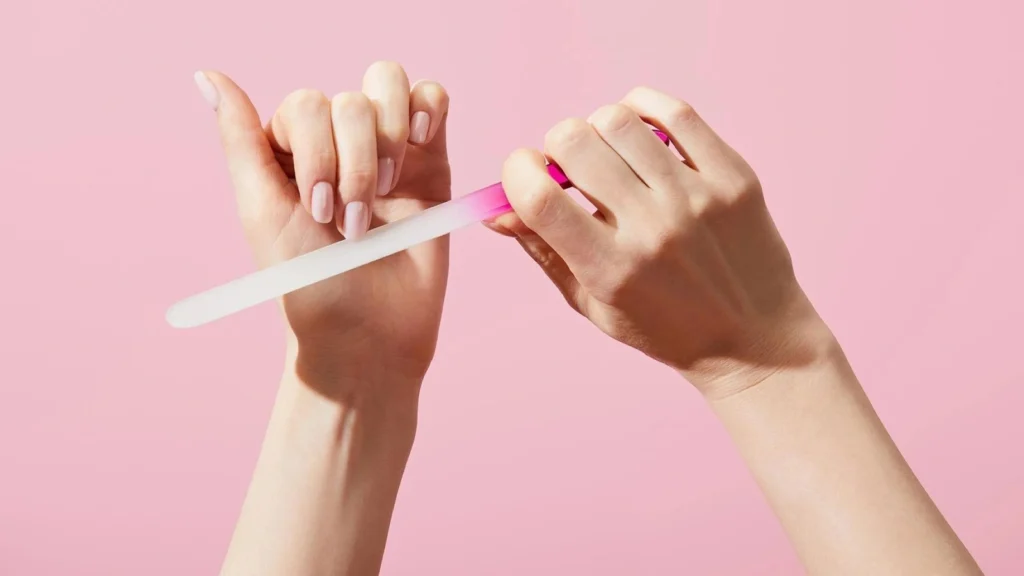
The file does the shaping work, and it is worth choosing well. A glass file lasts for years, washes clean, and leaves a smooth edge with little effort. A fine grit emery board works too, but it wears out and needs replacing every few weeks of regular use. Avoid coarse metal files for natural nails, since they leave a rough edge that catches and splits. File in one direction, from the side toward the center, and check the edge by running it over fabric. If it snags, file more.
A cuticle pusher comes in wood or metal. Wooden orange sticks are cheap, disposable, and gentle, which makes them a good default. A metal pusher with a rounded end lasts longer and works well on stubborn cuticles, but it can scratch the nail plate if you press hard, so use a light touch. Either way, push cuticles back only after soaking, when they are soft. Never use the sharp end of a stick to dig under nails or scrape the nail plate.
A buffer is useful but easy to overuse. A four sided buffer with fine grits smooths ridges and adds shine, but each pass removes a thin layer of nail. Limit buffing to once or twice a month, and skip it entirely if your nails are thin or peeling. A soft nail brush cleans under nails and around cuticles during a soak, and cotton pads beat cotton balls for remover, since balls leave fibers that ruin a fresh coat.
For the full weekly routine these tools fit into, see our nail care basics guide, which walks through the soak, trim, shape, and finish steps in order.
What Tools Do You Need to Apply Polish Well?
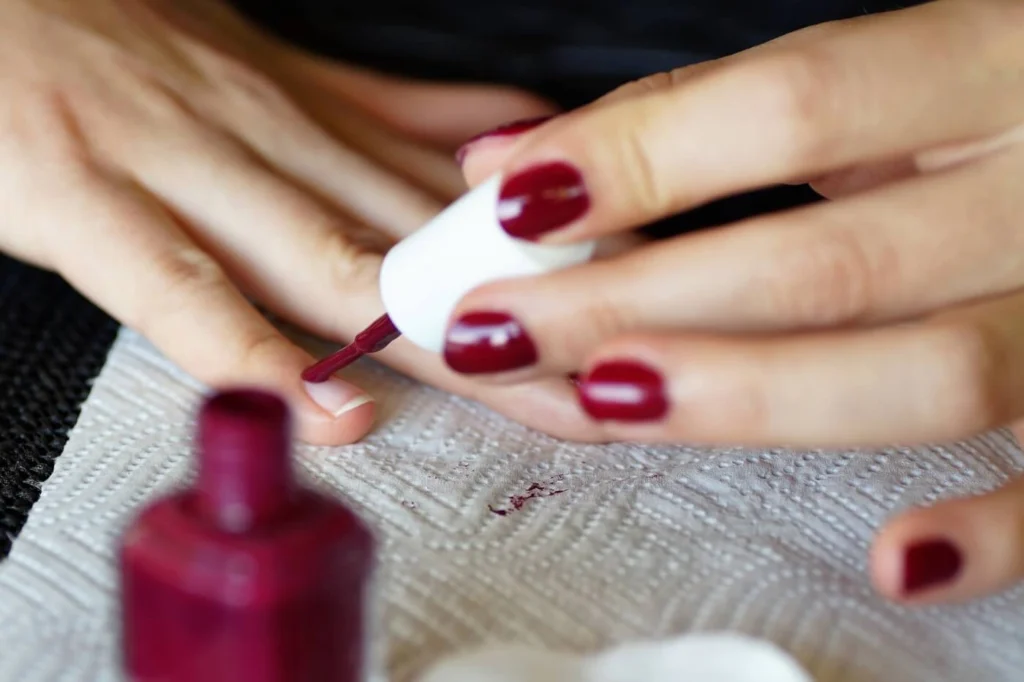
Good polish application needs a base coat, the color polish, a top coat, and a few small helpers: a cleanup brush, remover, and optionally dotting tools. The polish brush that comes in the bottle does most of the work, and the extra tools fix mistakes and add detail rather than replacing technique.
Base coat is not optional. It grips the nail so color lasts longer, and it blocks dark polish from staining the nail plate. A sticky or bonding base coat works best for most people, since it holds color better than a smooth ridge filling base. Apply one thin layer and let it dry fully before color. Thick base coat peels just like thick color.
Top coat seals the manicure and adds shine or a matte finish, depending on the product. A regular glossy top coat protects better than a quick dry product alone, but a drop of quick dry over the top coat speeds the wait. Reapply top coat every two to three days to refresh the seal and extend wear by several days. This single habit adds more life to a manicure than any product upgrade, and it takes two minutes. Our guide on how to make your manicure last longer covers the full application technique, including how to cap the free edge.
A cleanup brush is a small flat brush, or an old lip brush, dipped in remover and run around the cuticle line to erase polish that strayed onto skin. Polish on skin lifts and peels, so cleanup matters for wear as well as looks. Do it right after each coat, while the polish is still slightly wet, and use a light touch so you do not drag color off the nail edge.
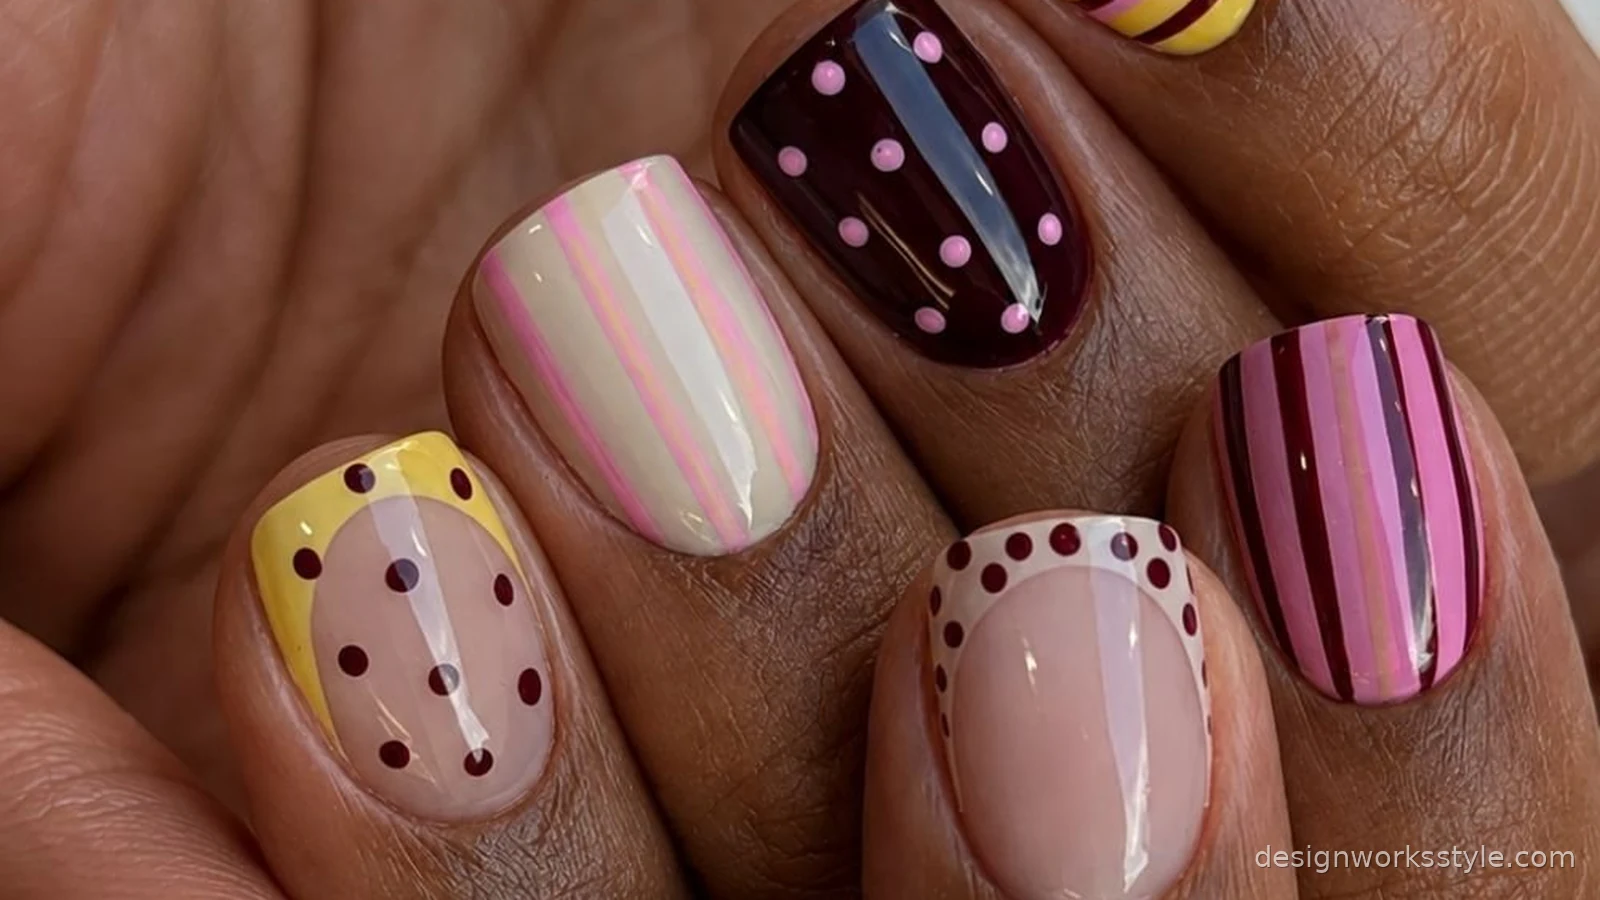
Dotting tools are two ended sticks with different sized metal balls, used for dots, flowers, and simple patterns. They cost little and turn a plain manicure into nail art with no drawing skill. A toothpick works for a single dot in a pinch, but dotting tools give even dots and last forever. For beginner techniques that use these tools, see our simple nail designs, which includes dot and stripe ideas that need no experience.
What About UV Lamps, Stamping Kits, and Nail Art Brushes?
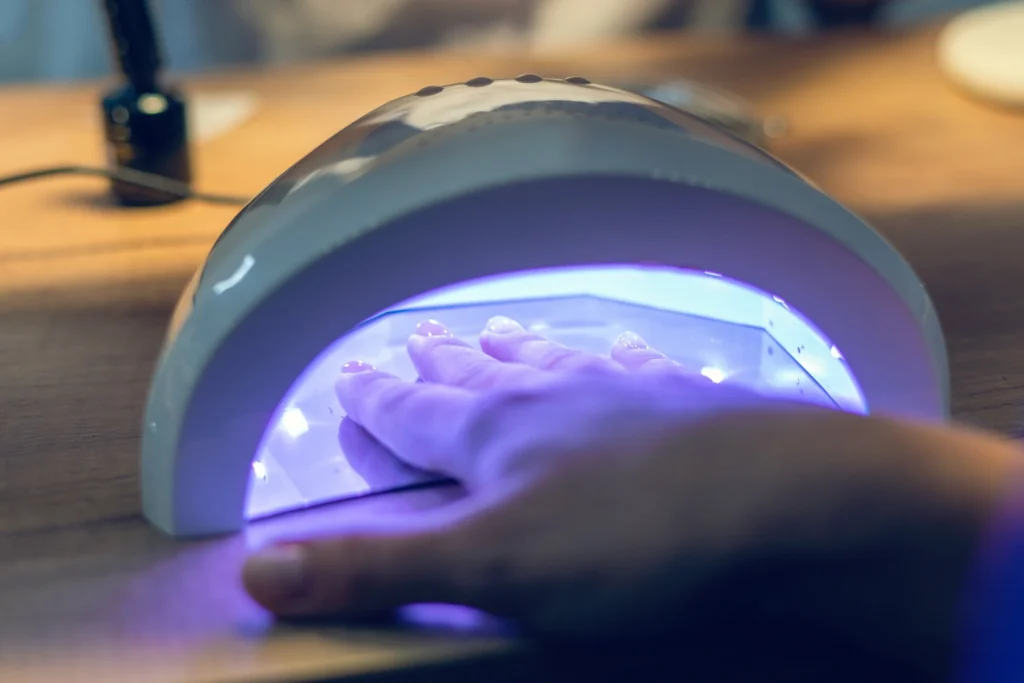
Advanced tools pay off only when you use gel polish or do nail art often. A UV or LED lamp cures gel polish, a stamping kit transfers printed patterns to nails, and fine art brushes paint lines and details freehand. None of these are needed for a regular polish manicure, so buy them when a specific technique interests you, not before.
A lamp is required for gel polish, since gel only hardens under UV or LED light. LED lamps cure faster, usually 30 to 60 seconds per coat, and most modern gel polishes work with LED. Check that your lamp matches your polish brand, since some gels cure only under specific wavelengths. A lamp also helps regular polish dry slightly faster through warmth, but it does not cure regular polish, so do not buy a lamp just for that.
Stamping kits include a metal plate etched with patterns, a stamper to pick the pattern up, and a scraper to spread polish over the plate. They produce clean, detailed designs that freehand painting cannot match, and they suit people who want complex looks without drawing skill. Stamping polish is thicker than regular polish, so use the polish made for stamping or a highly pigmented regular polish, and practice on paper first to learn the pressure.
Fine art brushes come in sets with thin liners, flat shaders, and small detail brushes. A thin liner brush paints French tips, stripes, and outlines. A flat brush fills shapes and does gradients. Start with one liner brush and one dotting tool set, and add more only when you hit a design you cannot do with those. Most beginner art uses dots, lines, and tape, not a full brush set.
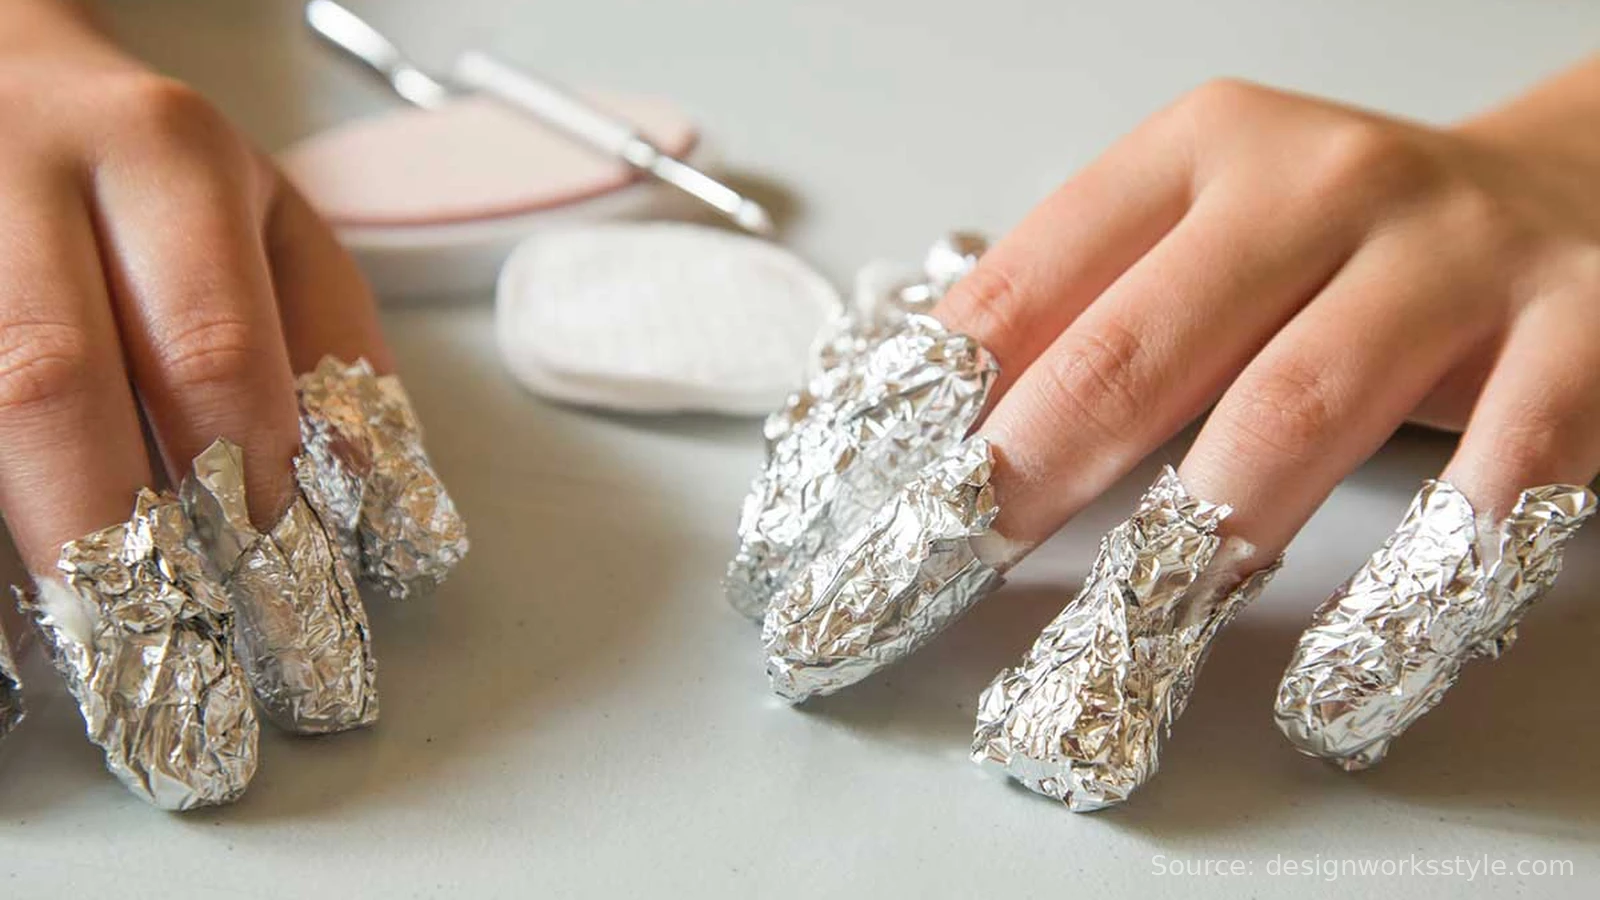
Other advanced items include nail forms and acrylic or gel extension kits, which build length beyond the natural nail. These need practice and proper removal, and a bad application damages the natural nail. If you want extensions regularly, a salon visit is usually better value than a home kit until you have the technique down. For safe gel removal at home, our guide on how to remove gel nails safely covers the soak-off method step by step.
How Do You Clean and Store Nail Tools?
Clean tools after every use and store them dry. Metal tools get a wash in warm soapy water, a rinse, a wipe with rubbing alcohol, and full drying before storage. Files get a brush off and, for glass files, a wash. Wooden sticks go in the trash after one use. Store everything in a dry pouch or box, not loose in a damp bathroom drawer, since moisture rusts metal and breeds bacteria.
Sanitation matters more than it looks. Tools that touch skin and cuticles carry bacteria and fungus between uses, and sharing tools without cleaning spreads infections. At home, washing plus alcohol is enough for personal tools. If you share tools with family, clean them between people the same way. Never share tools with anyone who has a visible nail infection, and throw away any tool that touched infected skin.
Check tools regularly for wear. Replace emery boards when the grit smooths out, replace clippers when they pinch, and replace brushes when bristles splay. Glass files and metal pushers last for years with basic care, which makes them good places to spend a little more.
Store polish upright in a cool, dry place away from heat and sunlight, which thicken polish and change its color. Keep bottles closed tightly, and wipe the neck clean before closing so the cap does not stick. If polish thickens, a few drops of polish thinner restore it. Never add remover to thick polish, since remover breaks the formula and ruins wear.
Should You Buy a Budget Kit or Professional Tools?
A budget kit covers a beginner well, and professional tools pay off only for the items you use most. A starter kit with clippers, a file, a pusher, a buffer, and a cleanup brush costs little and handles full manicures. Spend more on the file and clippers, since those touch the nail most, and save on items like dotting tools and cleanup brushes, where cheap versions work fine.
Professional tools differ mainly in materials and durability. A glass file outlasts a stack of emery boards, and sharp stainless clippers stay sharp longer than plated ones. A professional brush set has finer tips and holds its shape, which matters for detailed art but not for basic painting.
Build your kit in stages. Start with the essentials and one base coat, one top coat, and two or three colors you actually wear. Add a dotting tool set when you try your first nail art, and add a lamp only when you switch to gel. Buying a large kit upfront wastes money on tools you may never use, and a small kit you know well beats a large kit you do not understand.
As a rough guide, a solid home kit with good basics and a few art tools costs less than two salon manicures, and it lasts for months of weekly use. The savings come from repetition, not from buying the cheapest version of everything.
Frequently Asked Questions
What is the one tool most people skip that they should not?
A base coat. People buy polish and top coat and skip the base, then wonder why color chips in two days and stains their nails. Base coat grips color and blocks stains, and it costs the same as a bottle of polish. It is the highest value item in the kit.
Do you need a UV lamp for regular nail polish?
No. Regular polish dries in air, and a lamp does not cure it. A lamp only hardens gel polish. If you use regular polish, spend the money on a good base coat and top coat instead, and let nails dry naturally or use quick dry drops.
How often should you replace a nail file?
Glass files last for years and just need washing. Emery boards wear out after a few weeks of regular use, and you should replace them when the grit feels smooth or the board bends. A worn file leaves a rough edge that splits, so a fresh file is cheaper than fixing broken nails.
Can you share nail tools with other people?
You can if you clean them between people with soap, water, and rubbing alcohol, and dry them fully. Do not share tools with anyone who has a nail infection, and do not share wooden sticks or files that cannot be cleaned well. When in doubt, use a fresh disposable tool.
With the right tools in hand, the next step is technique. Start with our nail care basics routine, then try a design from French tip nail ideas or chrome nail ideas to put your kit to work.