
How to Do a French Manicure at Home
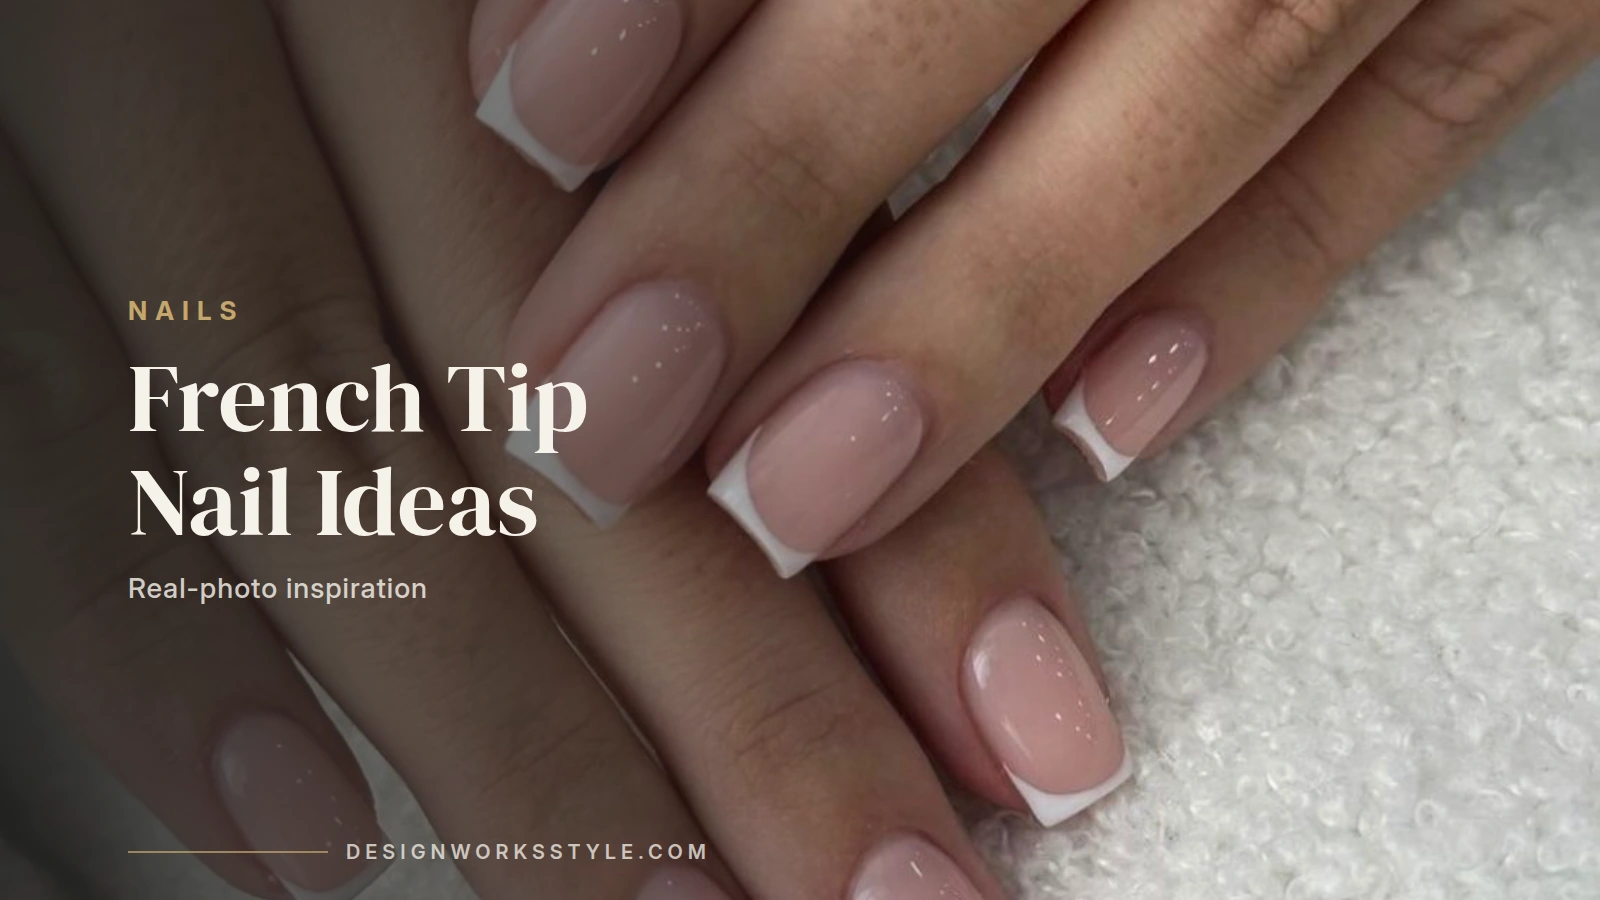
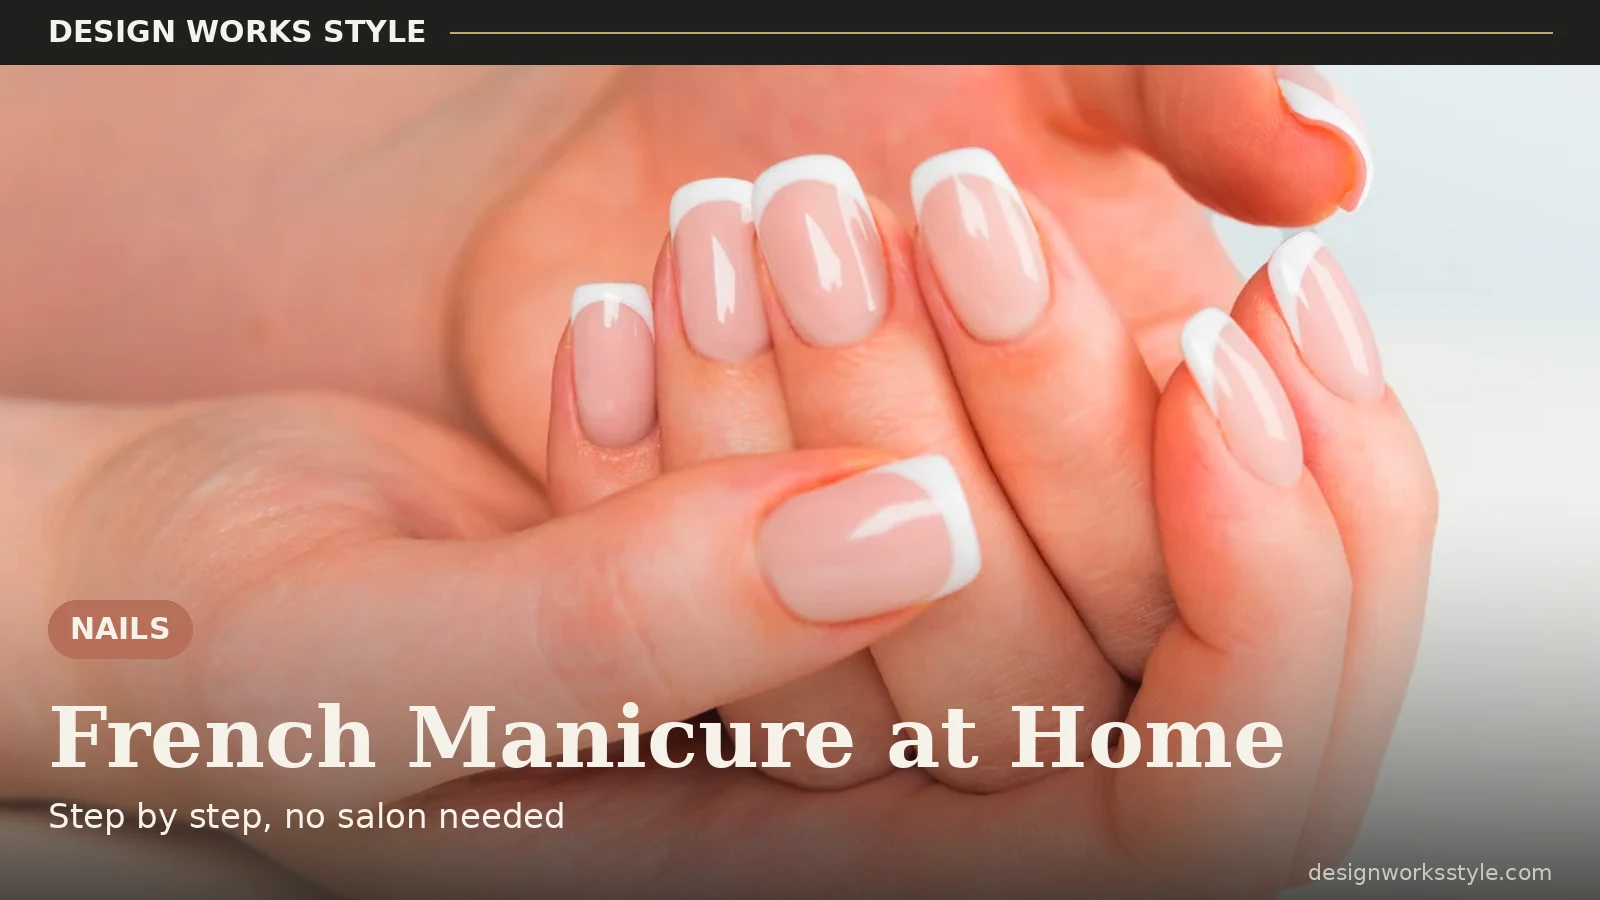
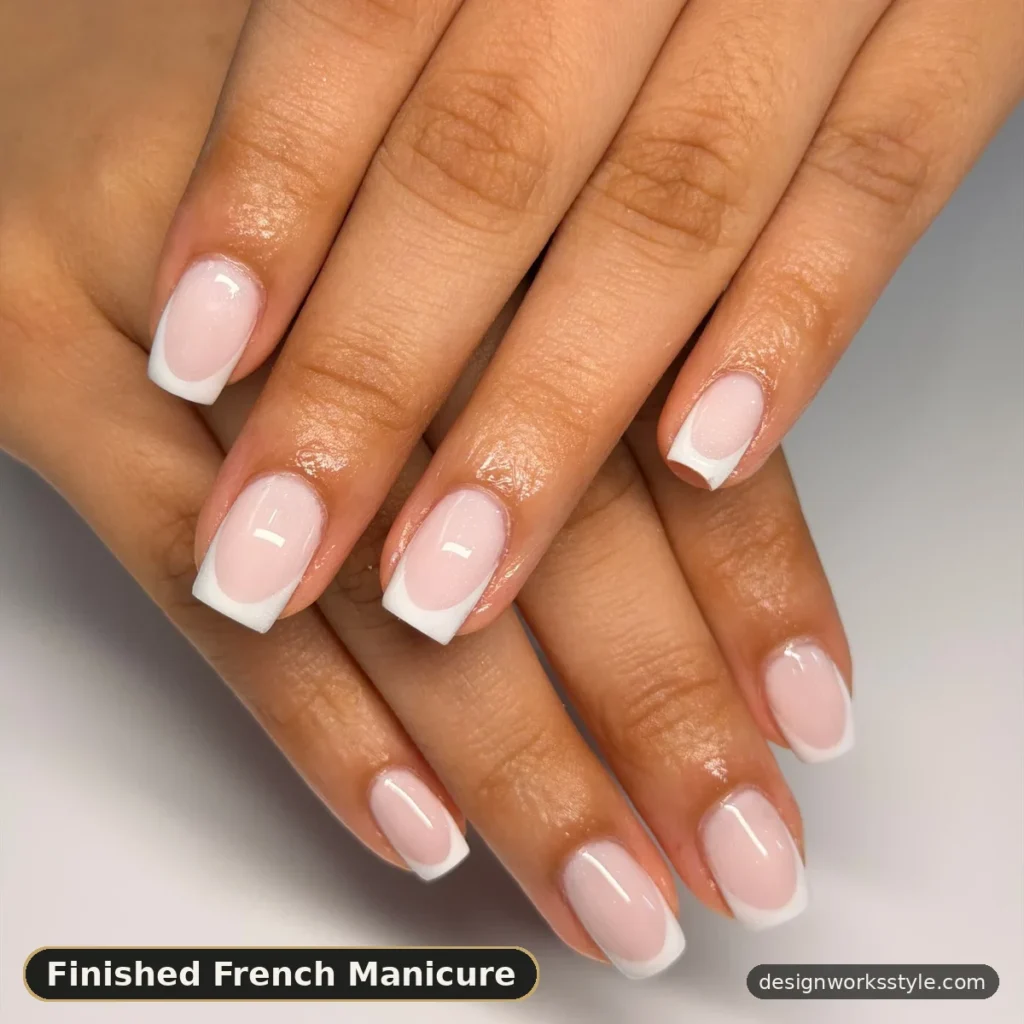
A French manicure at home is a sheer pink or nude base with a white tip, done in five stages: prep, base coat, tip, top coat, and cleanup. The tip is the only hard part, and a thin brush or a guide strip makes it manageable even on a first try.
What Do You Need for a French Manicure?
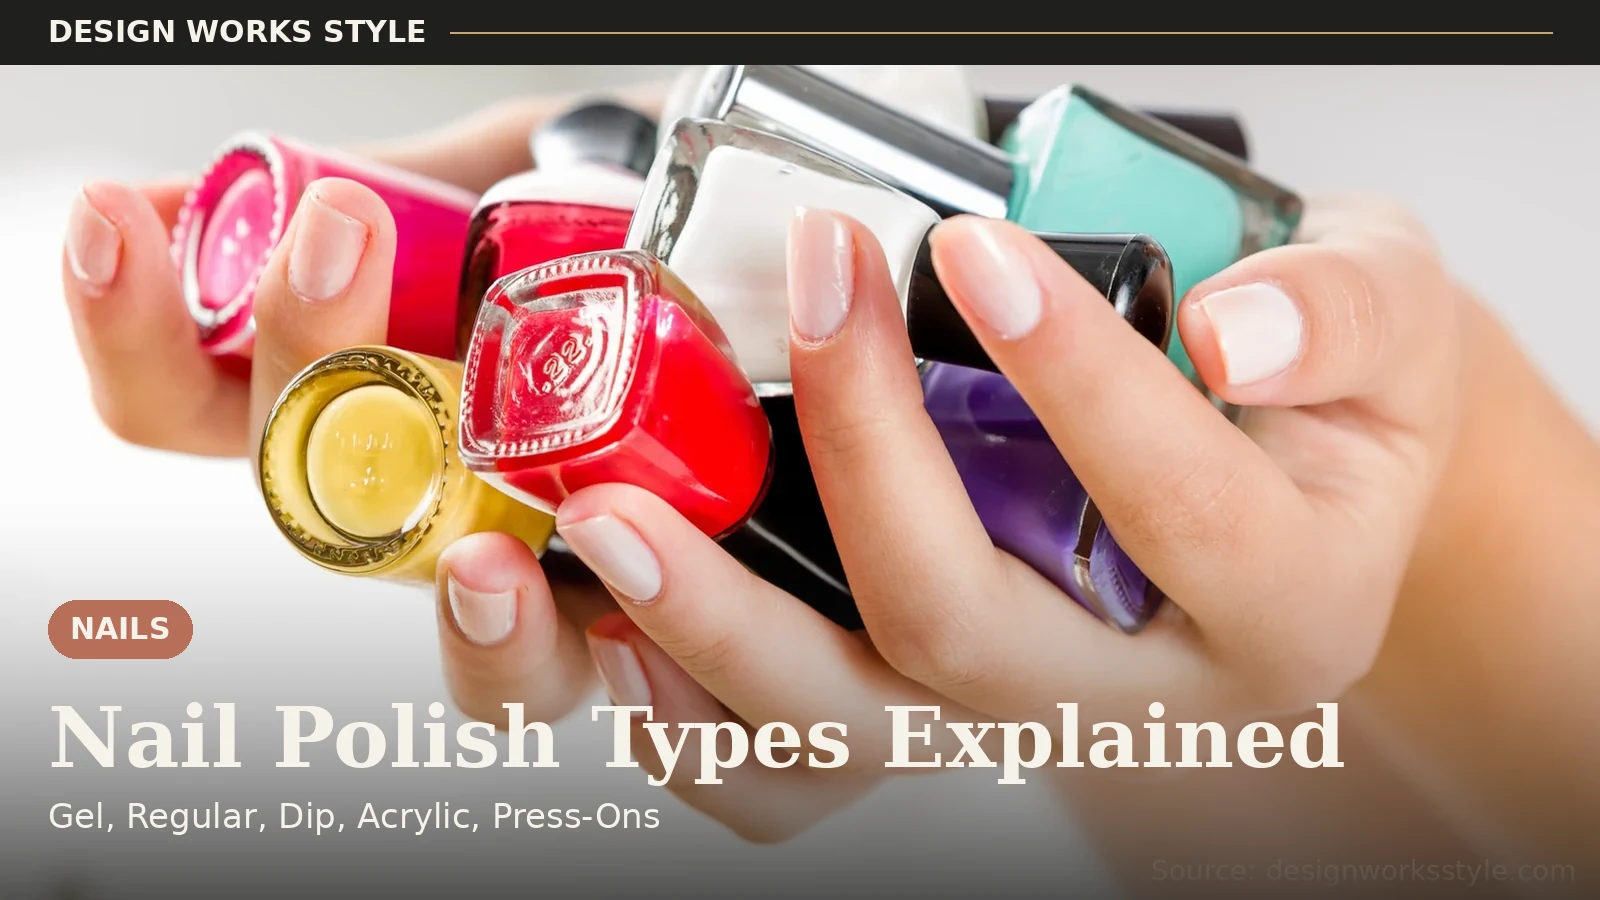
You need a nail file, a buffer, cuticle oil, a sheer pink or nude polish, a white tip polish, a base coat, a top coat, remover, and a small cleanup brush. A thin nail art brush is useful but not required, since the brush in the white polish bottle works if you wipe off the excess first.
Pick a sheer base, not an opaque nude. The classic French look comes from the nail showing through the base, which keeps the hand looking natural rather than painted. One thin coat is usually enough. Two coats turn most sheer pinks opaque, and that loses the effect.
For the white, use a polish made for tips if you can find one. It is thicker than a normal white, so it covers in one pass and does not run toward the cuticle. A normal white polish works too, but it often needs a second pass, and a second pass is where lines get wobbly.
Guide strips help on the first few attempts. They stick across the nail at the smile line and give the white a clean edge. Peel them off while the white is still slightly wet, or the polish lifts with the strip. Once you can paint a steady line freehand, drop the strips. They slow the job down and leave a ridge if the white is too thick.
How Do You Prep Nails for a French Manicure?
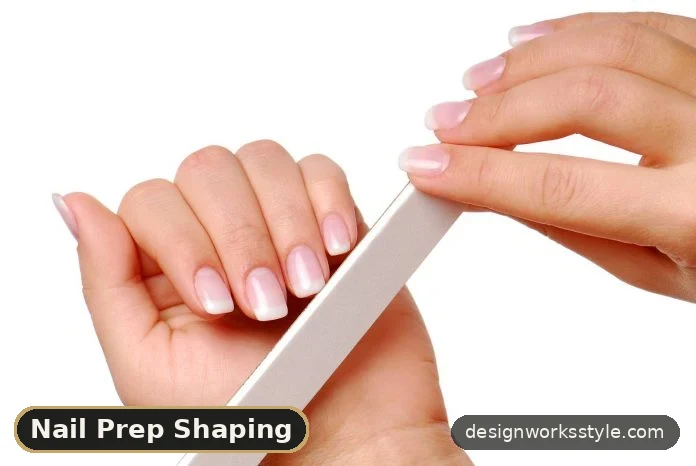
Prep takes about ten minutes and decides how the whole manicure looks: remove old polish, shape the nails, push cuticles back, and wipe the nail surface clean. A French tip shows every flaw in the nail edge, so prep matters more here than with a dark color.
Shape matters. A French tip looks best on a square or soft squoval nail, where the tip has a straight edge to follow. Round nails work too, but the smile line has to curve more, which is harder to paint evenly. File in one direction and check the shape from the top and the side before you start painting.
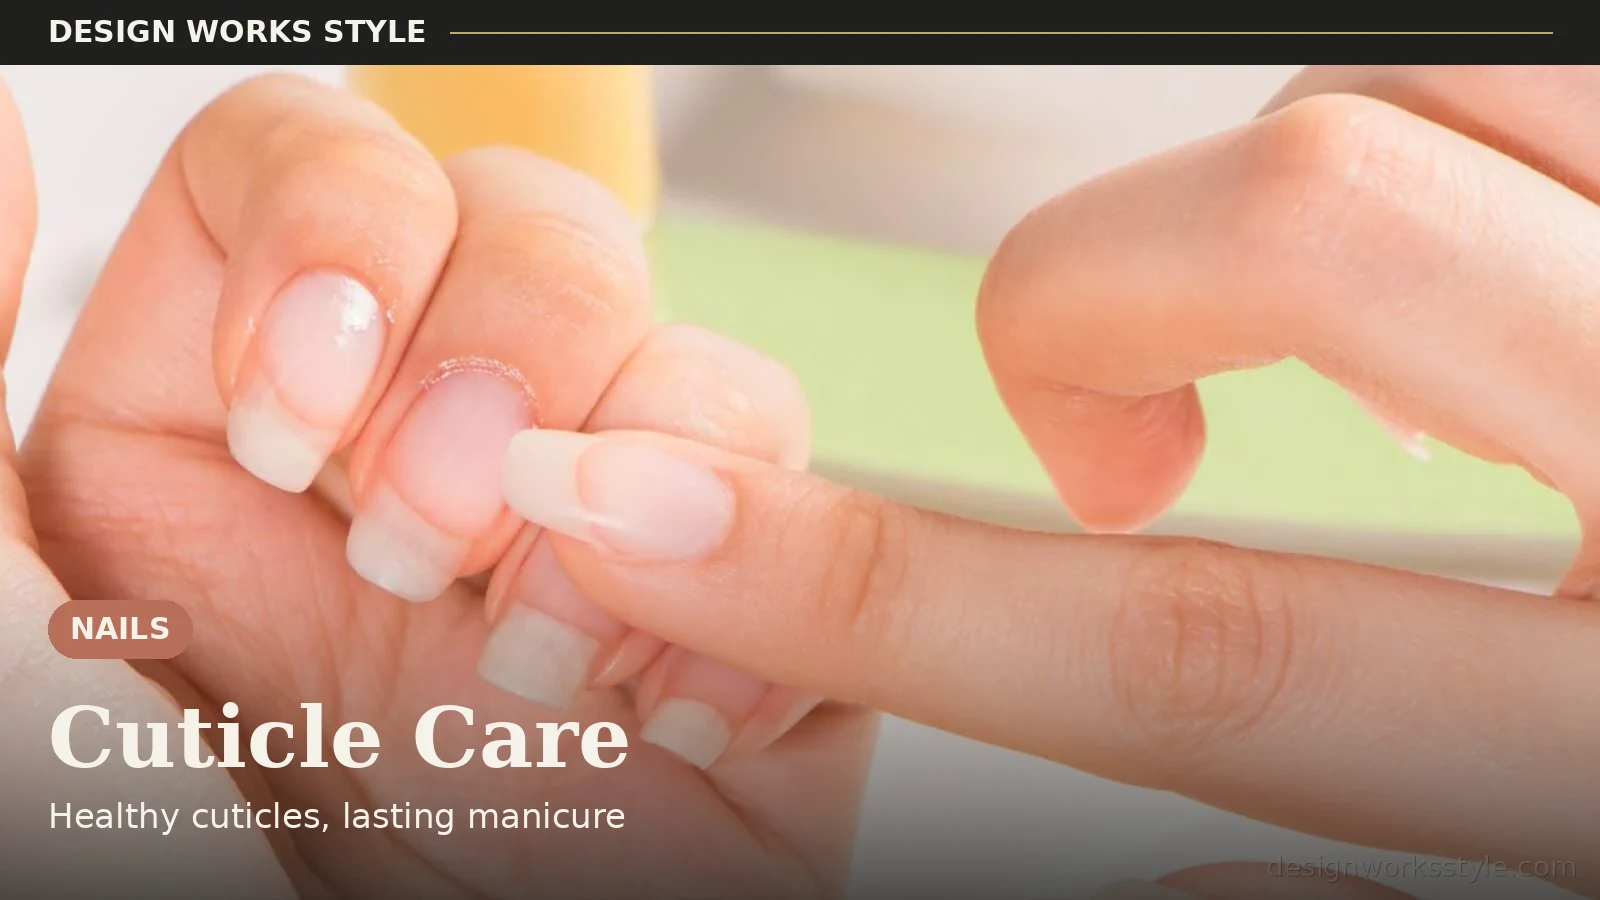
Push cuticles back after a short soak or a shower, and do not cut them. Cuticles seal the nail against infection, and a French manicure needs that seal intact because the base is sheer and any redness shows. Apply oil, let it soak in, then wipe each nail with remover so polish grips the surface.
Buff lightly if the nail surface has ridges. One or two gentle passes are enough. Heavy buffing thins the nail and makes the tip bend, which cracks the white line within a day. The goal is a smooth surface, not a matte one.
How Do You Paint the White Tip?
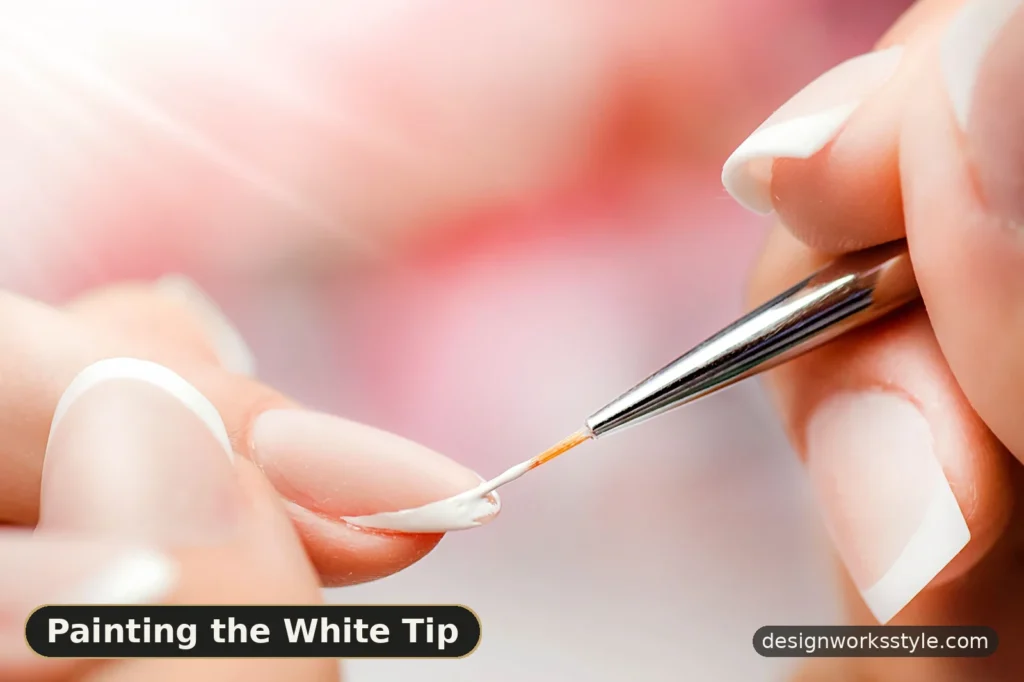
Paint the tip in one steady stroke per side, starting at one corner, sweeping across to the other, and keeping the line thin. The smile line should sit where the nail leaves the finger, which is about a quarter of the nail on most hands.
Start with your non-dominant hand. It is the harder hand to paint, and it is easier while you are fresh. Rest your painting hand on a table and keep the finger you are painting still. Move the brush, not the finger. Small, controlled strokes beat long, fast ones.
For each nail, load the brush, wipe one side on the bottle neck, and paint from the left corner to the center, then from the right corner to the center. The two strokes meet in the middle, and that meeting point is where most uneven lines happen. If the line is too thick on one side, wipe the brush and paint a thinner second stroke just inside the first.
Keep the tip width even across all ten nails. Check by holding both hands side by side before the white dries. A tip that is wide on one hand and narrow on the other is more noticeable than a tip that is slightly uneven on a single nail. Fix width now, while the polish is wet, rather than after the top coat.
If freehand feels shaky, use guide strips for the first two or three manicures. Place the strip so its top edge sits where you want the smile line, paint the white above it, and peel it off slowly while the polish is still tacky. Guide strips work best on square nails, where the line is straight.
How Do You Finish and Seal the Manicure?
Finish with a sheer base over the whole nail if you want a softer look, then a top coat, then cleanup around the edges. The top coat is what makes a home French manicure last, since it seals the tip edge where chips start.
Apply the sheer base first if you painted the tip on bare nails. One thin coat over the whole nail blends the tip into the base and softens any small wobbles in the line. If you painted the tip over a base coat, skip this step and go straight to top coat.
Cap the free edge with top coat. Run the brush along the very tip of the nail, not just across the top surface. Chips start at the tip edge, and a sealed edge holds polish for days longer than an unsealed one. Reapply top coat every two to three days to keep the seal fresh.
Clean up with a small brush dipped in remover. Run it along the skin beside each nail while the polish is still slightly soft. A flat brush works, or a cotton bud with the tip flattened. Do not use a large cotton pad, which leaves fibers on wet polish. The small habits that make a manicure last longer, capping the edge and refreshing top coat, matter most for a French tip, since white shows chips faster than any other color.
What Goes Wrong, and How Do You Fix It?
Uneven tips, white polish pooling at the corners, and a base that looks streaky are the three common problems, and each has a simple fix. Most French manicure problems come from polish that is too thick or a brush that is too loaded.
If the smile line is uneven, do not repaint the whole tip. Wait for the white to dry, then paint a thin second line just inside the uneven edge to straighten it. A second full coat makes the tip thick and slow to dry, and thick white cracks first.
If white pools at the corners, the brush held too much polish. Wipe the brush before each nail, and paint the corners with the tip of the brush rather than the flat side. Pooling also happens when the nail is not fully dry between coats, so give the base coat ten minutes before painting tips.
If the base looks streaky, the coat was too thick or the brush strokes overlapped too many times. Sheer polish streaks when it is pushed around. One smooth stroke per section, with no going back over a half-dry area, gives the evenest finish. A second thin coat, after the first is fully dry, fixes most streaks.
If a tip chips within a day, the cause is usually an unsealed edge or oil left on the nail before painting. Wipe each nail with remover before the base coat, and cap the edge with top coat at every refresh. A nail care basics routine of weekly filing and daily oil keeps the nail edge smooth, which also keeps the tip from lifting.
How Do You Make a French Manicure Last?
A French manicure lasts about a week with top coat refreshes and glove use for wet work, and less without them. White tips chip first at the corners, so the edge seal and daily care decide the wear more than the polish brand.
Wear gloves for dishes, cleaning, and gardening. Water and detergent lift polish from the tip edge, and white shows that lifting right away. Keep a bottle of top coat handy and reapply it on day three and day five, capping the free edge each time.
File a small chip at once instead of waiting for it to grow. A tiny chip at the corner can be smoothed with a fine file and sealed with top coat, and the repair is nearly invisible on a French tip. Short nails also suit a soft squoval shape, which gives the tip a clean edge.
When the manicure is done, remove it by soaking, not peeling. Peeling white polish lifts layers of the natural nail, and the next French manicure will not sit smooth on a rough surface. The soak method used for removing gel nails safely works for regular polish too, since it softens the polish instead of pulling it off.
Frequently Asked Questions
Is a French manicure hard for a beginner?
The tip is the only hard part, and guide strips make it manageable. Prep, base, and top coat are the same as any manicure. Most beginners get a neat result on the second or third try, once they learn how much polish to leave on the brush.
Should the tip be white or off-white?
Bright white suits most hands and gives the classic look. Off-white or cream suits warm skin tones and looks softer, especially on short nails. Either works, but use the same shade on all ten nails, since mixed whites look uneven.
Can you do a French manicure on short nails?
Yes, but keep the tip thin, about a fifth of the nail. A wide tip on a short nail leaves almost no sheer base visible, and the nail looks painted white rather than French. Short nails also suit a soft squoval shape, which gives the tip a clean edge.
How do you fix a French tip that looks yellow?
Yellowing usually comes from an old top coat or from polish left on too long. Use a fresh top coat, and remove the manicure after a week rather than leaving it for two. A base coat under the white also stops the nail itself from staining, which keeps the tip looking white.