
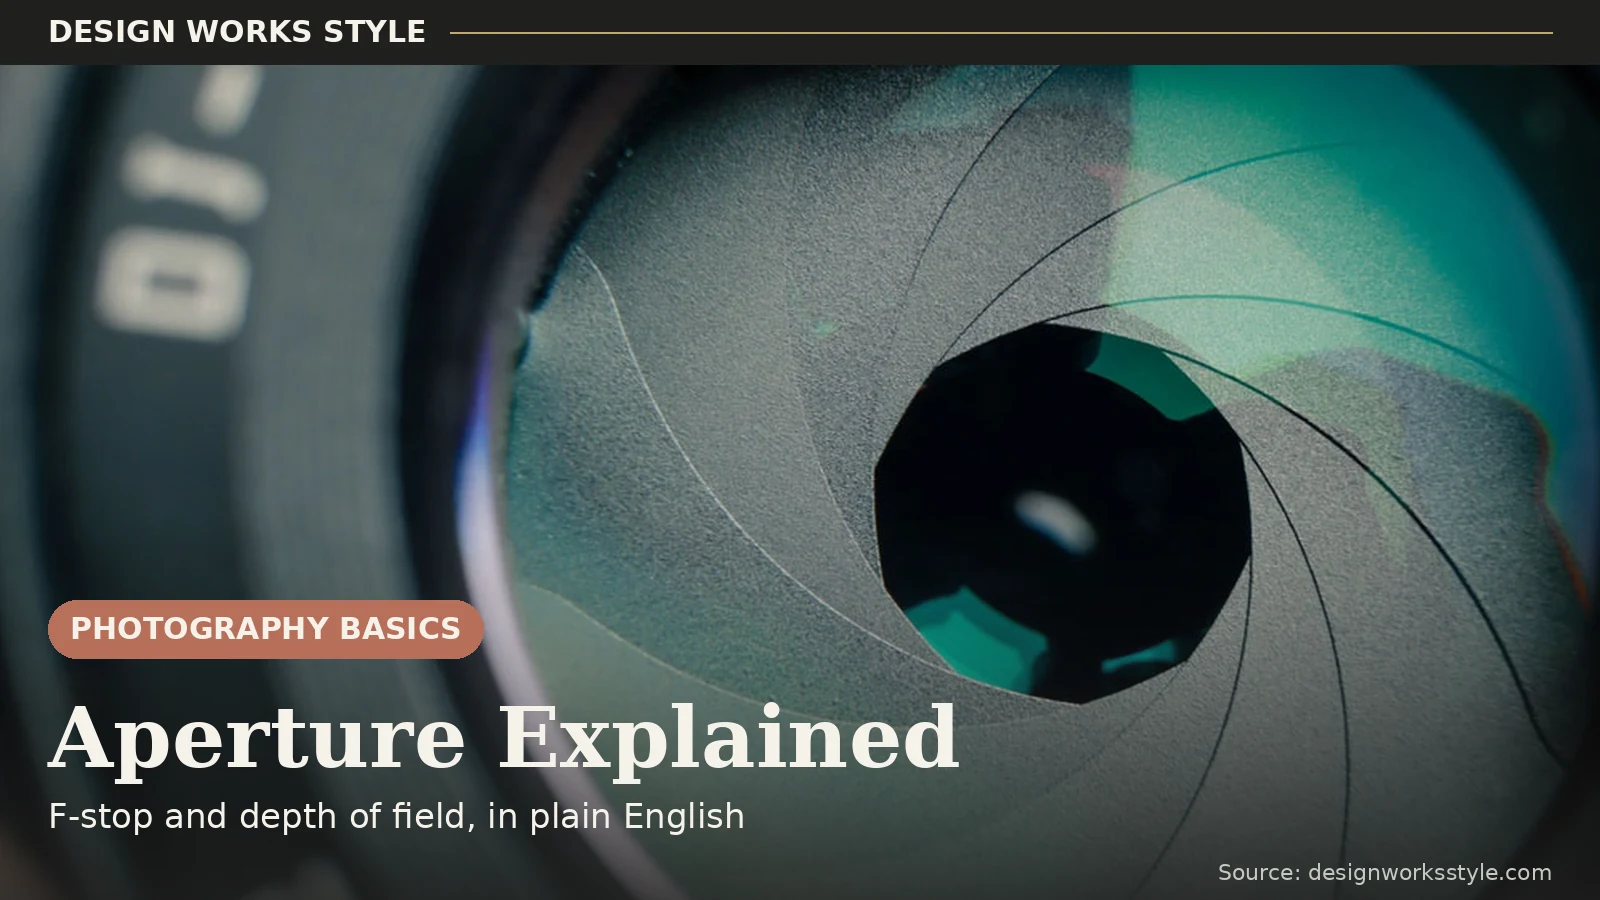
Aperture is the opening in your lens that lets light reach the sensor. It is measured in f-stops, numbers like f/1.8, f/4, and f/11. It does two jobs at once: it controls how bright your photo is, and how much of it is in sharp focus. A smaller f-number means a bigger opening, more light, and a blurrier background.
Once aperture clicks, half of photography clicks with it. This guide explains what those f-numbers actually mean, how depth of field works, what else shapes it, and when to open up or stop down. Plain English, no physics degree required.
What Aperture Is
Inside every lens is an iris, a set of blades that open and close like the pupil of your eye. That opening is the aperture. Wide open, it floods the sensor with light. Nearly closed, it lets in a trickle. Your camera adjusts it automatically in auto mode, but taking manual control is the fastest way to make photos look intentional rather than accidental.
It is the reason some portraits have creamy blurred backgrounds while some landscapes are sharp from front to back. Same camera, same light. Different aperture, different photograph. Of the three exposure controls, aperture changes the look of a photo most visibly, which is why most photographers learn it first.
F-Stop Numbers, Explained Plainly
The f-stop scale runs backwards, and that is the whole confusion: a smaller f-number means a larger opening. f/1.8 is wide open; f/16 is a pinhole. Think of each number as a fraction. 1/1.8 is much bigger than 1/16. Once you see that, the scale stops feeling arbitrary. The “f” just stands for the lens’s focal length, which is why the numbers are ratios rather than millimeters.
Common full stops, from wide to narrow:
- f/1.4 – f/2.8: very wide. Lots of light, very blurry backgrounds.
- f/4 – f/5.6: moderate. A versatile middle ground for everyday shooting.
- f/8 – f/11: narrow. Deep focus, great for landscapes.
- f/16 – f/22: very narrow. Everything sharp, but needs lots of light.
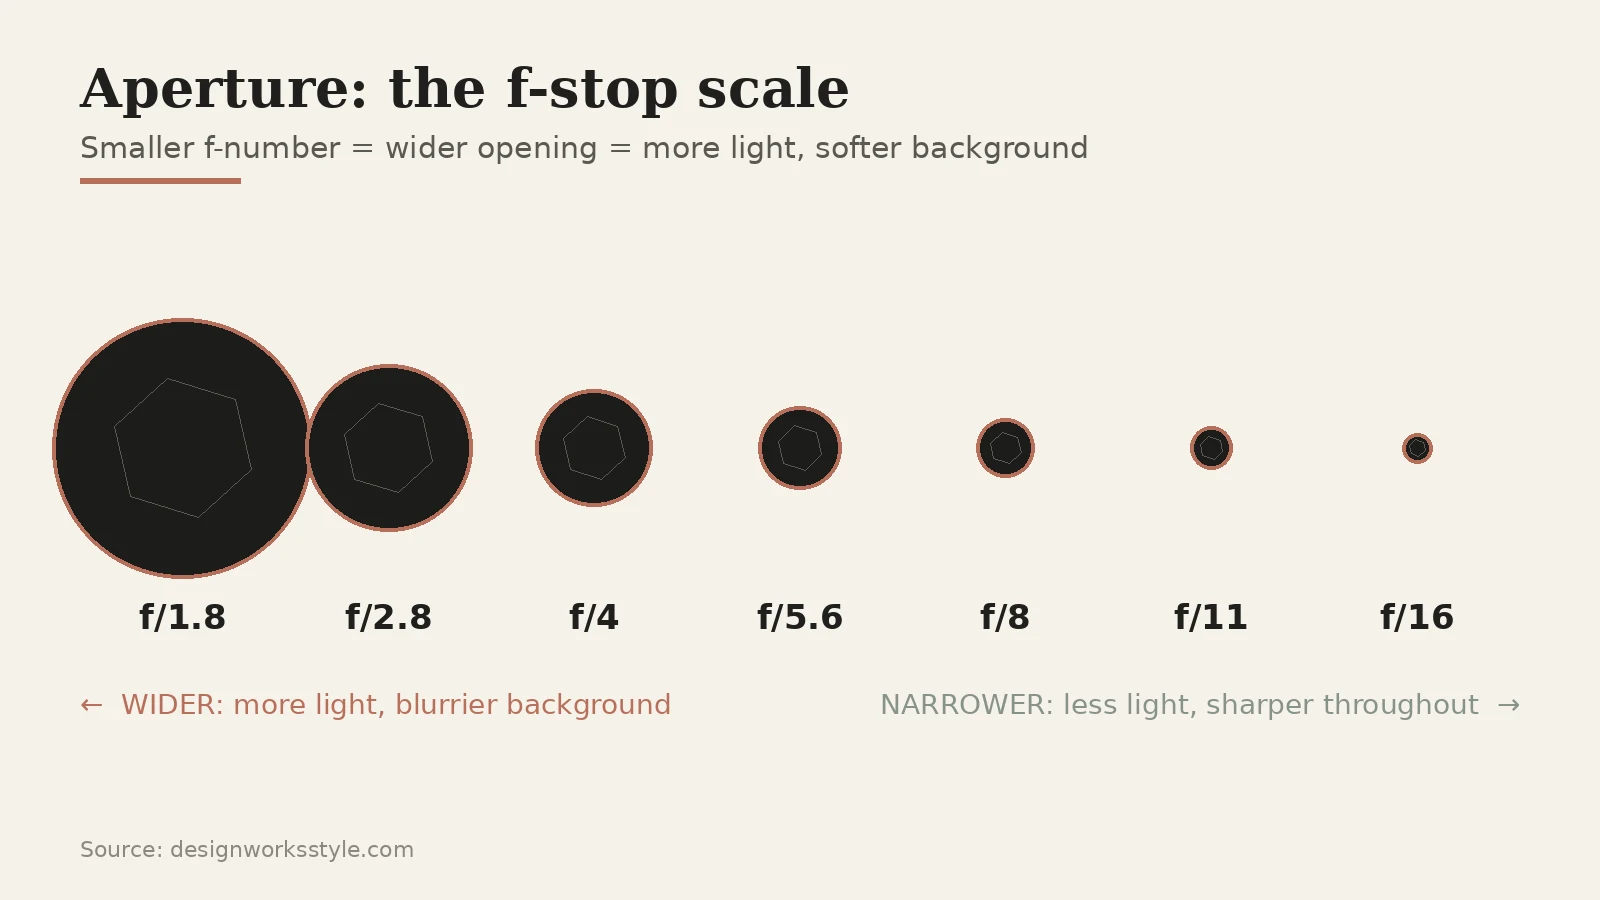
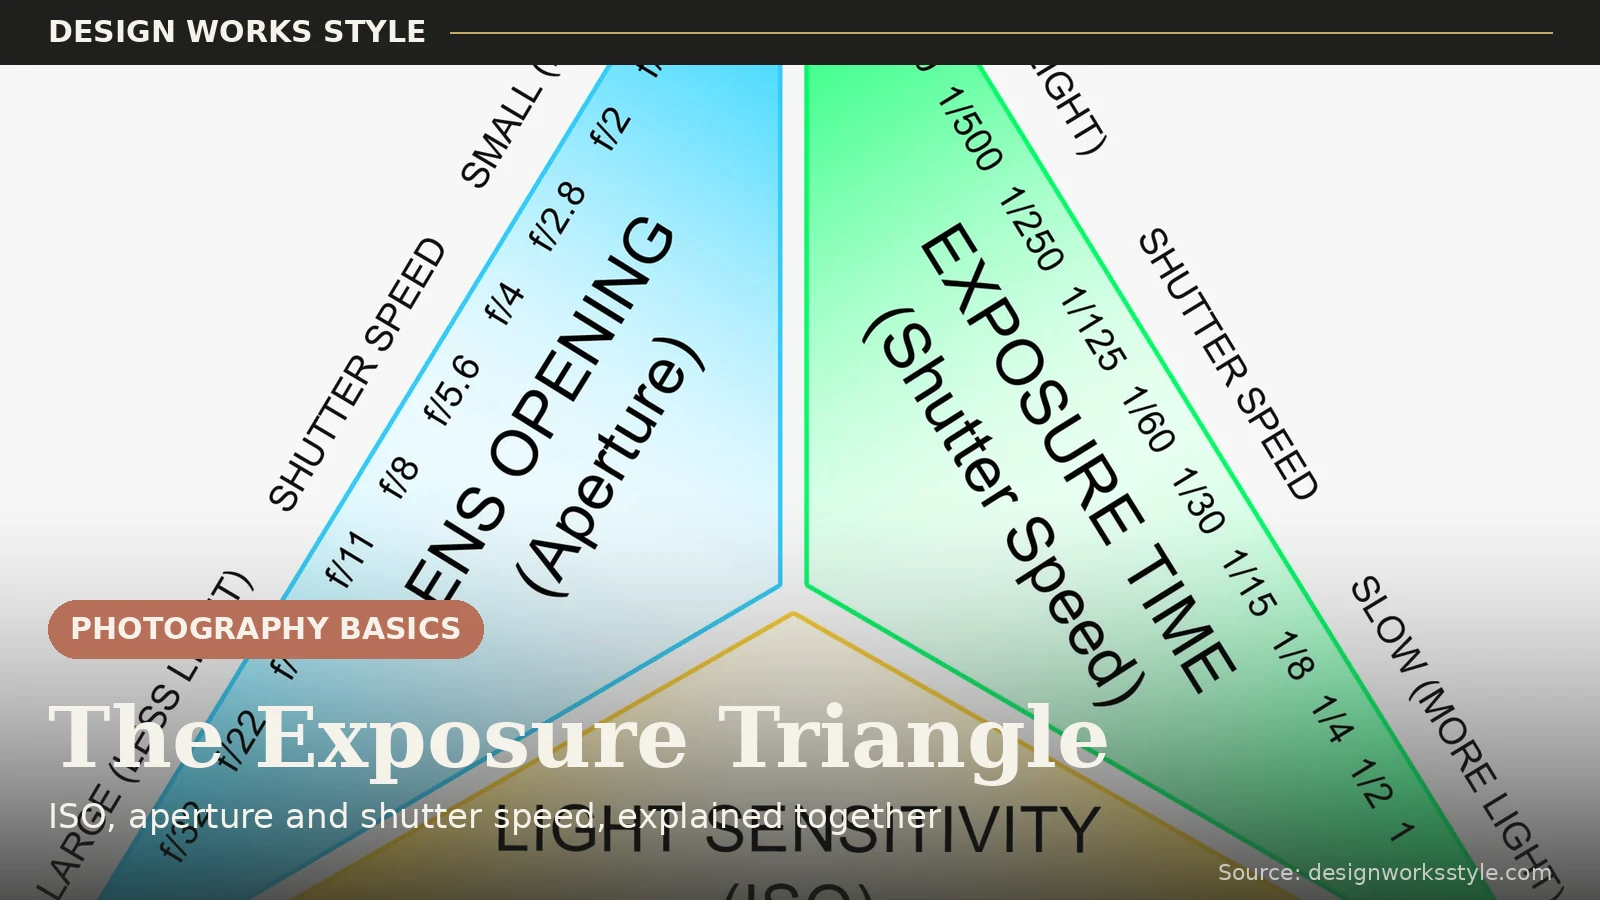
Each full stop halves or doubles the light. Going from f/2.8 to f/4 halves the light hitting the sensor; going from f/8 to f/5.6 doubles it. Your camera compensates with shutter speed or ISO, which is exactly what the exposure triangle is about. You do not need to memorize the sequence. You need the feel: one click narrower, half the light.
Depth of Field: The Real Reason Aperture Matters
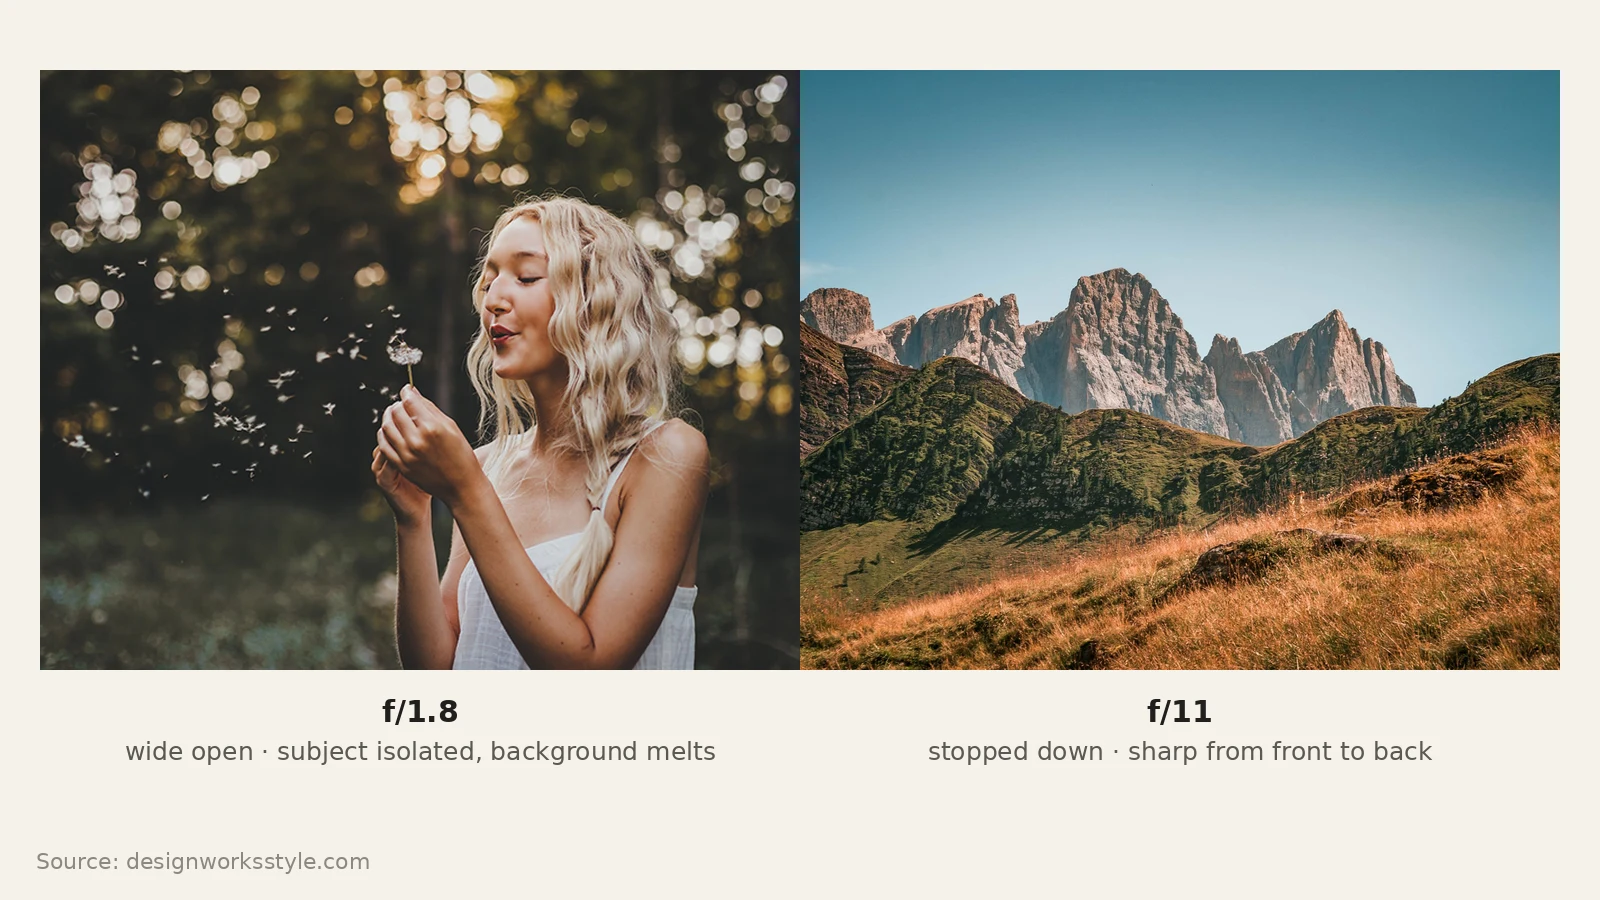
Depth of field is how much of your photo is in acceptably sharp focus, front to back. Aperture is its main control. A wide aperture (small f-number) gives shallow depth of field: your subject is sharp while everything behind melts into blur. A narrow aperture (large f-number) gives deep depth of field: foreground, subject, and background all reasonably sharp.
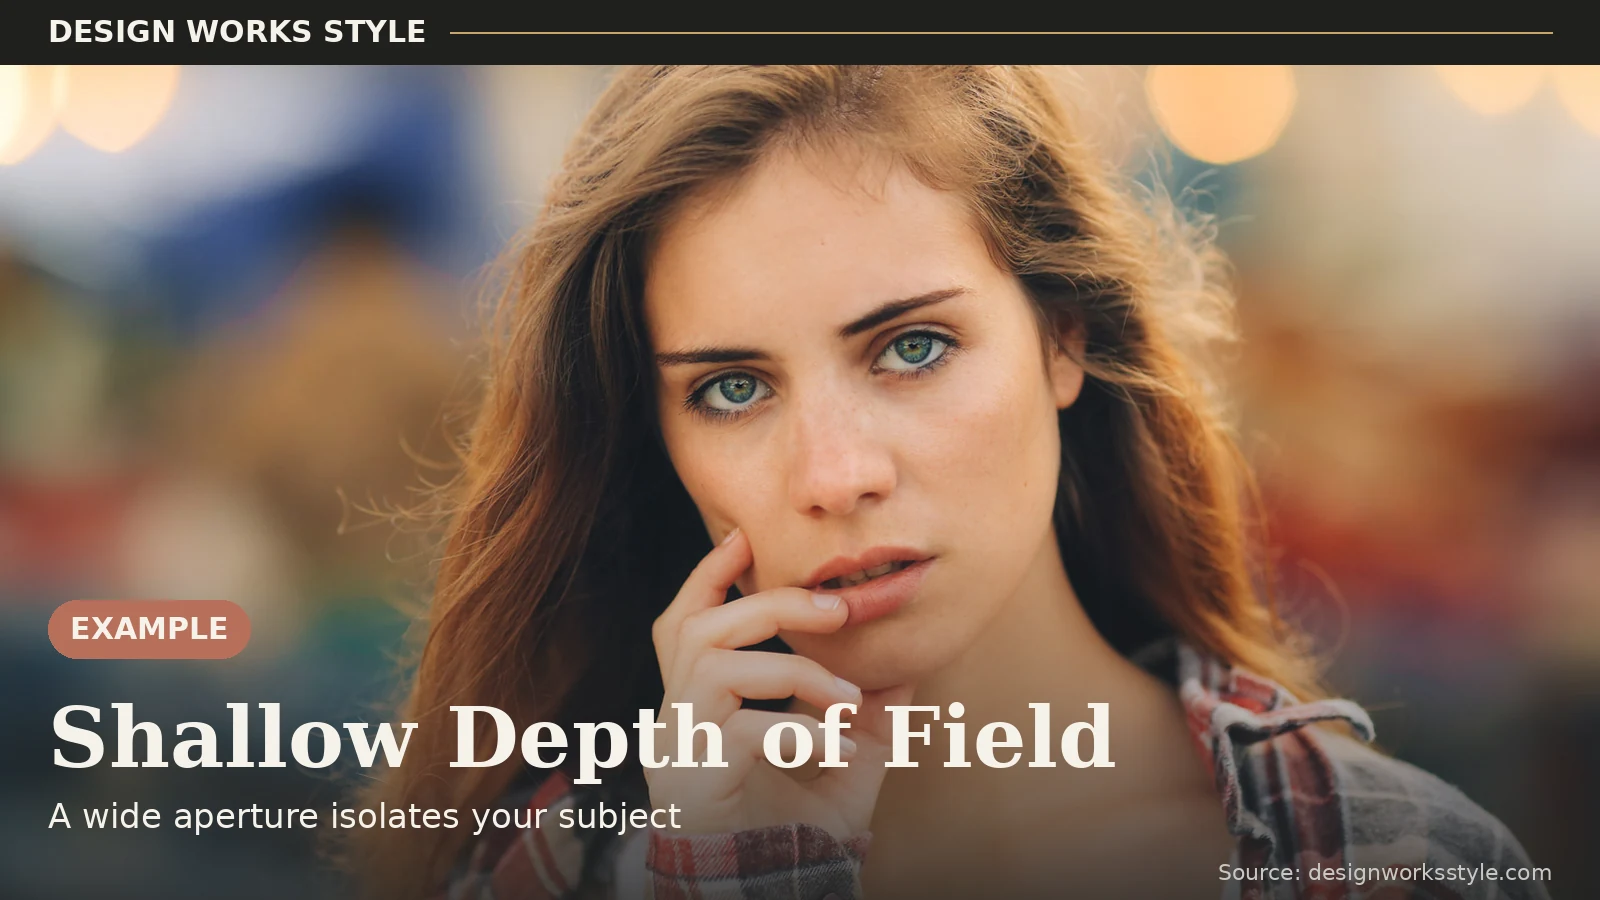
This is what makes aperture worth learning. You could also fix brightness with shutter speed or ISO. But only aperture decides whether the background tells a story or disappears. Portrait photographers live at f/1.4–f/2.8 because isolation flatters faces. Landscape photographers live at f/8–f/11 because the whole scene is the subject.
What Else Shapes Depth of Field
Aperture is the main dial, but two other factors matter. First, distance. The closer you are to your subject, the shallower the depth of field at any given f-number. That is why macro shots have razor-thin focus even at f/8, and why distant landscapes look sharp almost regardless of aperture. If your background will not blur at f/1.8, you are probably just standing too far away.
Second, focal length. Longer lenses compress depth of field. An 85mm portrait lens at f/2.8 blurs backgrounds far more aggressively than a 24mm wide-angle at the same f-number. This is why phone cameras, with their very short lenses, struggle to blur backgrounds optically, and why portrait photographers reach for 50mm and longer.
Aperture and Shutter Speed Work Together
Here is the trade-off beginners trip over. Opening the aperture to blur a background also floods the sensor with light, which can overexpose the shot. Your camera compensates by using a faster shutter speed. That is not a problem. It is the system working as designed, and it is why the two settings are always discussed as a pair.
Try your camera’s Aperture Priority mode (usually marked A or Av). You choose the f-number; the camera picks the shutter speed to match. It is the best training mode there is. You learn aperture’s creative effect while the camera handles the math. Watch the shutter speed the camera chooses. If it drops too slow, that is your cue to raise the ISO.
When to Use a Wide Aperture
Reach for a wide aperture, f/1.4 to f/2.8, whenever you want to isolate your subject from its surroundings or you are shooting in dim light. Wide apertures throw backgrounds into soft blur and gather the most light your lens can offer. The classic use cases:
- Portraits: blur the background so the face is all anyone sees. f/2–f/2.8 is the sweet spot for single subjects.
- Low light: indoors, evening streets, concerts. Wide open gathers every photon available.
- Isolating detail: a flower, a coffee cup, an interesting texture against a messy background.
Watch out: at very wide apertures the zone of sharpness is paper-thin. In a close portrait at f/1.4, one eye can be sharp while the other softens. That can look great, but make sure it is the look you wanted. When in doubt, stop down one click. f/2 often gives you the blur with a margin for focus error.
When to Use a Narrow Aperture
Stop down to f/8–f/11 whenever the whole scene is the subject and everything needs to read clearly. Narrow apertures stretch the zone of sharpness from near to far, which is exactly what landscapes, architecture, and group photos demand. Reach for them when:
- Landscapes: foreground rocks and distant peaks sharp together.
- Group photos: faces on different planes all need to be readable. f/5.6 to f/8 depending on depth.
- Bright daylight: plenty of light means you can afford to stop down.
Two cautions. First, narrow apertures need more light, so shutter speeds get slower. Below about 1/60s handheld, brace yourself or nudge the ISO up. Second, do not stop down past f/11 unless you must. Diffraction gradually softens the whole image at very small apertures, so f/16 is often less sharp overall than f/8.
Common Aperture Mistakes
Most aperture mistakes come from treating the f-number as a brightness knob and forgetting its creative side. The classic error is shooting everything at the widest aperture because “blurry backgrounds look professional,” then wondering why half the group photo is soft. The opposite error is stopping down to f/22 for maximum sharpness and getting a subtly soft image from diffraction instead.
The fix is a one-second habit. Before choosing an f-number, ask what needs to be sharp. One face? Open up. Three rows of people? Stop down. The whole valley? f/8–f/11. Let the answer pick the aperture, and let shutter speed and ISO handle the brightness.
Aperture on Phones
Most phone cameras have a fixed aperture. You cannot change it. Portrait mode fakes the effect with software, blurring the background computationally. It works well for people and pets against simple backgrounds. It works less well for complex edges like flyaway hair, glasses frames, or chain-link fences, where the software guesses wrong.
The concepts still transfer. Understanding depth of field helps you see why portrait mode looks the way it does, and why stepping back or moving your subject away from the background improves the fake blur. The day you pick up a dedicated camera, the whole system will already make sense.
A Simple Practice Exercise
One hands-on session makes the f-number scale concrete forever. All you need is a willing subject, a textured background, and ten minutes in Aperture Priority mode. Shoot the same framing three times, compare the backgrounds, and the numbers stop being abstract:
- Find a subject with a busy background. A person in a park works perfectly.
- Set Aperture Priority and shoot at the widest aperture your lens allows.
- Shoot the same framing at f/4, then f/8.
- Compare all three. Watch the background transform from blur to texture to detail while the subject stays sharp.
Then repeat the drill with distance. Shoot the same subject at f/2.8 from three meters, then from six meters. The background blur collapses with distance even though the f-number never changed. After that, you will never again wonder why your wide-aperture shot “did not blur.”
Frequently Asked Questions
What is aperture in photography?
The adjustable opening in a lens that controls how much light reaches the sensor. It is measured in f-stops, and it also controls depth of field, how much of the photo is in focus.
What is a good aperture for portraits?
Start around f/1.8–f/2.8 for a softly blurred background. If more than one face needs to be sharp, stop down to f/4 or f/5.6.
Does a higher f-number mean a sharper photo?
Not exactly. Higher f-numbers give deeper focus, but every lens has a sweet spot (often f/8) where it is sharpest. Beyond about f/11–f/16, a phenomenon called diffraction gradually softens the whole image.
Why is my background still sharp at f/1.8?
Usually distance. Depth of field depends on how close you are to the subject and how far the subject is from the background, not just the f-number. Move closer, put more space behind your subject, or use a longer lens, and the blur appears.
Remember the backwards scale: small number, big opening. Let “what needs to be sharp?” pick your f-number. Spend an afternoon in Aperture Priority with the exercise above and f-stops start feeling like second nature. Next up is our exposure triangle guide, or Photography Basics from the top.