
Photography basics come down to four skills learned in order: see the light, master the three camera settings (aperture, shutter speed, ISO), compose with intention, and fix what goes wrong. Follow that sequence and every new skill builds on the last. This guide is your home base: what beginners really need first, with links to our in-depth guides on each topic.
Photography feels overwhelming because everyone teaches it in a different order. The order below is the one that actually works: light first, then settings, then composition, then troubleshooting. Each step makes the next one easier instead of floating in space.
Step 1: Learn to See Light
Before touching a single setting, learn to notice light. Is it hard or soft? Where is it coming from? What color is it? Beginners who skip this step spend months fighting their camera when the real problem was harsh noon sun. Light is the raw material. The camera only records it. Seeing it comes before everything.
Build the habit deliberately. For one week, every time you are about to take a photo, pause and name the light out loud: “soft window light from the left,” “hard overhead sun,” “warm low sun behind the trees.” It feels silly for about two days. Then it becomes automatic, and you will start repositioning yourself and your subjects toward better light without thinking. That repositioning is most of what experienced photographers actually do.
Start here: our guide to photography lighting covers hard versus soft light, golden hour, window light, and how to survive harsh midday sun. The single most useful habit from it: always ask where the light is coming from before you raise the camera.
Step 2: Master the Three Settings
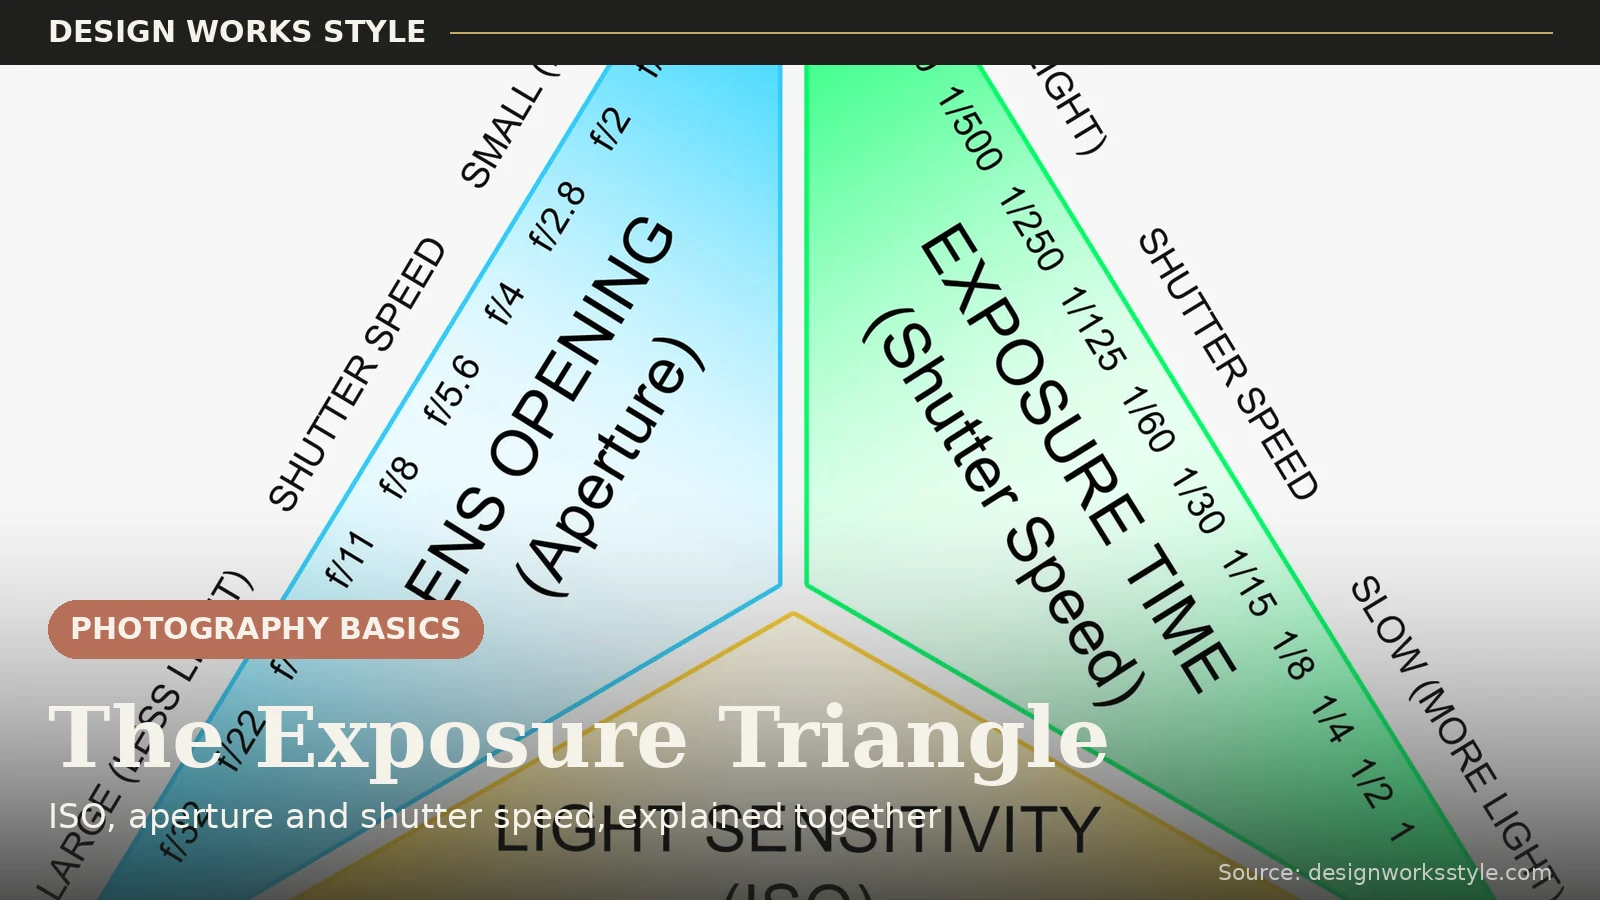
Three controls determine every exposure: aperture (the lens opening, controlling brightness and background blur), shutter speed (how long the sensor sees light, controlling brightness and motion), and ISO (sensor sensitivity, controlling brightness and noise). Together they form the exposure triangle. Change one, and the others must compensate to keep the exposure balanced.
- Aperture: the lens opening, measured in f-stops. Wide (f/1.8) means bright and blurry backgrounds; narrow (f/11) means darker and sharper throughout. The look control.
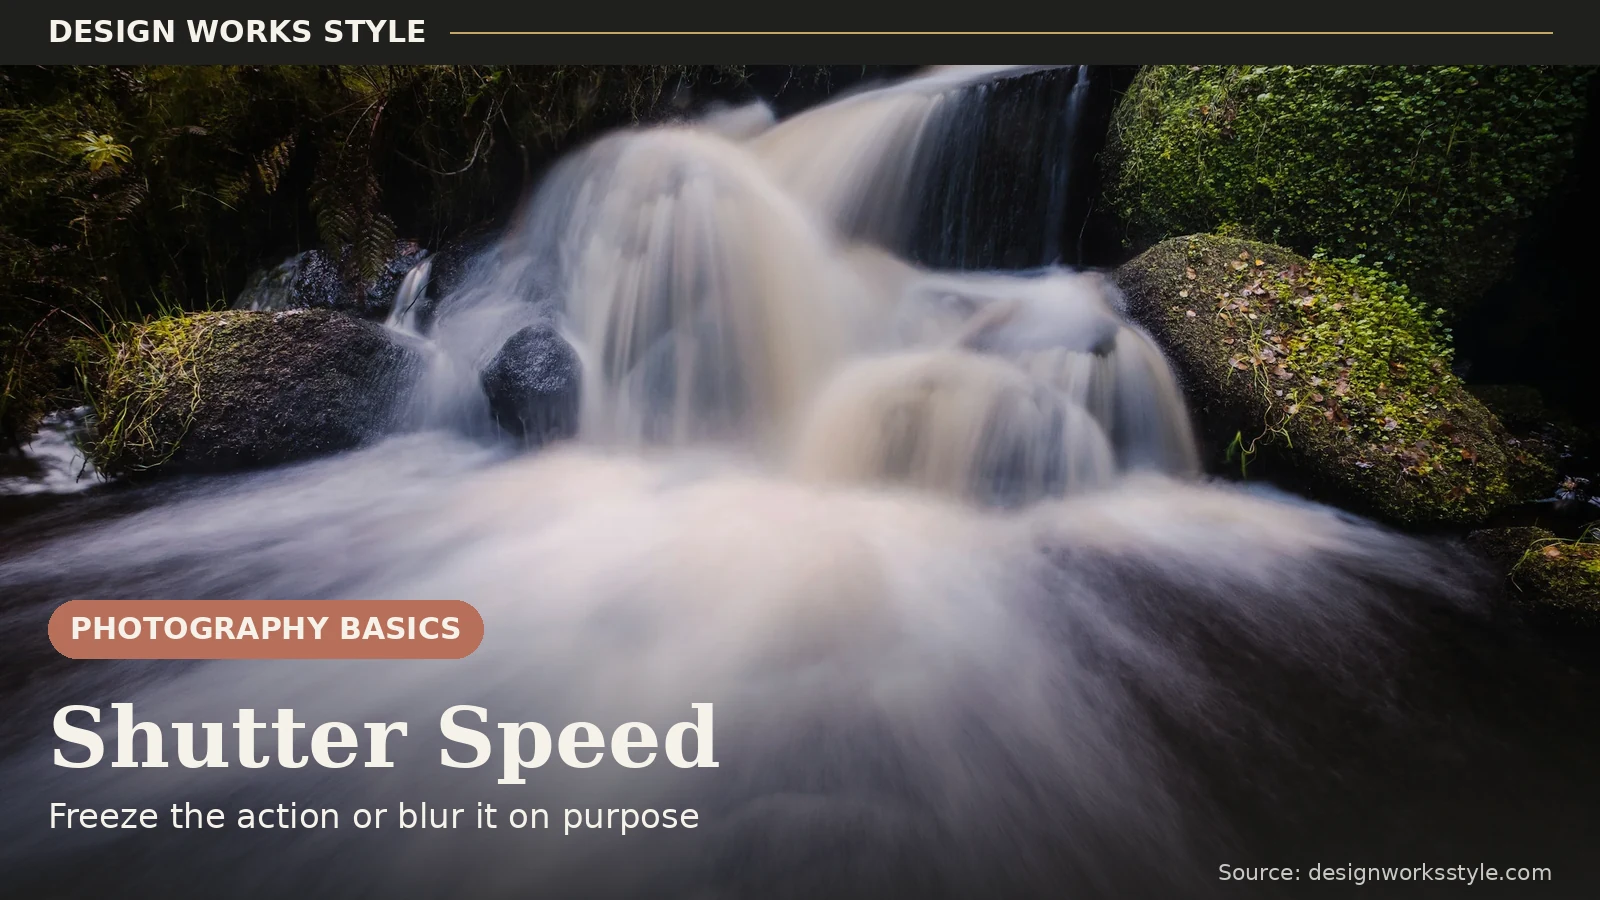
- Shutter speed: how long the sensor sees light. Fast (1/1000s) freezes motion; slow (1/30s) blurs it. The motion control.
- ISO: sensor sensitivity. Low (100) is clean; high (3200+) is bright but noisy. The compromise control. Raise it when the other two cannot do the job alone.
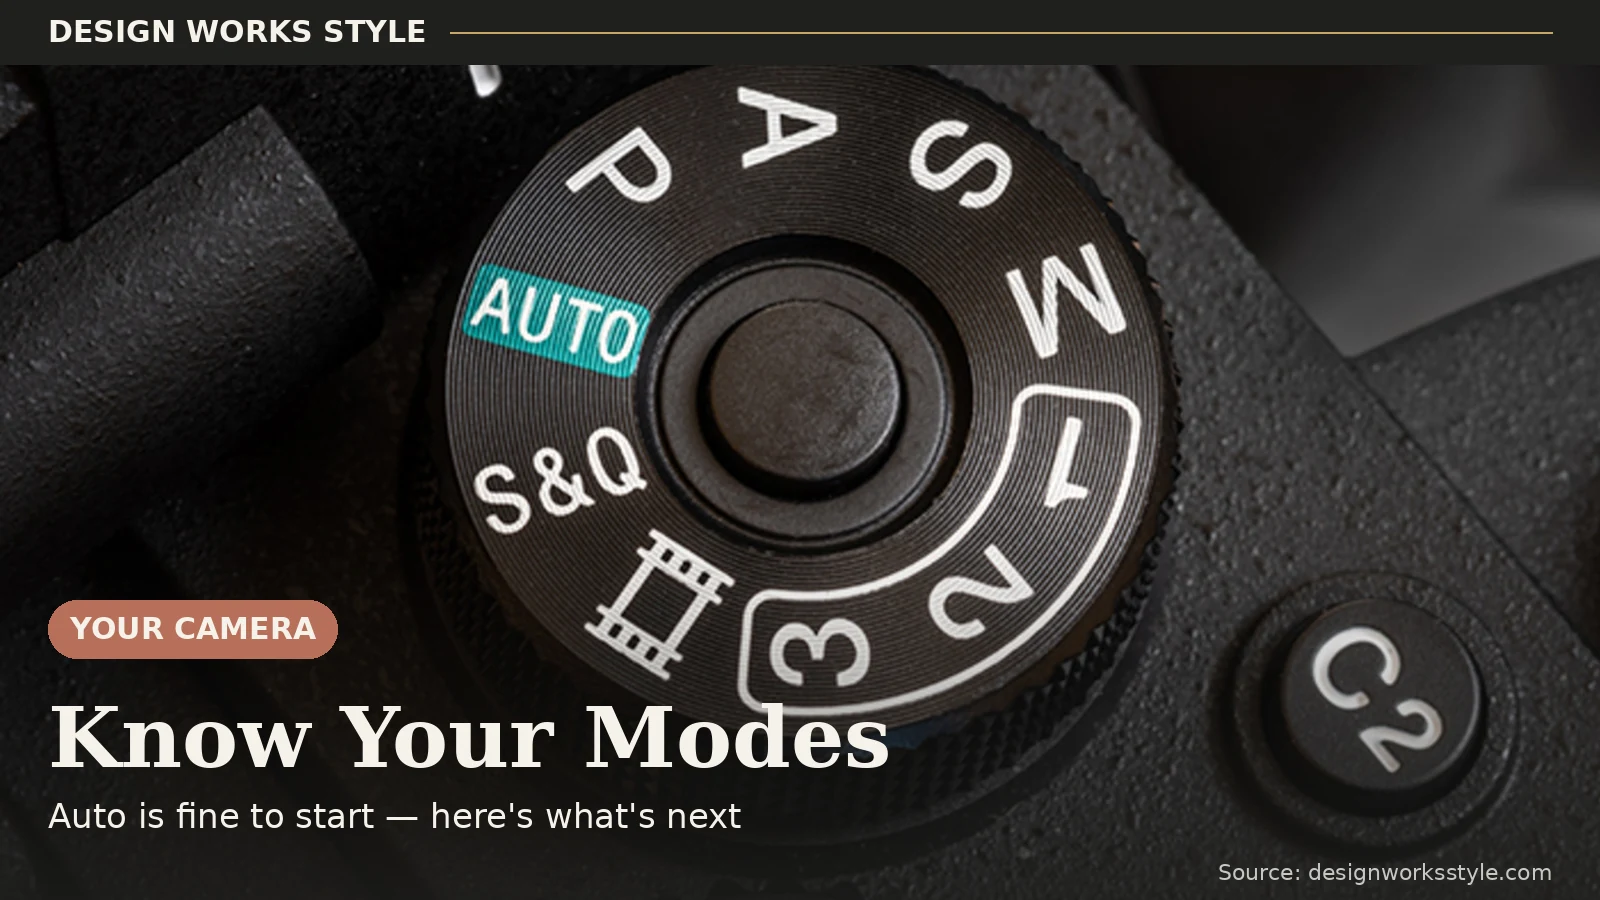
Do not try to learn all three at once. Learn them through the mode dial, one at a time. Start in Aperture Priority (A or Av): you set the aperture, the camera handles the rest. Spend two weeks there and you will understand depth of field intuitively. Then switch to Shutter Priority (S or Tv) for two weeks and learn motion. Full Manual (M) comes last, when the semi-auto modes feel limiting rather than mysterious. Curiosity, not guilt, is the right reason to go manual.
Our exposure triangle guide goes deep on how the three settings trade off against each other. Read it once you have spent time in Aperture Priority and the relationships will click into place.
Step 3: Compose With Intention
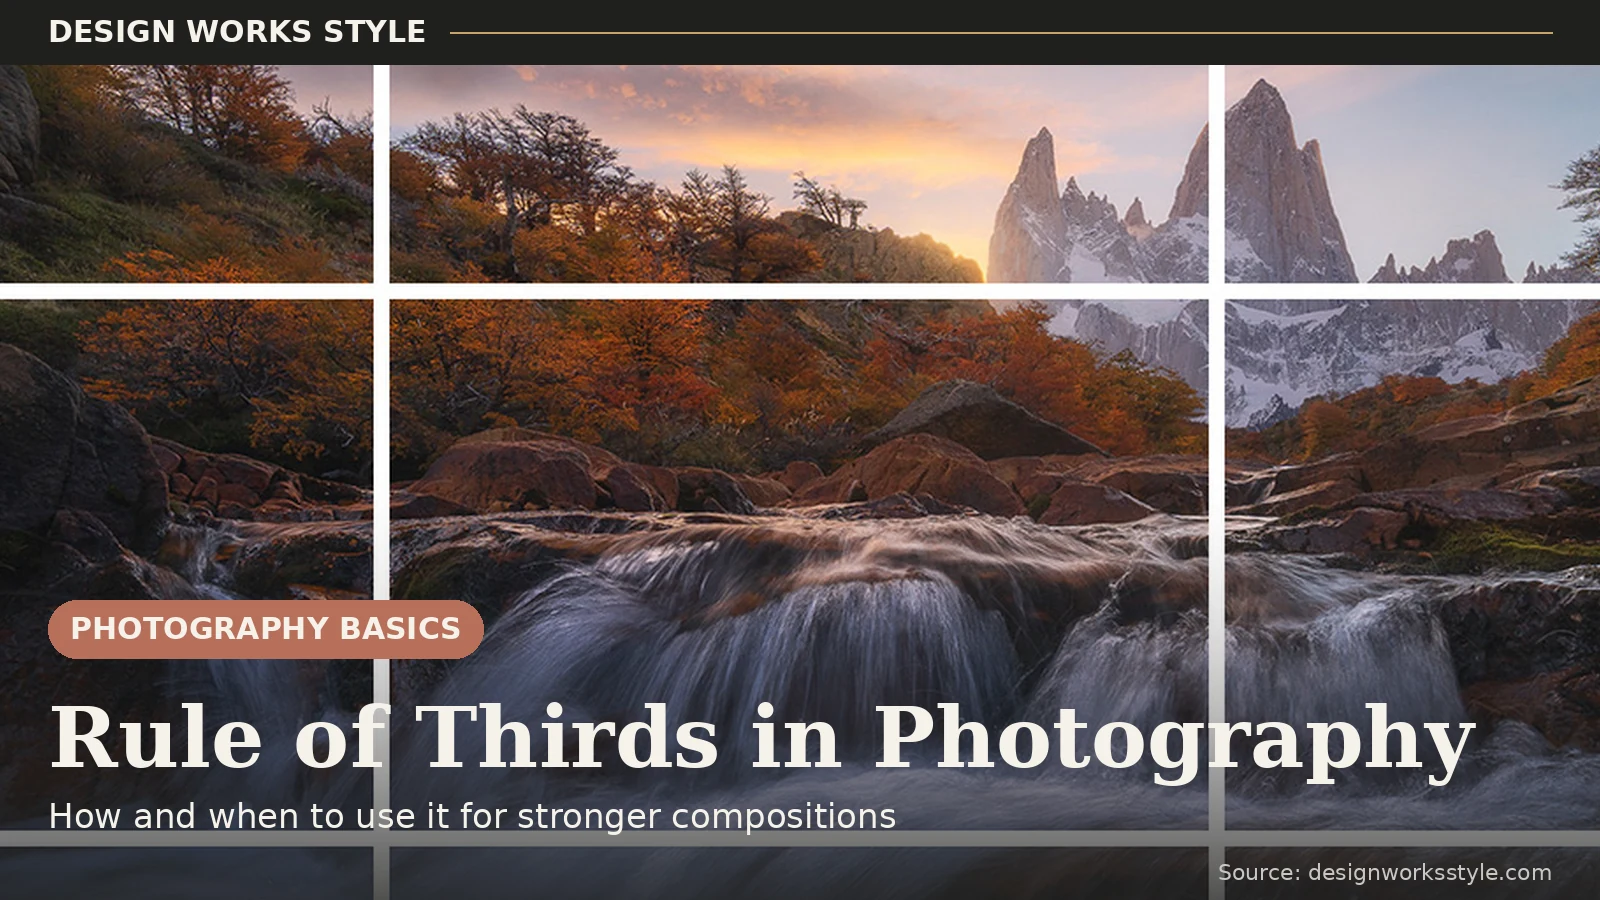
Settings control how the photo looks; composition controls what it says. The fastest wins for beginners: learn the rule of thirds to break the centering habit, then add leading lines, framing, and negative space one at a time. Composition is the skill that separates snapshots from photographs, and it costs nothing to practice.
- Learn the rule of thirds to break the centering habit. Place key elements on the grid intersections instead of dead center.
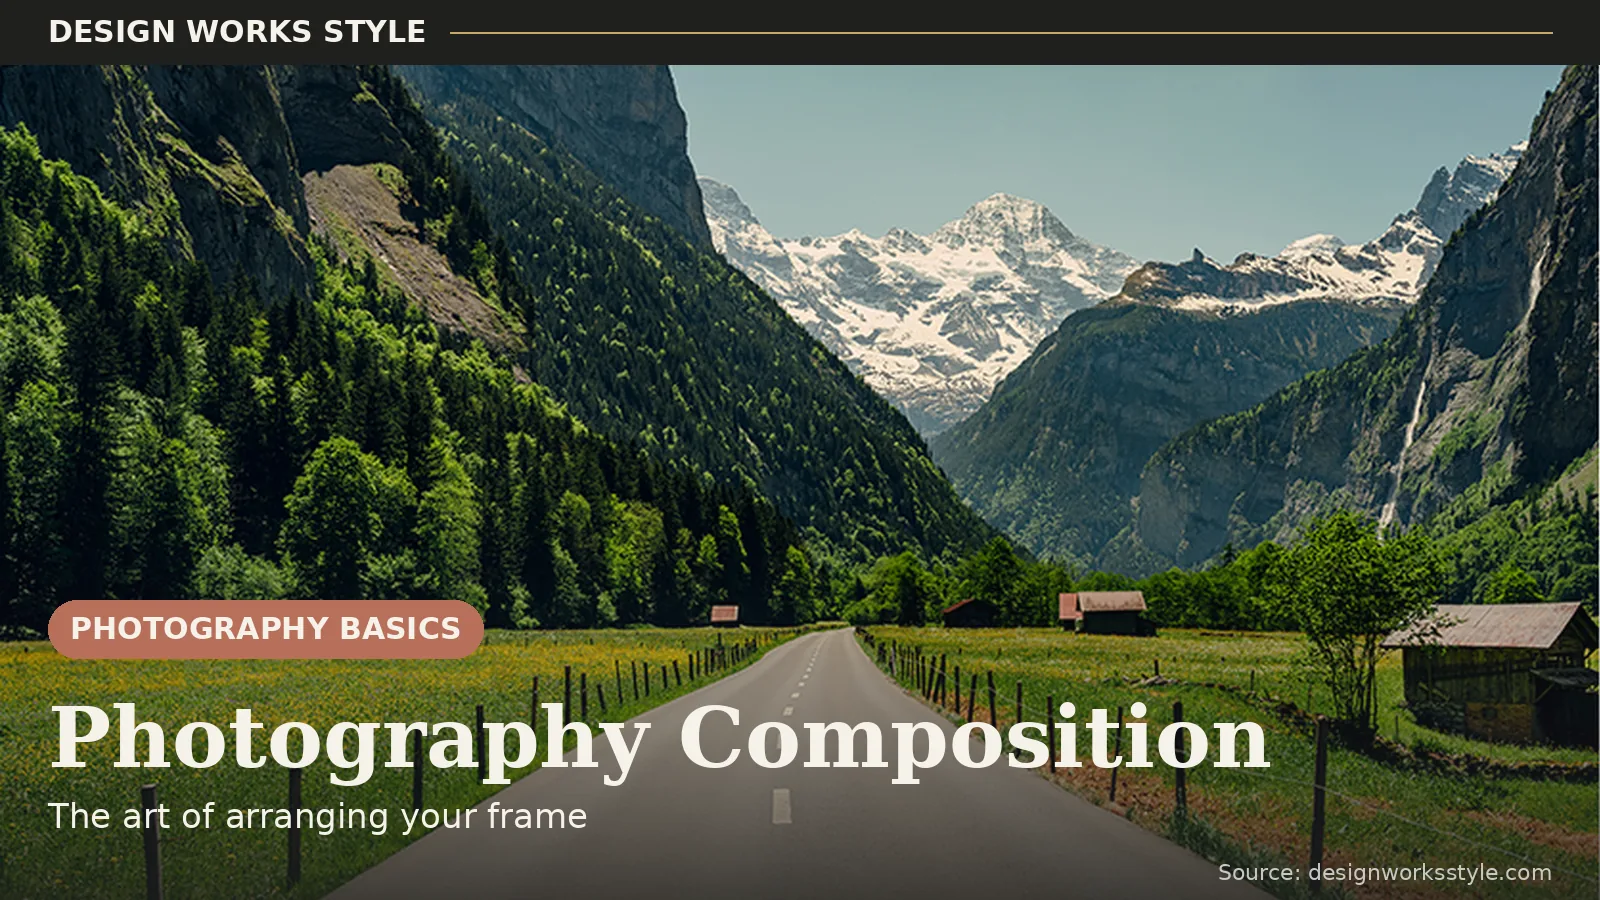
- Study composition techniques: leading lines that guide the eye, frames within frames, negative space that gives subjects room to breathe. Practice them deliberately, one per outing.
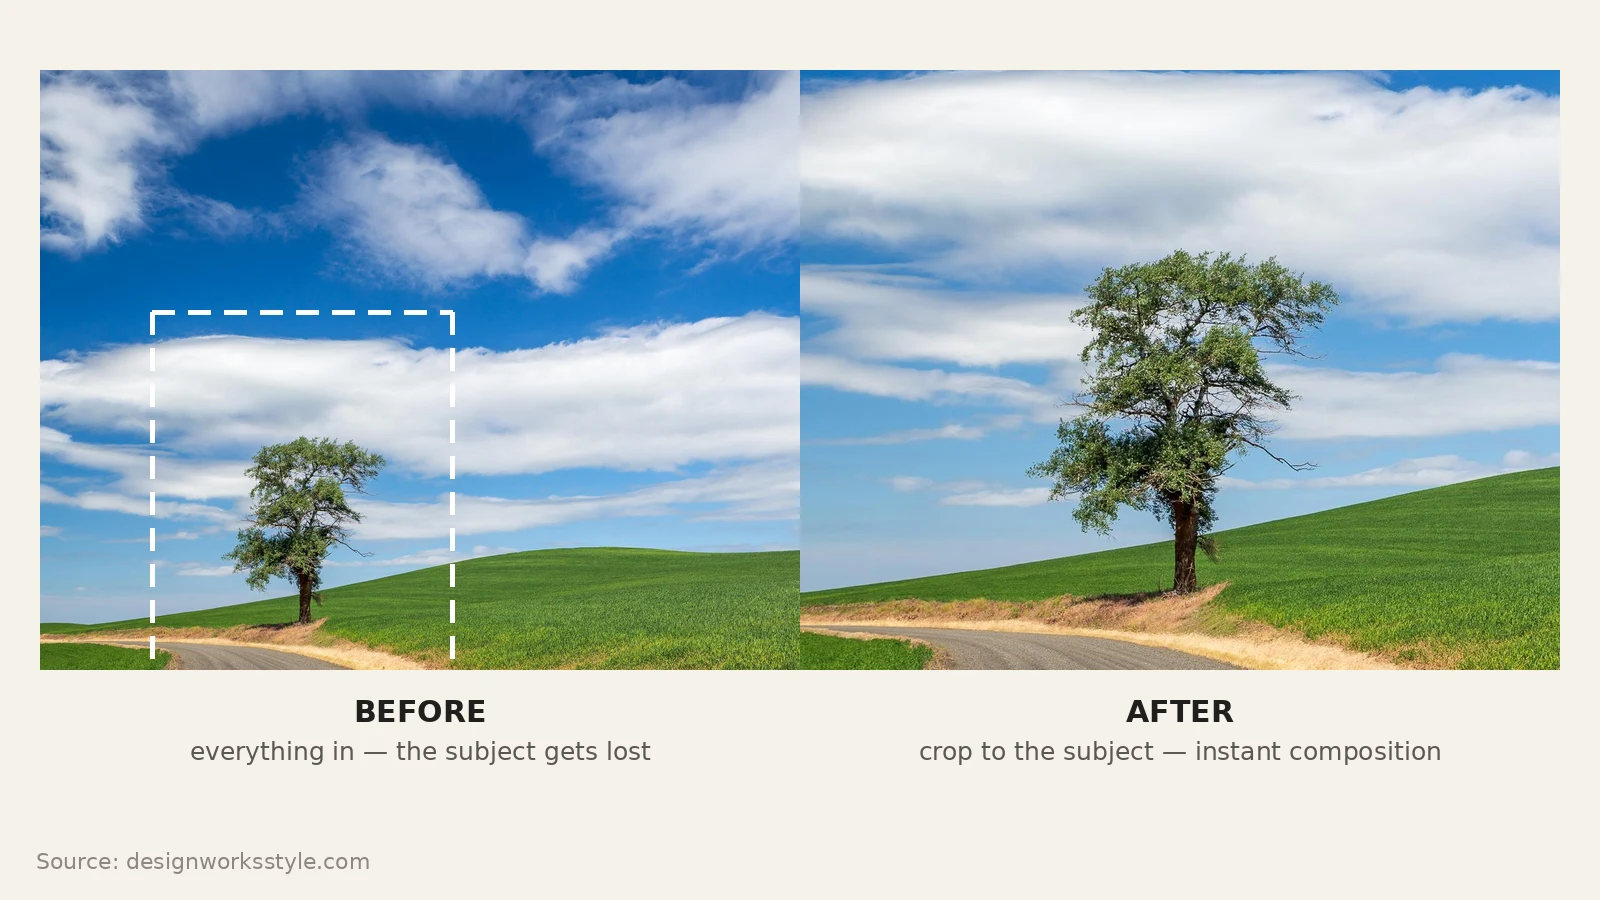
And remember that composition does not end when the shutter clicks. Cropping is composition’s second chance. A surprising number of good photos are made in the edit, tightening a loose frame into a deliberate one. Shoot a little wider than you think you need, then crop with intent. It is not cheating. It is the digital equivalent of choosing where to stand.
Step 4: Fix What’s Wrong
Every beginner hits the same problems: blurry shots, dull light, muddy colors. Most have simple, diagnosable causes. Learning troubleshooting early is what separates beginners who improve fast from those who stall. Our guide to fixing blurry photos is a full diagnostic: match your symptom to the cause and apply the fix.
The mindset shift: stop deleting “bad” photos and start interrogating them. Everything blurred? Camera shake. Faster shutter. Subject smeared? Too-slow shutter for the action. Wrong thing sharp? Focus error. Bad only indoors? Raise the ISO. Each failure is a lesson with the tuition already paid. The photographers who improve fastest are the ones who read the error messages instead of throwing the photos away.
Common Beginner Mistakes
The mistakes that slow beginners down most are researching gear instead of shooting, never leaving auto mode, comparing their first month to professionals’ tenth year, and ignoring the background. Every one of them is avoidable once you see it clearly, and none of them require spending money to fix.
- Gear research as procrastination. Reading camera reviews feels productive but teaches nothing. An hour of shooting teaches more than ten hours of forum threads. Buy the tripod before the lens. Stability improves more photos than glass does.
- Never leaving auto. Auto mode makes every decision for you, which means you learn nothing from any shot. Aperture Priority is barely harder and teaches you something every single frame.
- Comparing to professionals. The photographer you admire has ten thousand hours you do not. Compare your photos to your own photos from last month. That is the only comparison that measures learning.
- Ignoring the background. Beginners look at the subject; photographers look at the whole frame. A great subject in front of a trash can is a photo of a trash can. Scan the edges before every shot.
Your First Month: A Learning Path
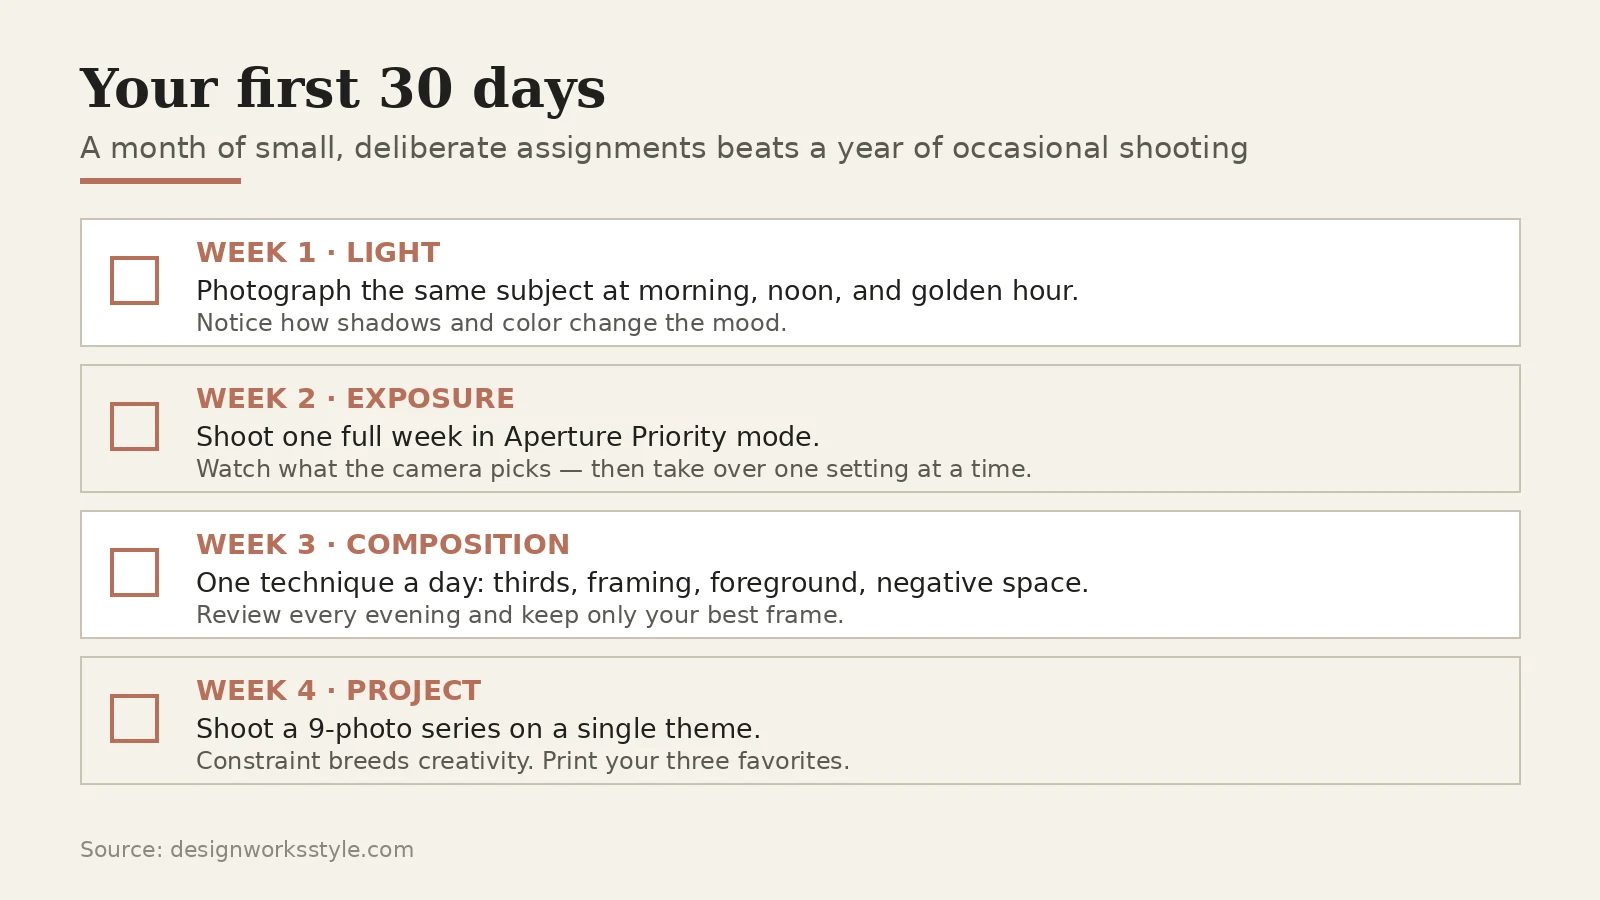
One month of deliberate practice, one skill per week, in the order above, will take you further than a year of occasional shooting. Each week’s assignment builds on the last: light first, then aperture, then shutter speed, then composition, with a review at the end to lock in what you have learned.
- Week 1: Light. Shoot the same subject in direct sun, shade, and window light. Notice the difference. Read the lighting guide. Name the light out loud before every shot.
- Week 2: Aperture. Shoot everything in Aperture Priority. Go wide (f/1.8–f/2.8) for blurry backgrounds, narrow (f/8–f/11) for sharp landscapes. Notice how the same scene changes.
- Week 3: Shutter speed. Switch to Shutter Priority. Freeze motion fast (1/500s+), blur water slow (1/15s on a tripod or braced). Try panning a moving subject.
- Week 4: Composition. Apply the rule of thirds and one new technique per outing. Crop your favorites with intent. Review the month: pick your ten best and note what each one taught you.
One month, four skills, and you will outshoot most people who have owned a camera for years, because most people never practice deliberately at all.
What Gear Do You Actually Need?
Less than you think. A phone camera teaches light and composition perfectly, and a used entry-level camera with a kit lens teaches settings. What matters in year one is shooting often, not shooting expensively. No lens has ever compensated for a photographer who does not practice.
If you are buying, get a tripod before a better lens, because stability improves more photos than glass does. Buy used from reputable dealers. Cameras depreciate fast and a two-year-old body is a bargain. Skip the accessory avalanche (filters, grips, bags full of gadgets). A camera, one lens, a tripod, and a microfiber cloth cover 95% of learning.
And the phone in your pocket is a legitimate learning tool, not a compromise. It teaches the two skills that matter most, seeing light and composing, with zero friction. Many photographers do their first year on a phone and buy a camera only when they can articulate exactly what the phone cannot do for them.
Frequently Asked Questions
What should a beginner photographer learn first?
Light first, then the three exposure settings (aperture, shutter speed, ISO), then composition. That order builds each skill on the last.
Should beginners shoot in manual mode?
Not at first. Aperture Priority and Shutter Priority teach the same relationships with training wheels. Move to manual when the semi-auto modes feel limiting, not before.
How long does it take to learn photography basics?
The fundamentals, light, exposure, basic composition, take about a month of regular practice. Developing an eye takes years, but the basics come fast.
Do I need an expensive camera to start?
No. A phone teaches light and composition, the two most important skills, perfectly well. Buy a dedicated camera when you can name something specific your phone cannot do, not before. Until then, the best camera is the one you will actually carry and shoot with daily.
Learn in order: see the light, master the three settings through the mode dial, compose with intention (and crop with intent), fix what goes wrong instead of deleting it. Follow the four-week path, use the guides linked throughout as your textbooks, dodge the four beginner mistakes, and shoot constantly. Photography rewards the curious. Every outing teaches you something if you are paying attention.