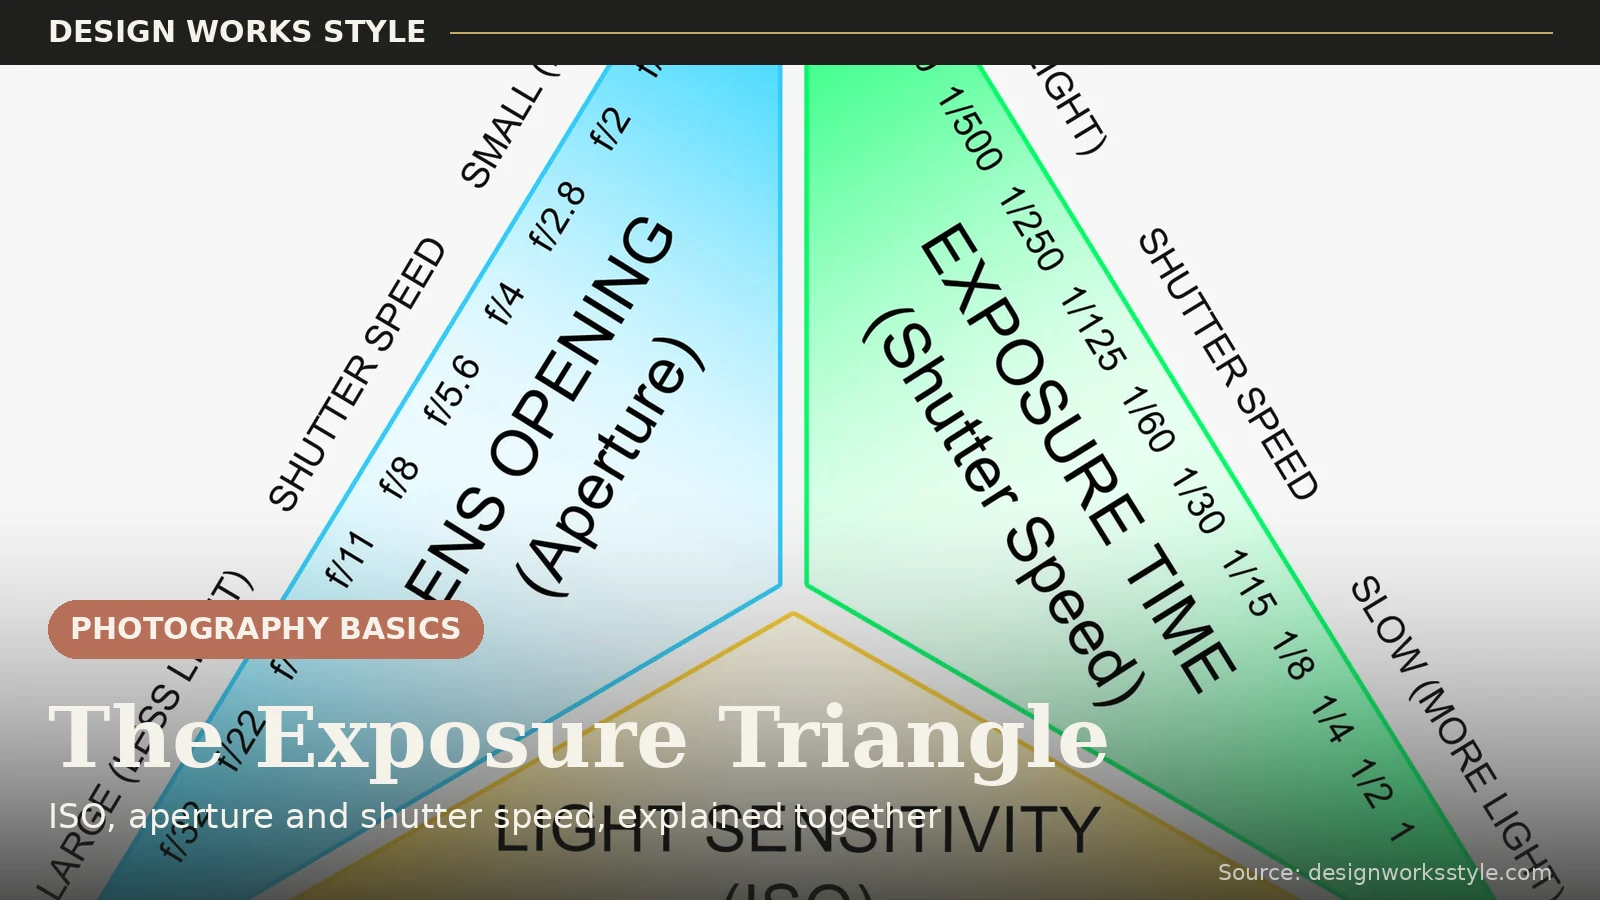

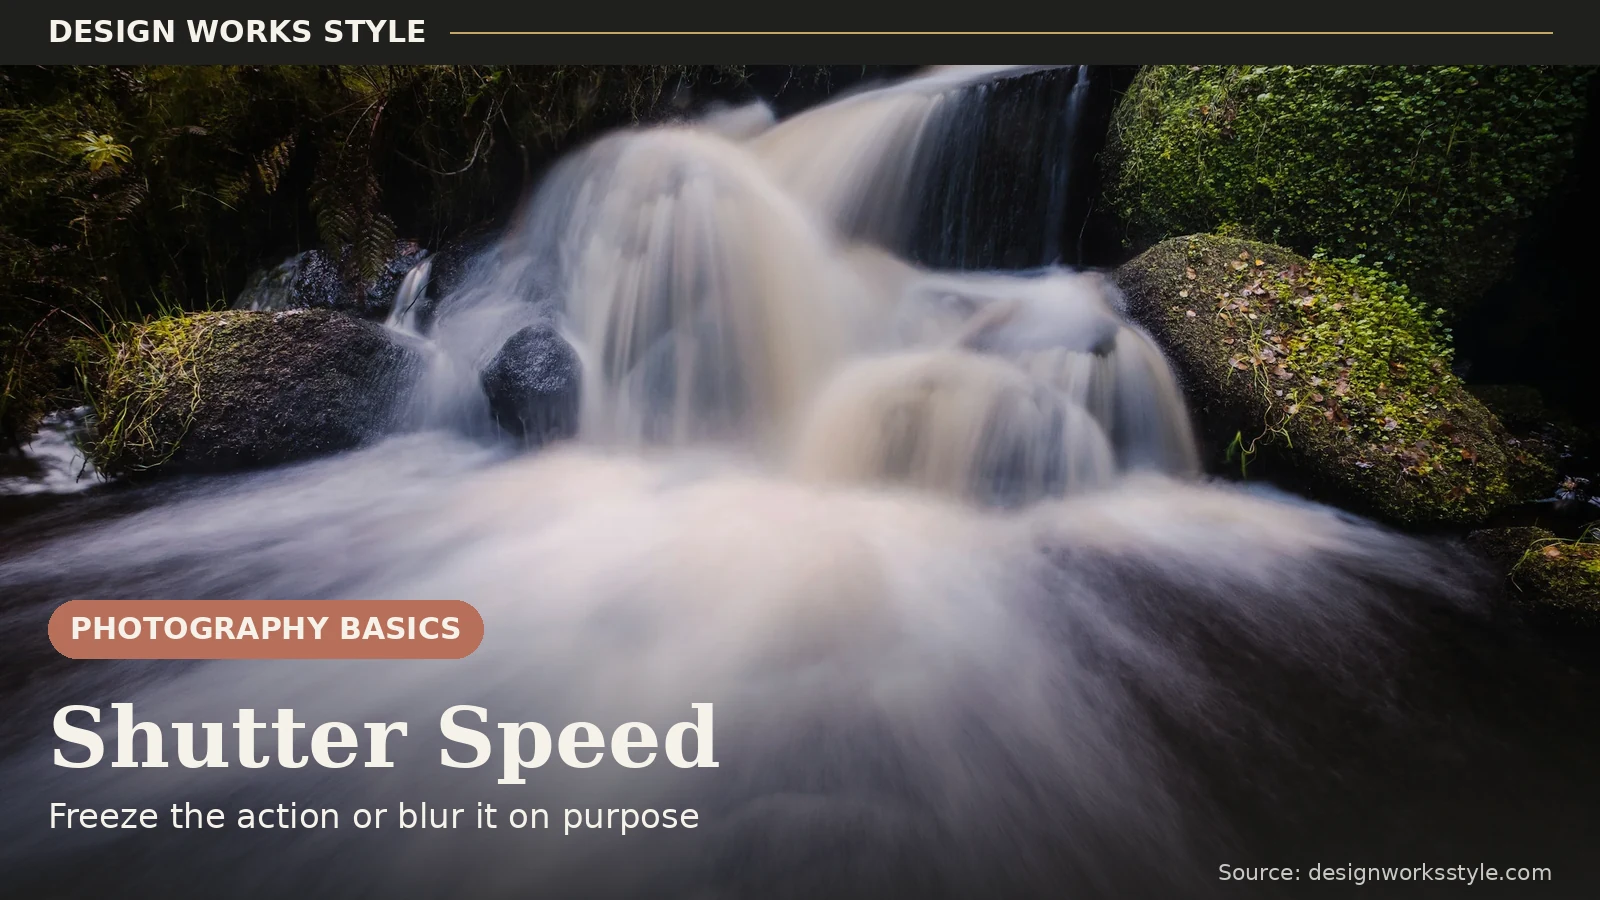
Shutter speed is how long your camera’s sensor is exposed to light, from blazing fractions like 1/4000s to full seconds or minutes. It is one leg of the exposure triangle, and it has the most visible creative effect of the three: fast speeds freeze motion; slow speeds blur it.
Every crisp sports shot and every silky waterfall you have admired comes down to this one setting. This guide explains how shutter speed works, how to choose it for any situation, and how to use blur on purpose instead of by accident.
What Shutter Speed Is
Inside your camera is a shutter, two curtains that open, expose the sensor, and close. Shutter speed is how long they stay open. 1/1000s is a blink; 1s is a long gaze. During that window, anything moving keeps moving, and the sensor records the whole journey as a single image.
Longer exposure also means more light. Like aperture, shutter speed does two jobs: brightness and a creative side effect, in this case how motion renders. That dual role is why it is the setting beginners feel most directly. Change it and the photo visibly transforms.
Fast vs. Slow: What Changes
Shutter speed is a spectrum from frozen to flowing. Fast speeds (1/500s and up) freeze motion: a sprinter mid-stride, a bird’s wings, splashing water rendered tack sharp. Medium speeds (1/60s–1/250s) cover everyday shooting, sharp for still subjects handheld, with slight blur for fast movement. Slow speeds (1/30s and below) blur motion deliberately: water turns silky, crowds smear, car lights draw ribbons.
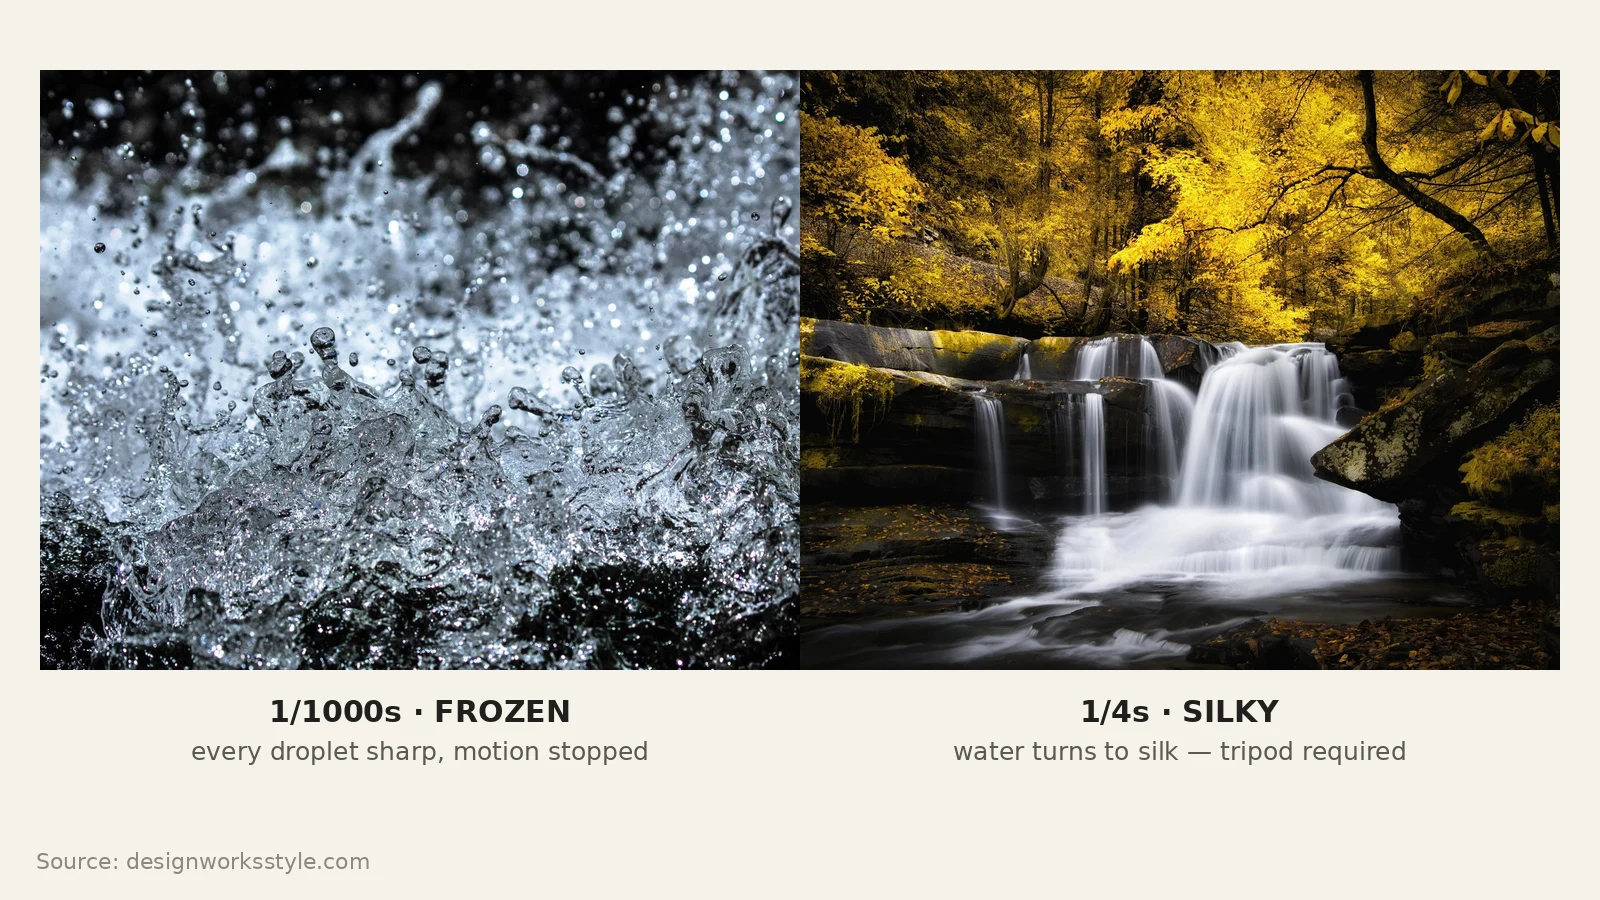
The key insight: blur is not failure. It is a tool, arguably the most expressive one in the exposure triangle, because no other setting changes the story of a photo so completely. The only failure is blur you did not choose.
Choosing Your Shutter Speed
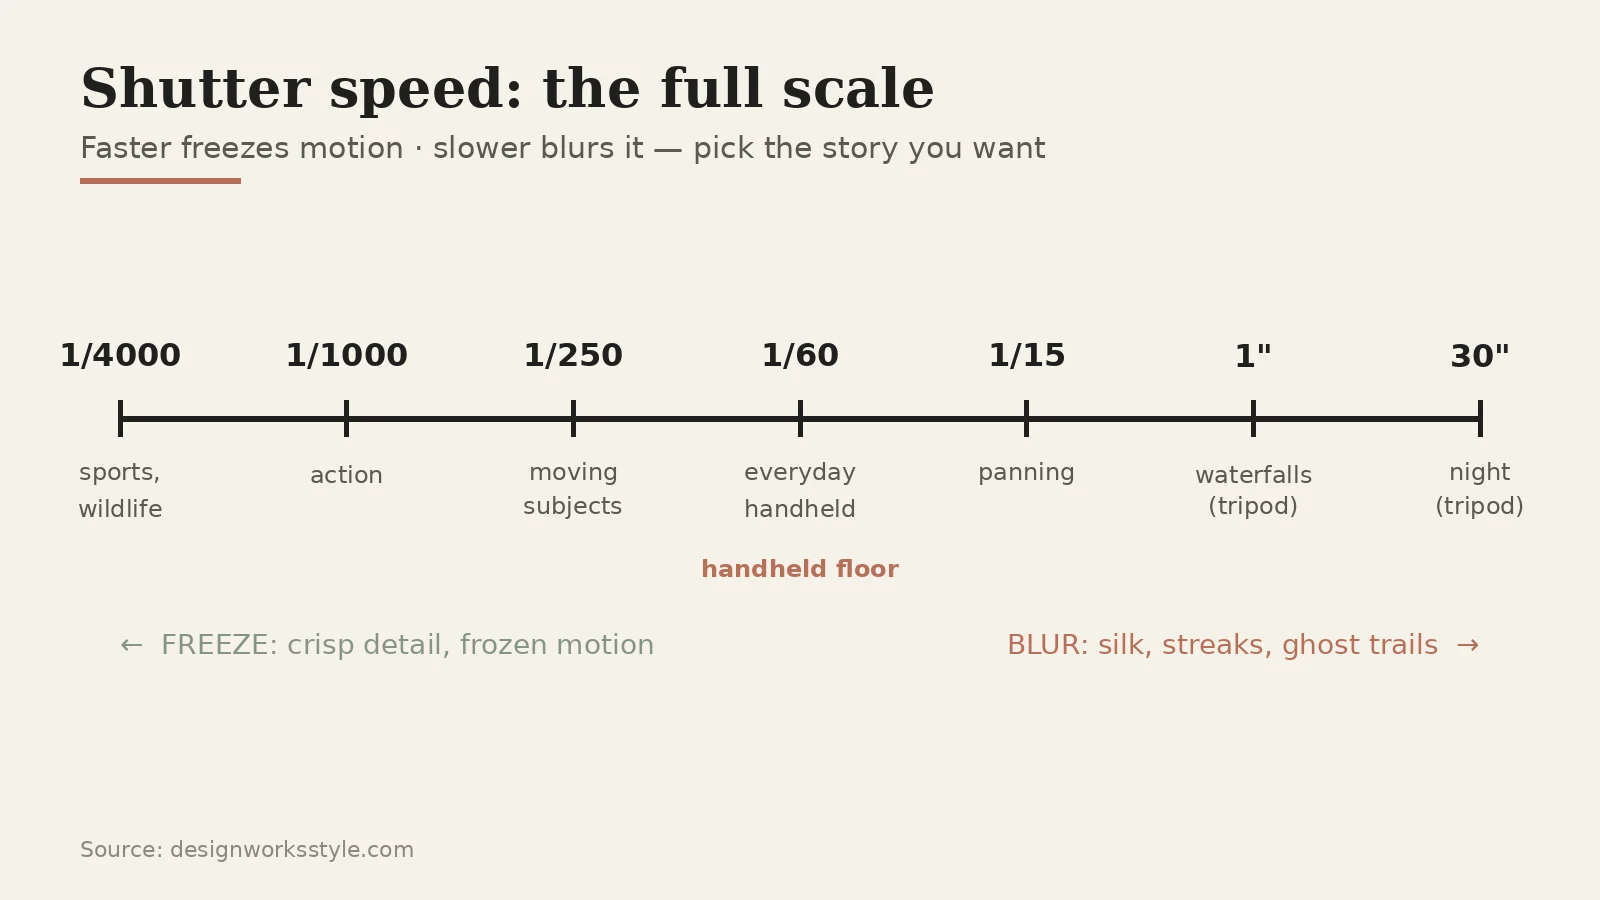
Match the speed to the motion in front of you. Still subjects, landscapes, posed portraits, architecture, work from 1/60s up handheld. Everyday movement like walking people and pets: 1/250s is the safe zone. Sports, kids at play, wildlife: 1/500s–1/1000s. Birds in flight and motorsports: 1/2000s and beyond. When in doubt, go faster than you think.
Remember the price of speed. Fast shutters let in little light, so the camera compensates with a wider aperture, higher ISO, or both. That is the triangle doing its job. If your indoor sports shots are too dark at 1/1000s, the answer is not a slower shutter (you will get blur). It is more ISO or a wider aperture.
The Handheld Rule
Your hands shake. Everyone’s do. The classic guideline: do not handhold slower than 1 divided by your focal length. With a 50mm lens, stay at 1/50s or faster; with a 200mm telephoto, 1/200s or faster. Longer lenses magnify shake along with the subject, which is why the rule scales with focal length.
Three things buy you extra margin. Image stabilization (IBIS or lens IS) is worth two to four stops. A stabilized 50mm can shoot at 1/15s where the rule demands 1/50s. Bracing helps enormously: tuck your elbows, lean against a wall, or rest the camera on anything solid. And burst mode turns luck into statistics. Fire five frames at a marginal speed and one will usually be sharp.
Below the rule’s speeds without support, even a perfectly still subject smears. If your photos are mysteriously soft indoors, slow shutter speed, not bad focus, is usually the culprit. Check your shutter speed first whenever sharpness disappoints you.
Freezing Action
To freeze motion, lead with shutter speed and let everything else follow. Walking people and pets: 1/250s is usually enough. Kids playing and most sports: 1/500s–1/1000s. Birds in flight, motorsports, splashing water: 1/2000s and up. Set the speed for the motion, then open the aperture or raise the ISO until the exposure balances.
Two pro habits. First, use continuous autofocus (AF-C) with action. Single-shot focus cannot track a moving target. Second, anticipate the peak moment rather than spraying. A basketball player hangs for an instant at the top of a jump, and 1/1000s at that instant beats 1/4000s at the wrong one. Timing matters as much as speed.
Creating Blur on Purpose
Slow shutter speeds are where photography gets painterly. Silky water is the classic: 1/4s–2s turns waterfalls and waves into smooth glass, though you will need a tripod and, in daylight, often a neutral-density filter to cut the light enough for such slow speeds. Go longer, 5–30s at night, and car headlights draw glowing ribbons through the frame.
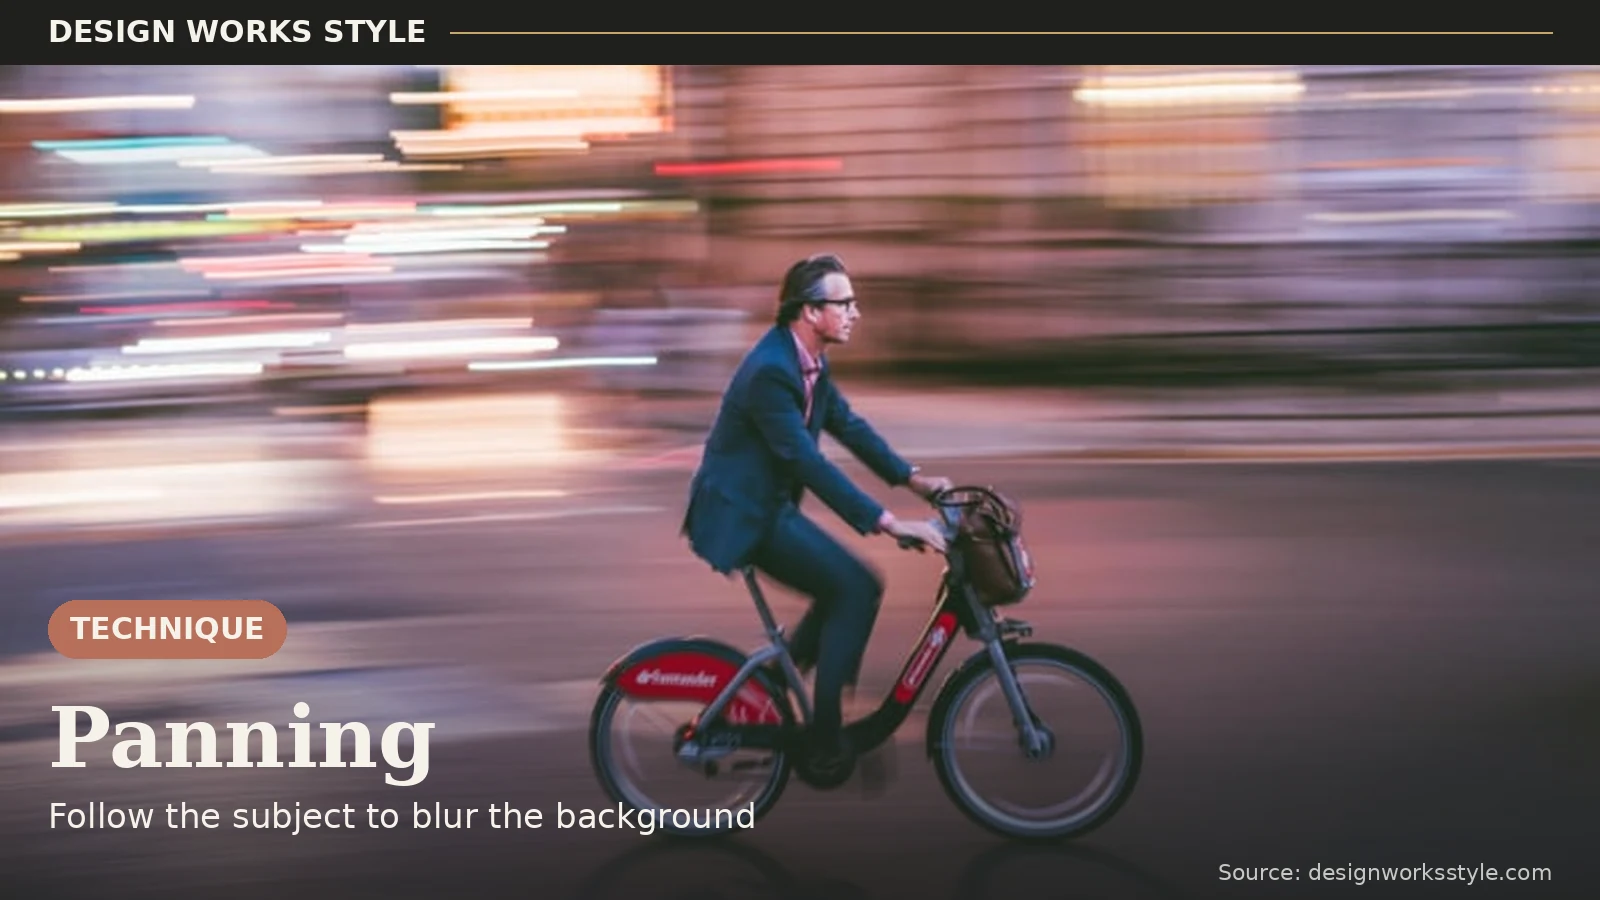
Panning is the most athletic technique. Set ~1/30s–1/60s, lock focus on a moving subject (a cyclist, a race car), and swing the camera smoothly to follow it through the exposure. The subject stays sharp while the background streaks into speed lines. Plant your feet, twist at the hips, and follow through after the shutter closes like a golf swing. Expect a low hit rate at first. One keeper in twenty is normal while learning.
For pure abstraction, try intentional camera movement. During a 1/2s exposure, drag the camera vertically through a forest or horizontally across city lights. The result is streaks of color with no literal subject at all. And for crowds, a 1/4s exposure from a tripod turns bustling people into ghosts while architecture stays razor sharp, a striking way to show the contrast between permanent and fleeting.
Shutter Speed and Flash
Flash changes the rules. The burst of flash is far shorter than any shutter speed, so it freezes motion regardless of your setting. This is why indoor event photographers can shoot at 1/60s with flash and still get sharp people. The flash, not the shutter, is doing the freezing. The shutter speed then mostly controls how much ambient background light appears around the flashed subject.
One limit to know: most cameras cap flash sync at around 1/200s–1/250s. Set a faster shutter with flash and you will get a black band across the frame where the shutter curtains were mid-travel. (High-speed sync modes exist to work around this, at the cost of flash power.) For natural-light shooting you can ignore all of this. It only matters the day you add a flash.
Common Shutter Speed Mistakes
The most expensive mistake is a slow shutter chosen by the camera, not by you. Shooting indoors in Aperture Priority at f/8, the camera drops to 1/15s to compensate, and every frame smears. When light is low, shutter speed is the setting to protect. Open the aperture or raise the ISO instead, and keep the shutter at or above the handheld rule.
The second mistake is the opposite: freezing everything, always. A waterfall shot at 1/2000s looks like a pile of broken glass; at 1/2s it looks like silk. Not every moving thing wants freezing. Before defaulting to fast, ask what the motion means in this photo. Sometimes blur is the subject.
Shutter Priority Mode
Your camera’s S (or Tv) mode lets you pick the shutter speed while it handles aperture and ISO. It is the fastest way to learn. Choose freeze or blur, and watch the camera balance the rest. Use it whenever motion is the whole point of the shot: sports, wildlife, waterfalls, night traffic.
Watch one thing. In very bright light at slow speeds, the camera may run out of aperture (it cannot stop down past the lens’s minimum) and overexpose. That is your cue that the scene needs a neutral-density filter, sunglasses for your lens, or simply a faster shutter than your artistic vision wanted.
A Simple Practice Exercise
One session with moving water teaches the whole spectrum from frozen to flowing. Work in Shutter Priority so you control only the speed, shoot the same framing four ways, and watch the water transform from glassy droplets to silk:
- Find moving water: a fountain, a stream, even a garden hose.
- In Shutter Priority, shoot at 1/1000s. Note the frozen droplets.
- Shoot the same framing at 1/60s handheld. Note the partial blur.
- Rest the camera on something solid and shoot at 1s. Note the silk.
Then try panning. Find a road with steady traffic, set 1/60s, and follow five cars. Keep the sharpest frame. Same subject, two completely different photographs. You will feel, physically, what each shutter speed does, which no chart can give you.
Frequently Asked Questions
What is shutter speed in photography?
How long the camera’s sensor is exposed to light, measured in seconds or fractions of a second. It controls brightness and whether motion appears frozen or blurred.
What shutter speed should I use for sharp photos?
For handheld still subjects, stay at 1/60s or faster (or 1/focal length, whichever is faster). For action, 1/500s and up.
Why are my photos blurry indoors?
Low light forces slow shutter speeds, and hand shake blurs the shot. Raise the ISO, open the aperture, or add light. Do not just accept 1/15s handheld.
Do I need a tripod for long exposures?
For anything slower than the handheld rule allows, yes, or a solid substitute like a wall, railing, or beanbag. The one exception is panning, where your smoothly moving body is the support. A cheap tripod beats the steadiest hands below about 1/15s.
Shutter speed is your motion dial: fast to freeze, slow to flow. Respect the handheld rule, protect your shutter speed when light gets scarce, and remember that blur is a choice. Make it deliberately. Try the water exercise this week and you will feel the setting in your hands. For the full foundation, our Photography Basics guide puts shutter speed alongside aperture, ISO, and composition.