
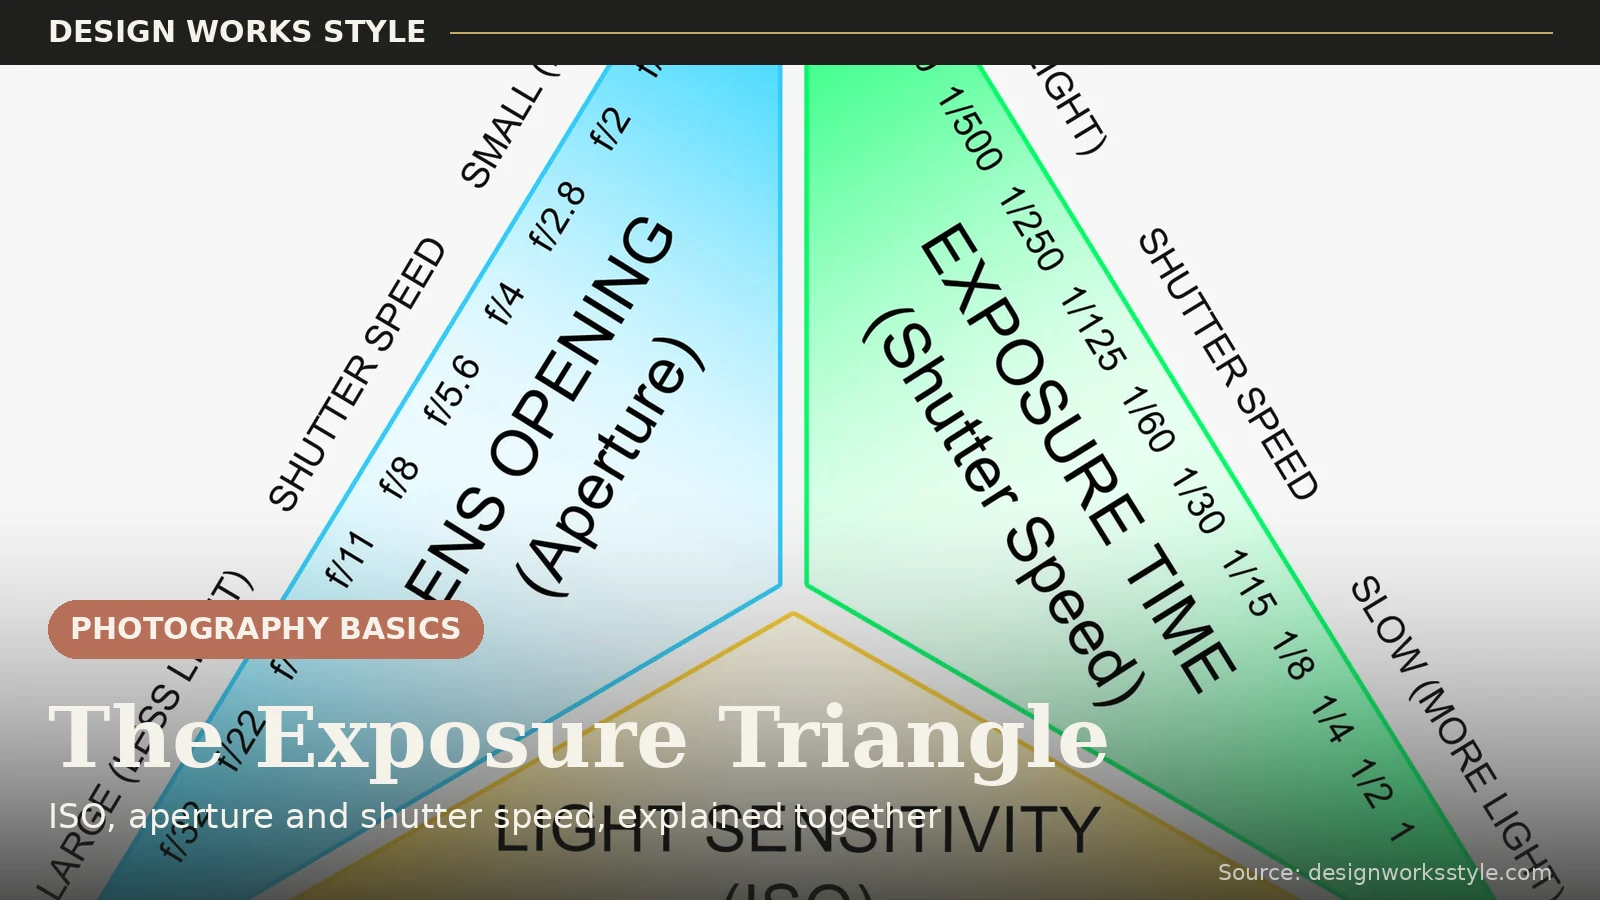
The exposure triangle is the relationship between the three settings that control how bright your photo is: ISO, aperture, and shutter speed. Change one, and at least one of the others has to change to keep the exposure balanced. Understand this triangle and you understand exposure itself.
Every photo you have ever liked or disliked comes down to these three controls. This guide explains what each side does, the common language they share, how they trade off against each other, and how to make confident choices in real shooting situations.
What Is the Exposure Triangle?
The exposure triangle is a model for thinking about brightness. Three camera settings, aperture, shutter speed, and ISO, jointly determine how light or dark your photo is. Each one also carries a creative side effect, so every exposure decision is really a trade-off between brightness, depth of field, motion blur, and image noise.
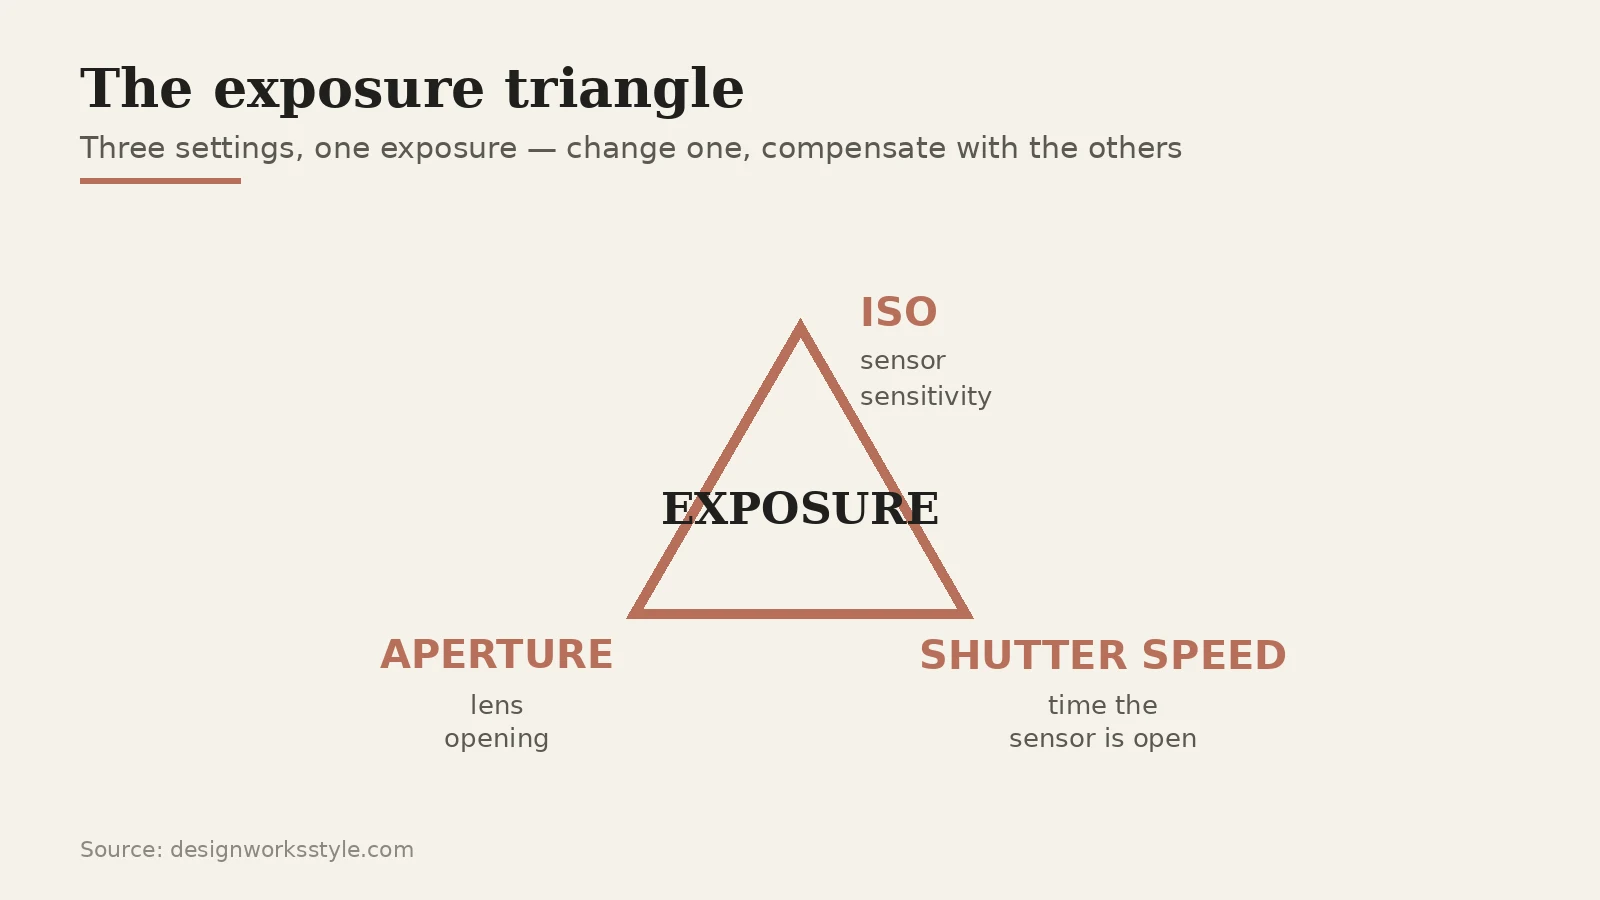
The triangle metaphor matters because beginners tend to learn each setting in isolation. A week on aperture, a week on shutter speed, then they freeze when the settings interact. The triangle says there is no aperture decision that is not also a shutter speed and ISO decision. Internalizing that is what moves you from following recipes to actually exposing.
The Three Sides, Briefly
If you have read our guides to aperture and shutter speed, two of these will feel familiar. The trio, in one place: aperture governs the lens opening and depth of field, shutter speed governs exposure time and motion, and ISO governs sensor sensitivity and noise. Each one is brightness plus one creative side effect.
- Aperture: the size of the lens opening (f/1.8, f/8…). Controls light and depth of field, how much is in focus.
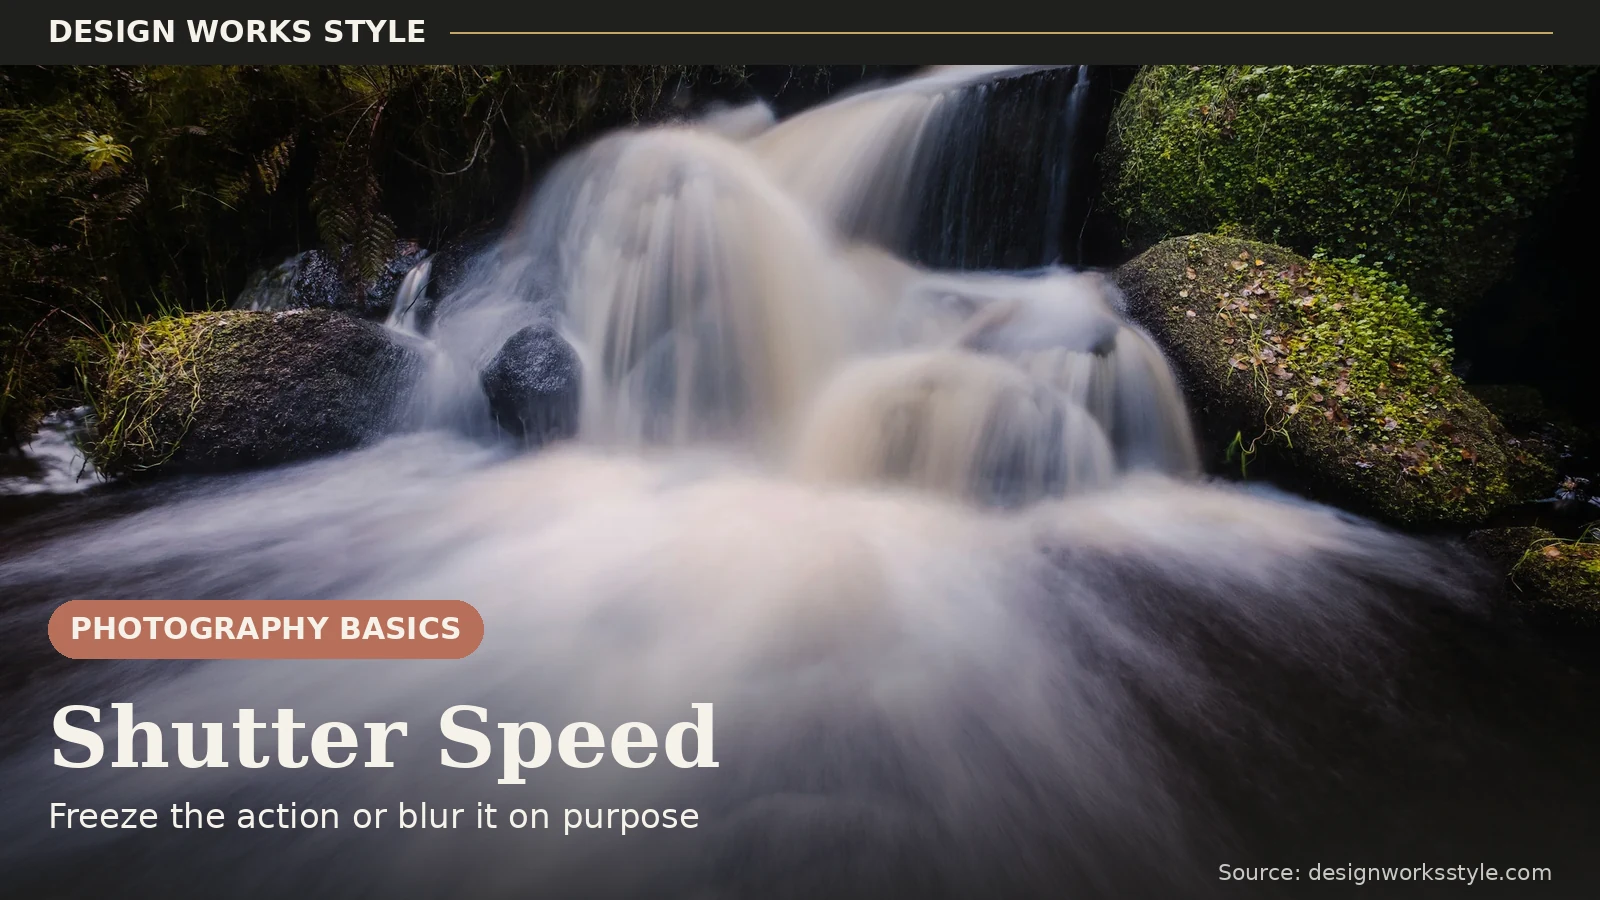
- Shutter speed: how long the sensor is exposed (1/1000s, 1/60s…). Controls light and motion, frozen or blurred.
- ISO: how sensitive the sensor is (ISO 100, ISO 3200…). Controls light and noise, clean or grainy.
Notice the pattern. Each setting controls brightness plus one creative side effect. That is why they form a triangle instead of acting as three separate knobs. When light is abundant, you can have the side effects you want cheaply. When light is scarce, every choice costs something, and the triangle is how you decide what to pay.
Stops: The Language All Three Speak
A “stop” is photography’s unit of light. One stop means halving or doubling the brightness. The f-number scale, the shutter speed scale, and the ISO scale are all built from stops, which means the three sides of the triangle share a common currency. Open the aperture one stop and you have added exactly as much light as slowing the shutter one stop or doubling the ISO.
You do not need to memorize every sequence. Cameras show them. But the feel of a stop is worth developing. One stop is a noticeable but modest change; three stops is dramatic. When your photo is too dark and you think “it needs about two stops more light,” you can buy those two stops from whichever side costs you least creatively: a wider aperture, a slower shutter, or a higher ISO.
How the Three Trade Off
Think of correct exposure as a fixed amount of light your photo needs, collectible three ways. Open the aperture wider and you can use a faster shutter or lower ISO. Demand a fast shutter to freeze motion and you must open the aperture or raise the ISO. Insist on low ISO and you need a wider aperture or slower shutter. There is no free brightness.
- Open the aperture wider (more light), and you can use a faster shutter speed or lower ISO.
- Need a fast shutter to freeze motion (less light)? Then you must open the aperture or raise the ISO.
- Keep ISO low for clean images (less sensitivity)? Then you need a wider aperture or slower shutter.
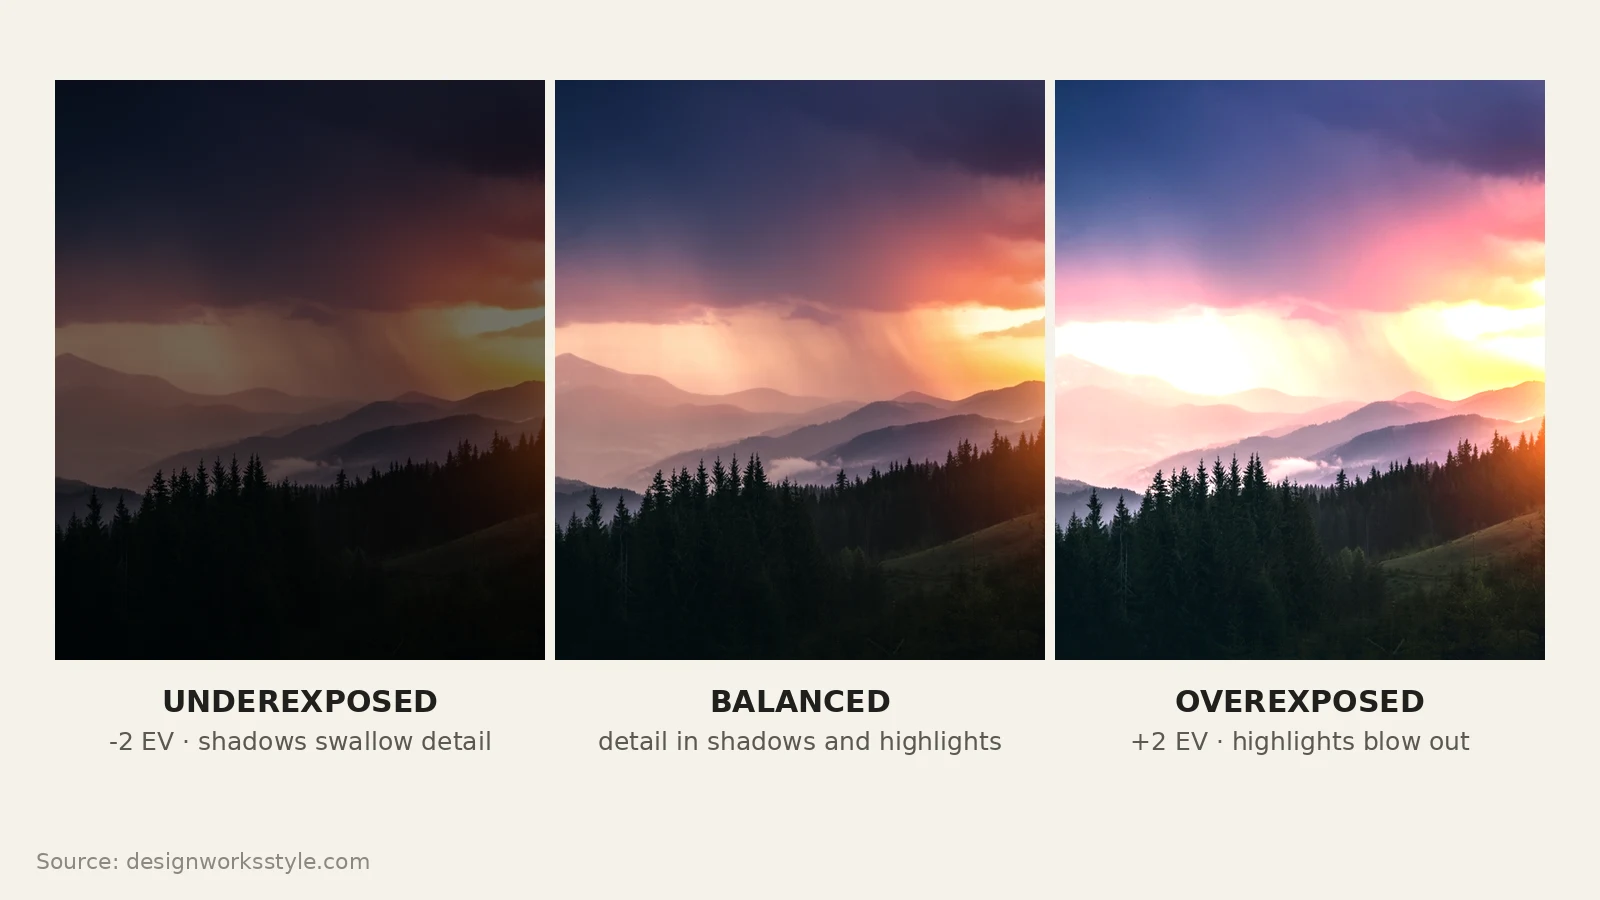
There is no single right answer. There is only the combination that gives you the brightness you need with the side effects you want. A portrait photographer and a landscape photographer can shoot the same sunset with completely different settings and both be “correct.” Correct exposure is necessary, but it is not the interesting decision. The interesting decision is what you trade for it.
A Practical Way to Think About It
Forget memorizing charts. Decide in this order instead. First, what matters most creatively? Blurry background means setting aperture first. Freezing action means shutter speed first. Cleanest image means keeping ISO low and setting the other two first. Then set that control for the effect you want, and balance with the other two until the exposure looks right.
A worked example. You are photographing your kid’s soccer game at dusk. Motion matters most, so shutter speed leads: set 1/1000s. That is dark, so open the aperture to f/2.8. Still dark, so raise ISO until the meter centers, say ISO 3200. Done: frozen action, soft background, some grain, correct brightness. Every choice followed from the first one. Professionals think in exactly this order. The triangle stops being theory the moment you lead with the creative decision.
Common Scenarios, With Starting Settings
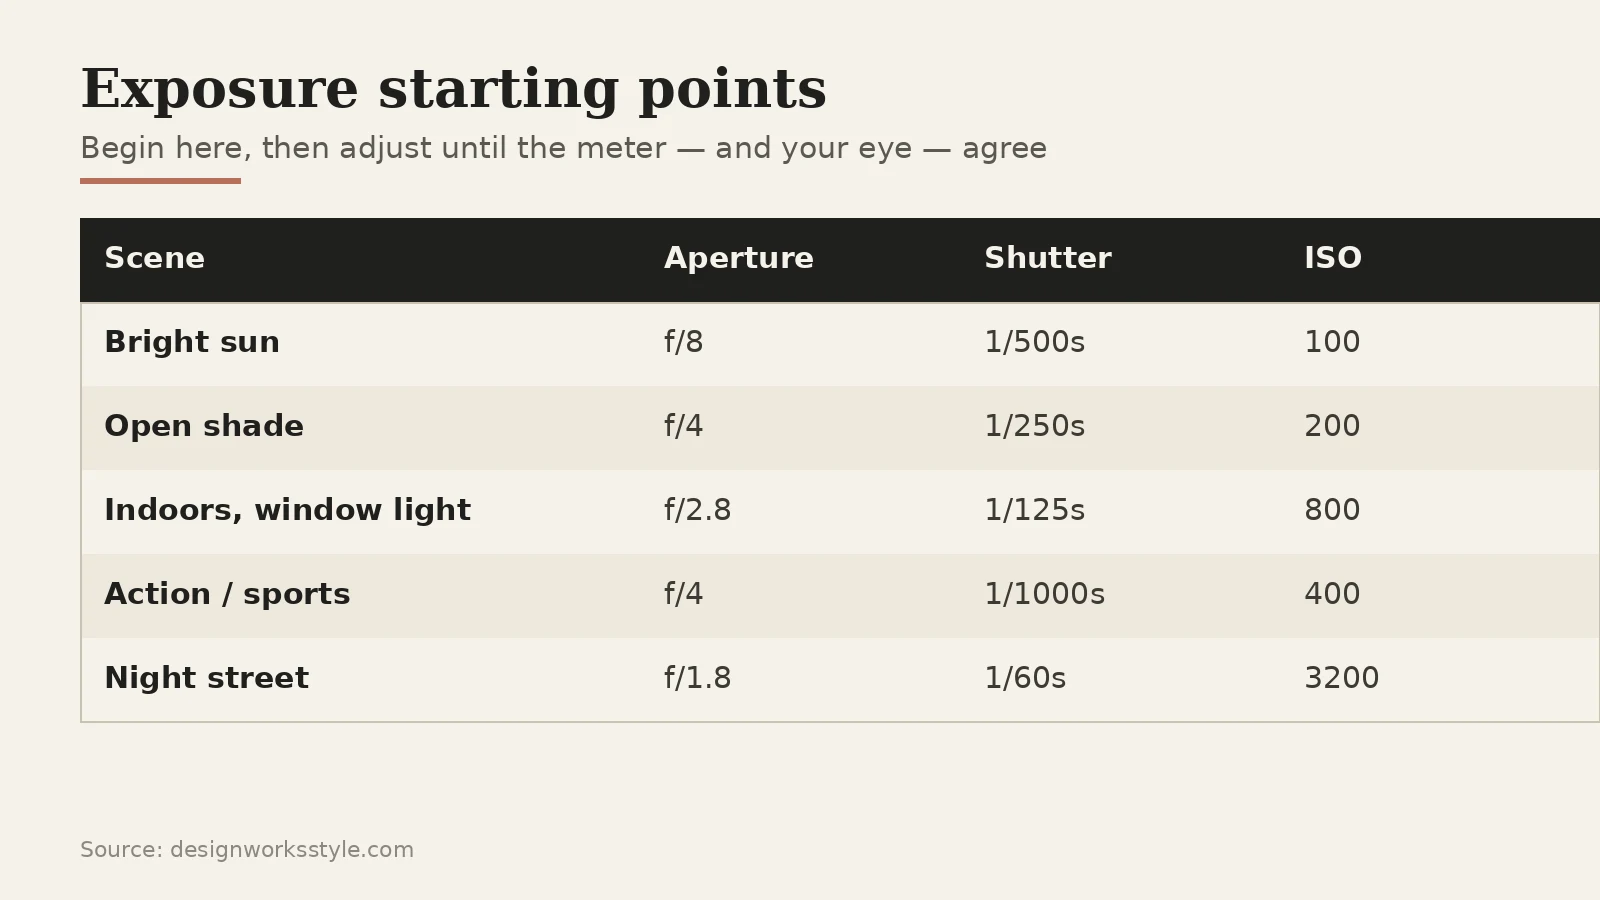
Theory sticks faster with numbers attached. These are starting points, not prescriptions. Set them, check the meter, and adjust until the exposure and the look are both right. Five situations you will actually encounter, each leading with a different side of the triangle:
- Bright daylight landscape: light to spare. f/8–f/11 for deep focus, ISO 100, shutter whatever balances, often 1/250s or faster.
- Golden-hour portrait: f/2–f/2.8 for soft backgrounds, ISO 100–400, shutter 1/250s or faster. The warm light does half the work.
- Indoor portrait: light is scarce. f/1.8–f/2.8, ISO 800–3200 as needed, shutter 1/125s or faster to beat hand shake.
- Kids or sports in motion: shutter speed leads, 1/500s or faster. Open the aperture to compensate, raise ISO last.
- Night street scene: everything is a compromise. Wide aperture, ISO 3200+, shutter as slow as you can handhold. Or embrace the grain and motion as mood.
Notice how each scenario leads with a different side of the triangle. That is the whole method. The situation tells you which control matters most, and the triangle tells you what the other two must do. After a month of this, you will set all three without conscious math.
Reading Your Camera’s Meter
Your camera constantly judges the exposure for you. The meter, that little -3…+3 scale in the viewfinder, shows whether your current combination under- or over-exposes the scene. Centered means the camera thinks it is right. Glance at it before every important shot, especially in Manual mode where nothing compensates for you automatically.
Two refinements worth knowing. First, the meter can be fooled. A snowy field will meter dark (the camera tries to make it gray) and a black cat will meter bright. That is what exposure compensation (+/- button) is for: a deliberate override of one or two stops. Second, in tricky light, check the histogram on your LCD rather than trusting the image preview. The preview’s brightness lies, but the histogram’s graph of tones does not.
Where Beginners Go Wrong
The classic beginner failure is chasing one setting while ignoring the other two. Cranking ISO to 6400 “for brightness” without noticing the noise, or stopping down to f/16 “for sharpness” and getting motion blur from the slow shutter it forced. The triangle punishes single-setting thinking every time. Always check what the other two are doing.
- Fearing high ISO. Modern cameras handle ISO 3200 far better than beginners expect. A sharp, slightly noisy photo beats a clean, blurry one every time.
- Ignoring the meter. It is there in every mode. A two-second glance before the shot saves a ruined frame.
- Changing two things at once. When learning, change one side of the triangle and watch what the camera does with the others. Change two and you will never learn which caused what.
A Simple Practice Exercise
This drill makes the trade-offs physical instead of theoretical. You will shoot the same brightness three different ways in Manual mode and see, on your own LCD, how each side of the triangle changes the photo’s character:
- Put your camera in Manual mode. Frame a static subject in decent light.
- Set ISO 400, f/5.6, 1/125s. Take the shot and note the brightness.
- Open to f/2.8 (two stops more light). To keep the same brightness, change shutter speed to 1/500s. Shoot again. Same brightness, blurrier background.
- Return to f/5.6 but drop ISO to 100 (two stops less sensitivity). Compensate with 1/30s shutter and brace the camera. Same brightness again.
Compare all three side by side. Identical brightness, three different characters: creamy background, clean file, slight motion softness. That is the triangle. Once you have felt it in your hands, no diagram will ever be necessary again.
Frequently Asked Questions
What is the exposure triangle in photography?
The relationship between ISO, aperture, and shutter speed, the three settings that determine exposure. Changing one requires compensating with the others.
Which comes first: aperture, shutter speed, or ISO?
Whichever serves your creative goal. Aperture priority for depth of field, shutter priority for motion, and keep ISO as low as the light allows.
Do I need to shoot manual to understand the triangle?
No. Aperture Priority and Shutter Priority modes teach the same relationships with training wheels. The camera handles one side while you learn the other two.
Why are my manual-mode photos too dark or too bright?
Because the three settings are not balanced yet. That is literally all manual mode is. Check the meter: if it is left of center, add light via a wider aperture, slower shutter, or higher ISO. If it is right of center, take light away the same way. Center the meter and you are correctly exposed.
Exposure is a three-way negotiation. Aperture trades light for depth, shutter speed trades light for motion control, ISO trades light for noise. Lead with the creative decision, balance the other two, and check the meter. Run the exercise above once and the triangle moves from diagram to instinct. For the full beginner path, our Photography Basics guide walks through all three controls in shooting order.