
Nail art for beginners starts with simple tools and designs that forgive small mistakes. Dots, stripes, and sponge gradients look neat even on a first try, and they need nothing more than polish, a dotting tool, and tape. This guide covers the tools, five easy techniques with steps, and how to fix the mistakes most beginners make.
What Tools Do You Need to Start Nail Art?
You need six basics to start nail art: a base coat, two or three polish colors, a top coat, a dotting tool, striping tape, and a makeup sponge. Most cost little, and you may already own polish and tape. A cleanup brush and nail polish remover help fix edges, but you can start without fancy kits or electric tools.
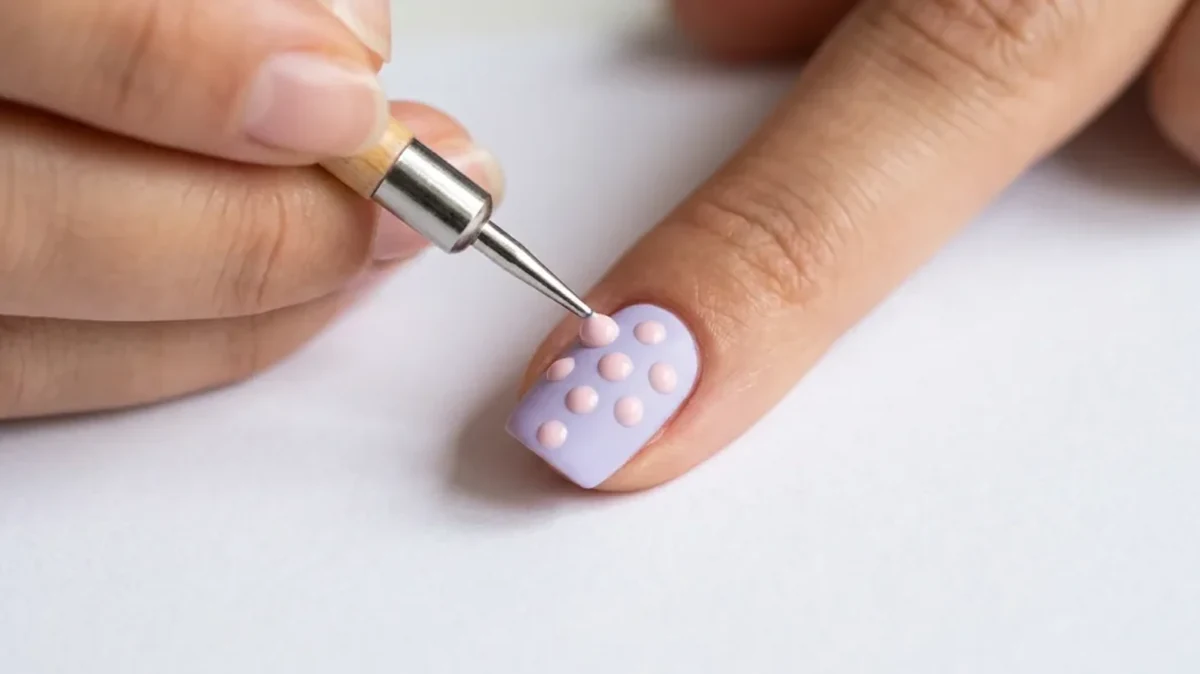
A dotting tool has a small metal ball on each end, one large and one small, and it makes dots of different sizes. If you do not have one, a bobby pin tip, a toothpick, or the end of a pencil works for larger dots. Striping tape comes in thin rolls in gold, silver, black, and other colors, and you can use it as a guide or leave it on as part of the design. A wedge makeup sponge, the kind sold for foundation, is what you use for gradients.
Base coat and top coat matter more in nail art than in a plain manicure. Base coat gives color something to grip and protects the nail from staining, which matters when you layer colors. Top coat smooths the surface, seals tape edges and dots, and makes the design last. For the full list of tools worth owning, see our nail tools guide, and for help picking colors that work together, our nail polish types guide explains finishes and formulas.
How Do You Make Dot Designs?
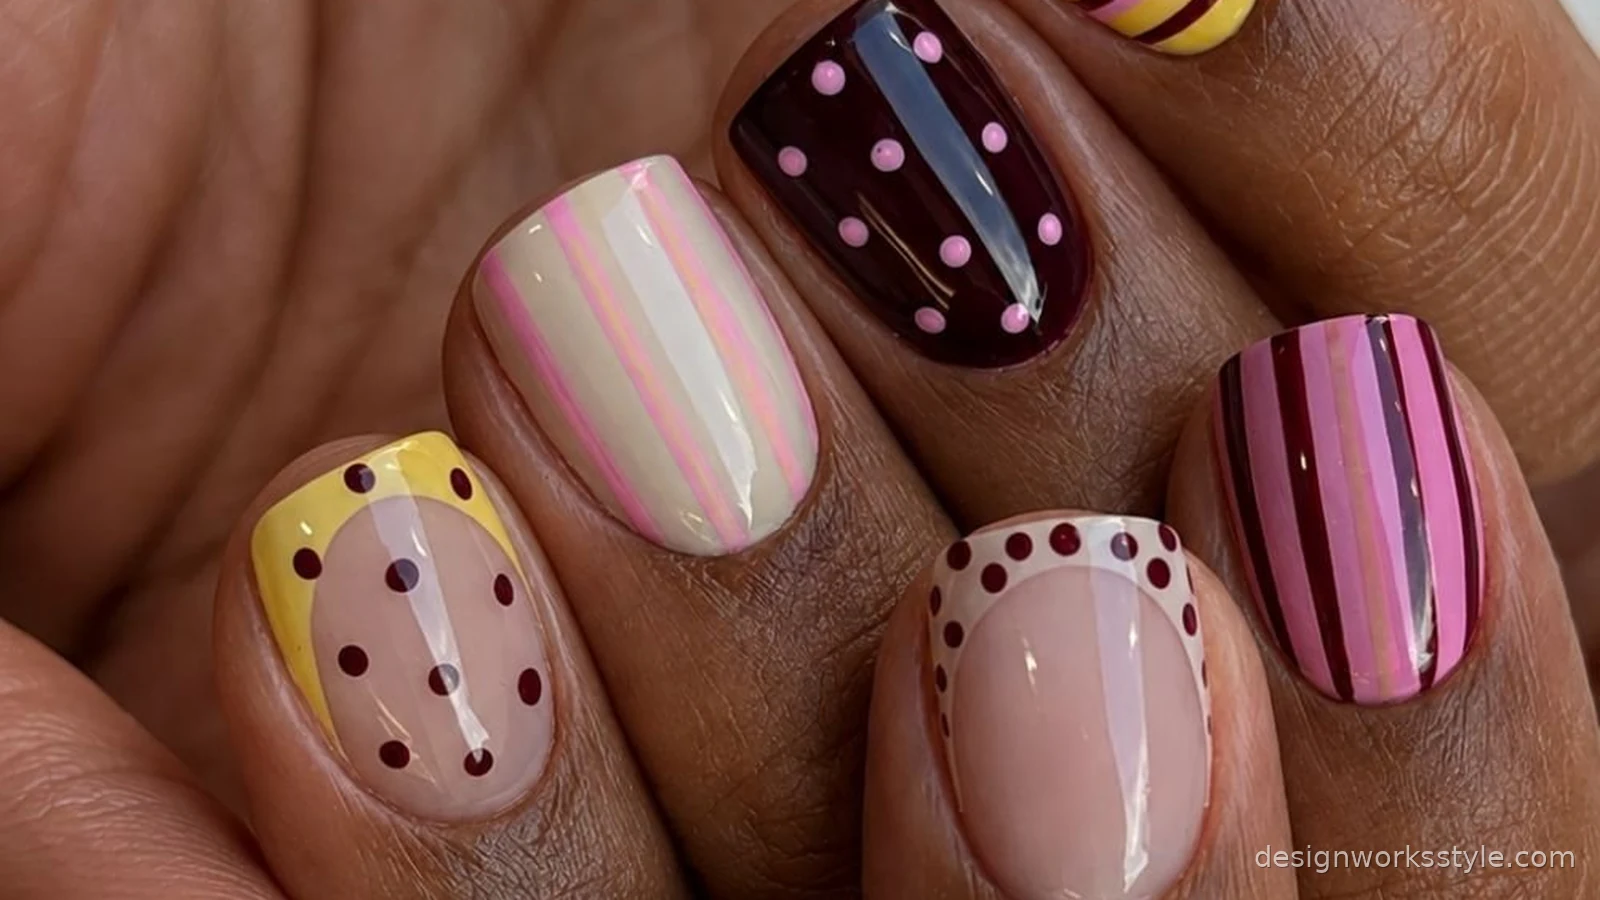
Dot designs are the easiest nail art to learn, because they need only a dotting tool and a steady hand, and uneven dots still look like a pattern. Start with one color of dots on a dry base color, then add a second color once you feel confident. Flowers, polka dots, and confetti all come from this one skill.
Start with clean, shaped nails and a base coat, then apply your base color and let it dry fully. Dip the dotting tool lightly into polish, touch it to the nail without pressing hard, and lift straight up. Reload the tool every few dots, since the polish on the ball runs out fast and later dots come out faint. Space dots evenly for polka dots, or cluster them for confetti. For a flower, place five dots in a circle and add a smaller dot in the center once the petals dry.
Two tips make dots look neat. First, wipe the tool on a paper towel between colors so colors do not mix on the ball. Second, work on one nail at a time and finish with top coat after the dots dry, since dragging a brush over wet dots smears them. Dots look good on short nails too, which is why our simple nail designs gallery uses them often.
How Do You Get Clean Lines with Striping Tape?
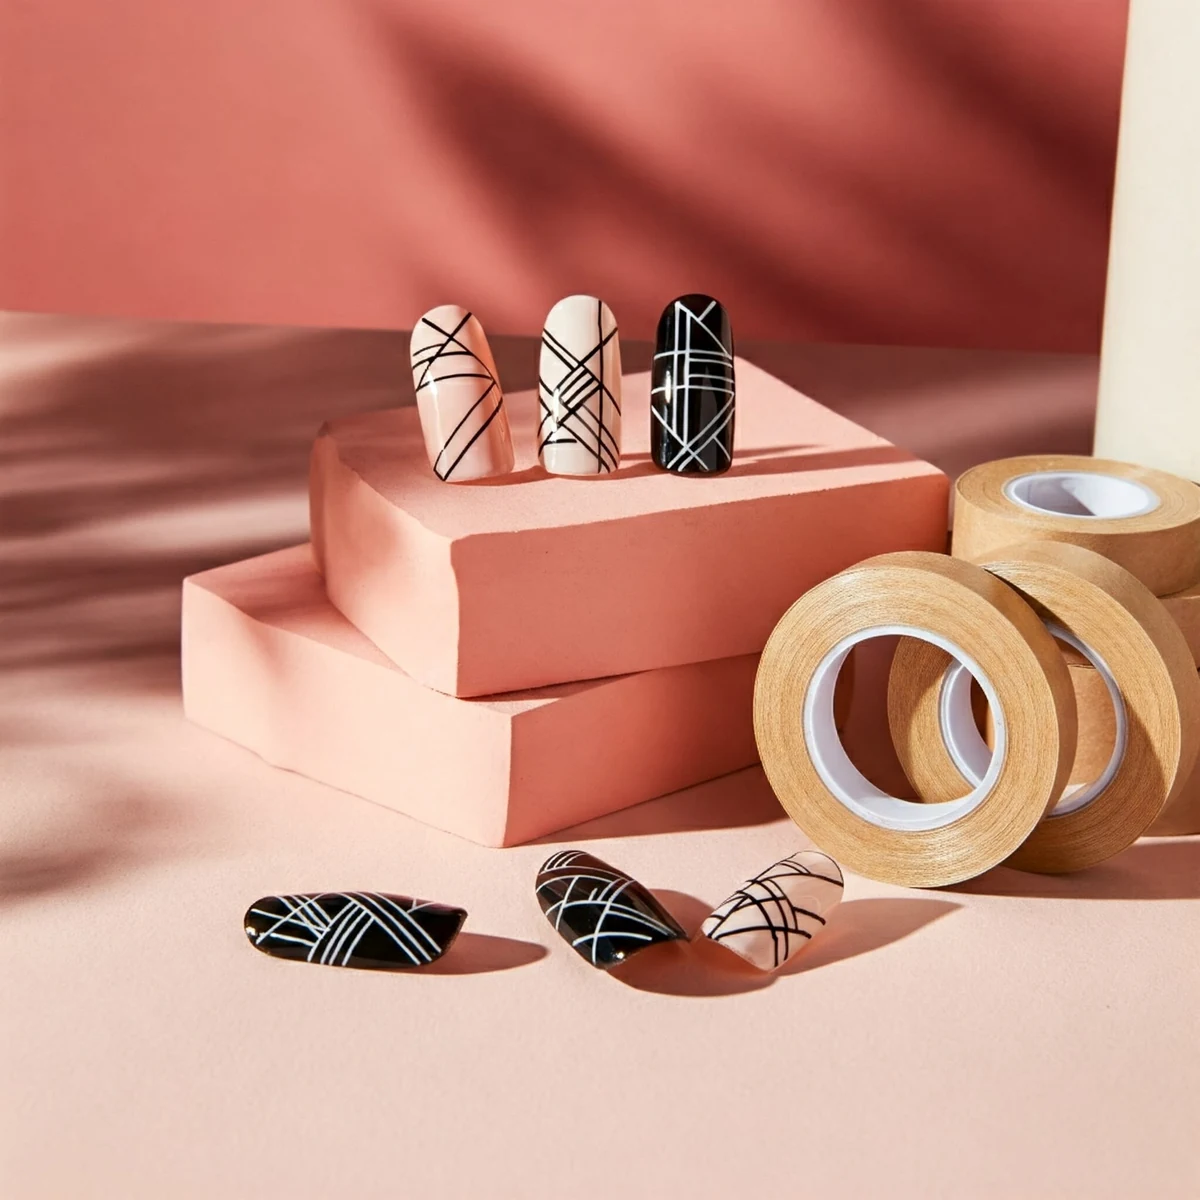
Striping tape gives you straight lines without a steady hand, because you stick the tape down, paint over it, and peel it off to reveal a clean edge. It works best on fully dry polish, since wet polish pulls up with the tape. Lines, color blocks, and geometric shapes all start with this trick.
Paint your base color and wait until it is fully dry, which takes longer than dry to the touch. Cut a piece of tape, press it onto the nail where you want the line, and rub the edges down with an orange stick so polish cannot seep under. Paint the second color over the tape and part of the nail, then peel the tape off while the second color is still slightly wet, pulling at a low angle. If you wait until it dries fully, the polish can crack along the tape edge.
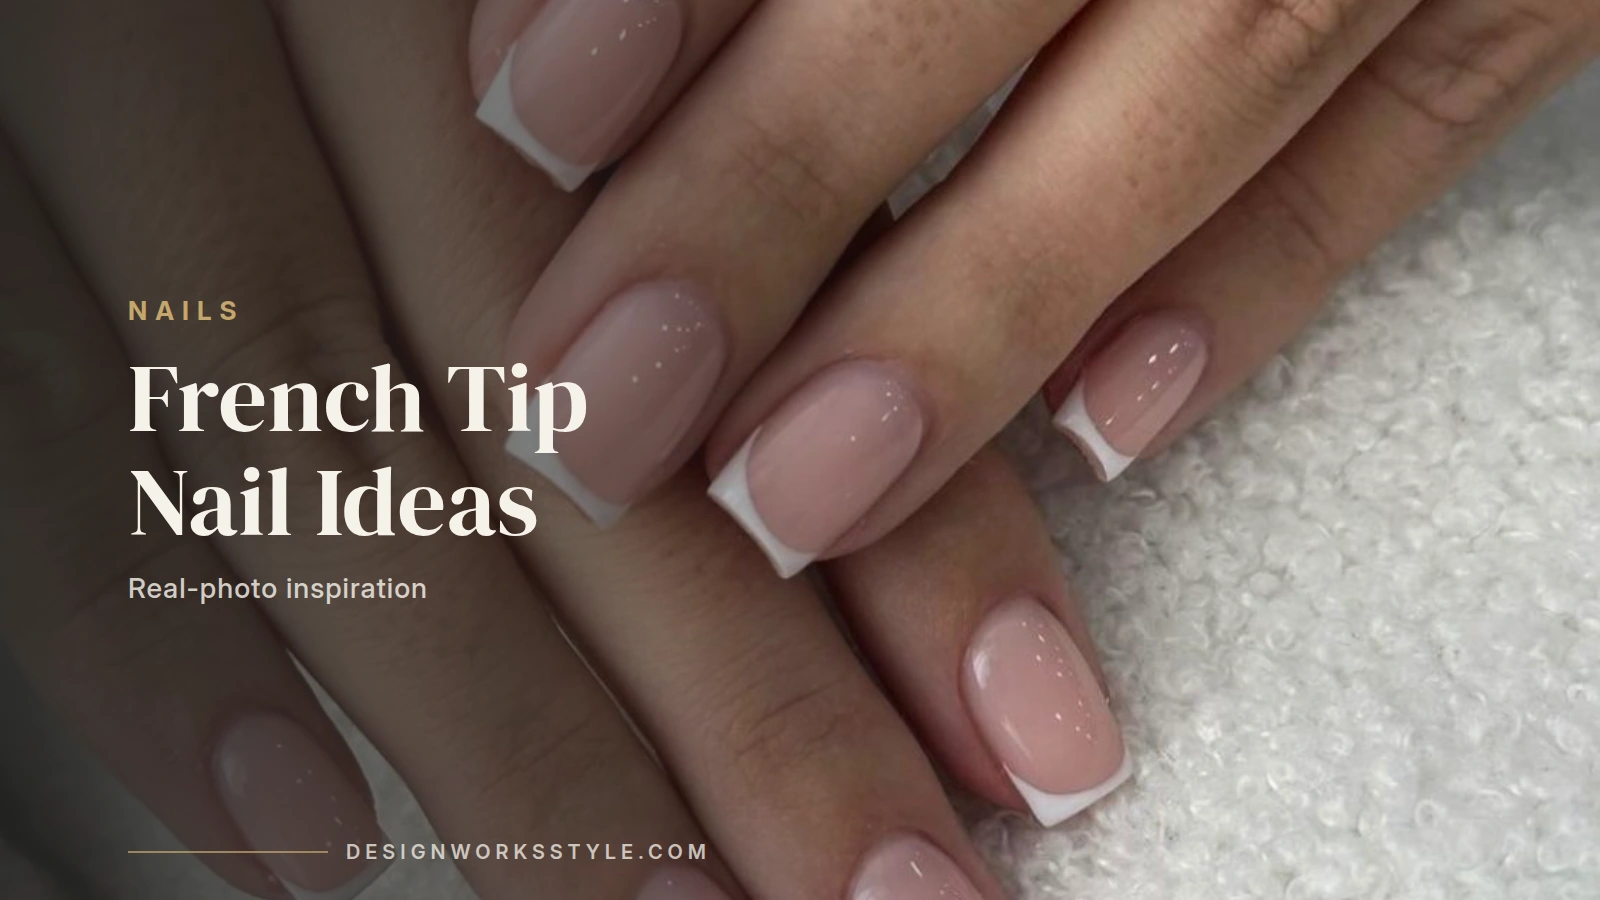
Striping tape also makes French tips easier. Place tape across the nail where the tip should start, paint the tip color above it, and peel to get a straight smile line. For more French tip ideas and variations, see our French tip nail ideas gallery. You can also leave thin metallic tape on the nail as a design itself, sealed under top coat.
How Do You Create an Ombre Gradient with a Sponge?
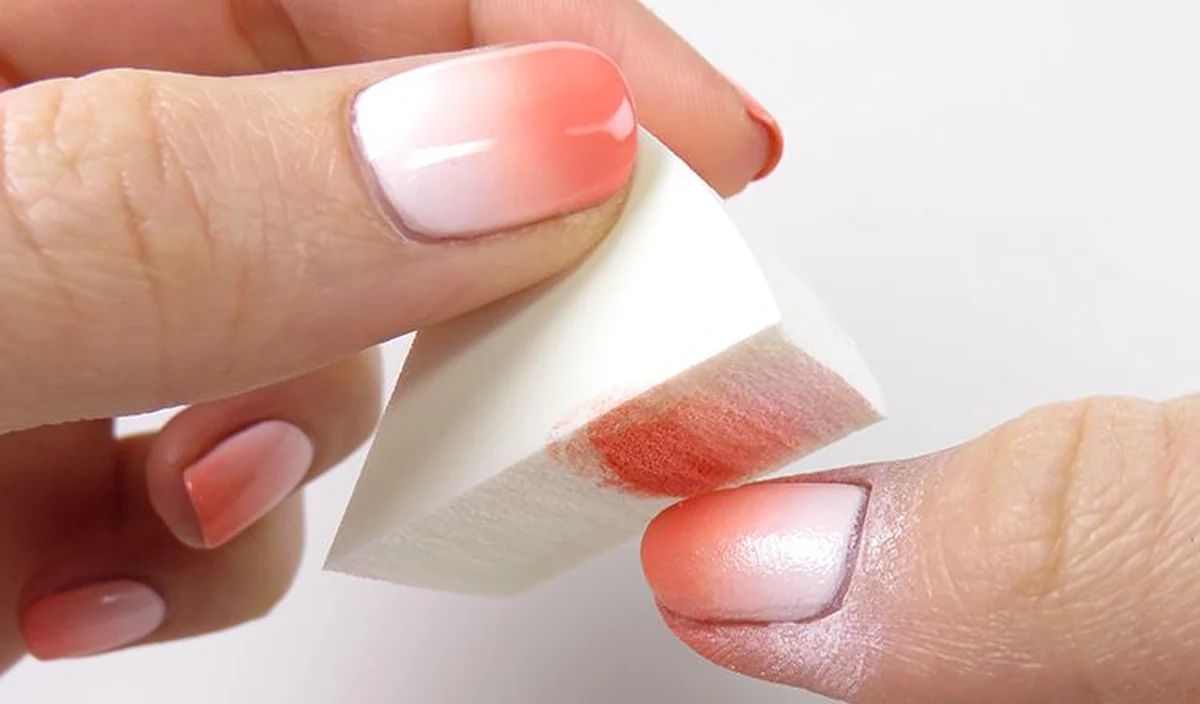
A sponge gradient blends two or three colors across the nail, and it hides uneven edges because the blend itself is the design. You paint stripes of polish onto a makeup sponge, dab it onto the nail, and repeat until the colors merge. It takes practice, but the result looks far harder than it is.
Start with a light base color, white or the lightest shade in your gradient, and let it dry. Paint stripes of your gradient colors side by side onto a wedge sponge, with each stripe touching the next. Dab the sponge onto the nail with a light bouncing motion, do not drag it, and reload and dab again two or three times until the colors blend. The first layer looks patchy, which is normal. Later layers fill it in.
Clean the skin around the nail with a small brush dipped in remover, then apply top coat, which smooths the sponged texture and blends the colors further. Two coats of top coat work better than one for gradients. If the gradient looks too faint, add another sponged layer before top coat rather than painting polish directly on the nail, which would cover the blend.
How Does Nail Stamping Work?
Nail stamping transfers a pattern from an etched metal plate onto your nail with a stamper, so you get detailed designs without drawing them freehand. You paint polish over the plate, scrape off the excess, pick the pattern up with the stamper, and press it onto the nail. It suits people who want detail fast.
Stamping polish matters. It needs to be thick and opaque, since thin polish does not transfer a clear pattern. Many brands sell stamping polish, but any thick, highly pigmented polish can work. Paint polish over the design on the plate, hold a scraper card at a 45 degree angle, and pull it across firmly in one motion. Press the stamper straight down onto the plate, then roll it onto the nail from one side to the other.
Practice on paper first. The motion feels strange until you have done it a few times, and paper lets you learn the pressure without ruining a manicure. If the pattern does not transfer fully, the polish dried before you stamped, or the scraper left too little polish in the grooves. Work quickly, and clean the plate and stamper with remover between nails so dried polish does not block the next design.
What Freehand Patterns Can Beginners Actually Do?
Beginners can freehand hearts, stars, flowers, and simple French tips, because these shapes use short strokes and dots rather than long, smooth lines. A thin brush or a toothpick gives more control than the polish brush itself. Start with one accent nail, so a wobbly shape does not ruin a full set.
A heart starts as two dots side by side, then you drag each dot down and inward with a toothpick to form a point. A star starts as five short lines from a center point, and uneven arms still read as a star. A flower is five dots around a center dot, the same skill as dot designs. A French tip freehand works if you paint the tip in two strokes from each side toward the center, rather than one stroke across.
Keep freehand designs small. A tiny heart near the cuticle or a small star on one corner looks deliberate, while a large shape shows every wobble. If a shape goes wrong, wipe that nail with remover and redo it, rather than trying to fix it with more polish. For inspiration on small, wearable designs, browse our simple nail designs and French tip ideas galleries.
What Mistakes Do Beginners Make and How Do You Fix Them?
The most common beginner mistakes are working on wet polish, loading too much polish on the tool, and skipping top coat, and each one has a simple fix. Wet polish smears, thick polish blobs, and missing top coat chips fast. Slow down, let layers dry, and use thin coats, and most problems disappear.
Smudged designs happen when top coat drags over wet art. Wait until the design is dry to the touch, then float the top coat brush over the nail without pressing down. Polish on skin is normal, not a failure. Dip a flat brush in remover and trace around the nail to clean it, or use a cleanup pen. Bubbles come from shaking the polish bottle or painting thick coats. Roll the bottle between your hands instead of shaking, and paint two thin coats rather than one thick one.
Chips come from skipping prep or top coat. Push cuticles back gently, file the free edge smooth, and use base coat before color. Cap the free edge by painting top coat lightly over the tip, and reapply top coat every two days to refresh the seal. Good prep also helps art last, which is why our nail care basics guide is worth reading before your first full set. For keeping any manicure intact longer, see how to make your manicure last longer.
Frequently Asked Questions
Do you need special polish for nail art?
Regular polish works for dots, stripes, gradients, and freehand designs. Stamping is the exception, since it needs thick, opaque polish to transfer a clear pattern. Some people use acrylic craft paint for freehand details because it dries fast and cleans up with water, but it must be sealed with top coat or it washes off.
How long should you wait between coats?
Wait until each coat is dry to the touch, usually a few minutes for thin coats, before adding the next layer. For striping tape work, wait longer, until the base color is fully dry, or the tape will pull polish up. If you are unsure, wait an extra few minutes. Patience is the main difference between neat nail art and smeared nail art.
Why does my nail art chip so fast?
Chipping usually comes from skipped prep, thick coats, or missing top coat. File the free edge smooth, use base coat, paint thin coats, cap the free edge with top coat, and reapply top coat every two days. Art on the tips chips first, so designs placed near the cuticle or center of the nail last longer than designs on the very edge.
Should beginners start with stickers or freehand?
Stickers are a fine starting point. They teach placement, color combinations, and scale without demanding brush control, and they look neat while you learn dots and tape. Move to dots when you feel ready, since dots build the hand control that freehand needs. There is no rule that stickers do not count as nail art.
Start with dots this week, try tape next week, and add gradients and stamping as each skill feels easy. For designs to copy as you learn, our simple nail designs gallery and short nail ideas gallery both suit beginners.