
To repair drywall, fill small holes with spackle, cover medium holes (up to 6 inches) with a self-adhesive mesh patch plus joint compound, and cut a proper drywall patch with backing boards for large holes. Apply joint compound in thin layers, letting each dry before the next, then sand smooth, prime, and paint. The repair disappears when the patch is flat and the primer seals the different surfaces evenly.
Drywall repair looks intimidating because the damaged wall looks terrible at every stage until the last one. Lumpy compound, visible tape, dust everywhere. Then you sand, prime, paint, and it vanishes. The secret is thin layers and patience between them. Every bad drywall repair comes from one thick coat instead of three thin ones.
What Tools Do You Need for Drywall Repair?
You need a 6-inch taping knife for applying compound, a 10 or 12-inch knife for feathering, a mud pan, 120 and 220-grit sandpaper, a utility knife, and a drywall jab saw for cutting patches. Add a drill for screws, a dust mask, and a drop cloth. This kit handles every repair in this guide and costs under $30.
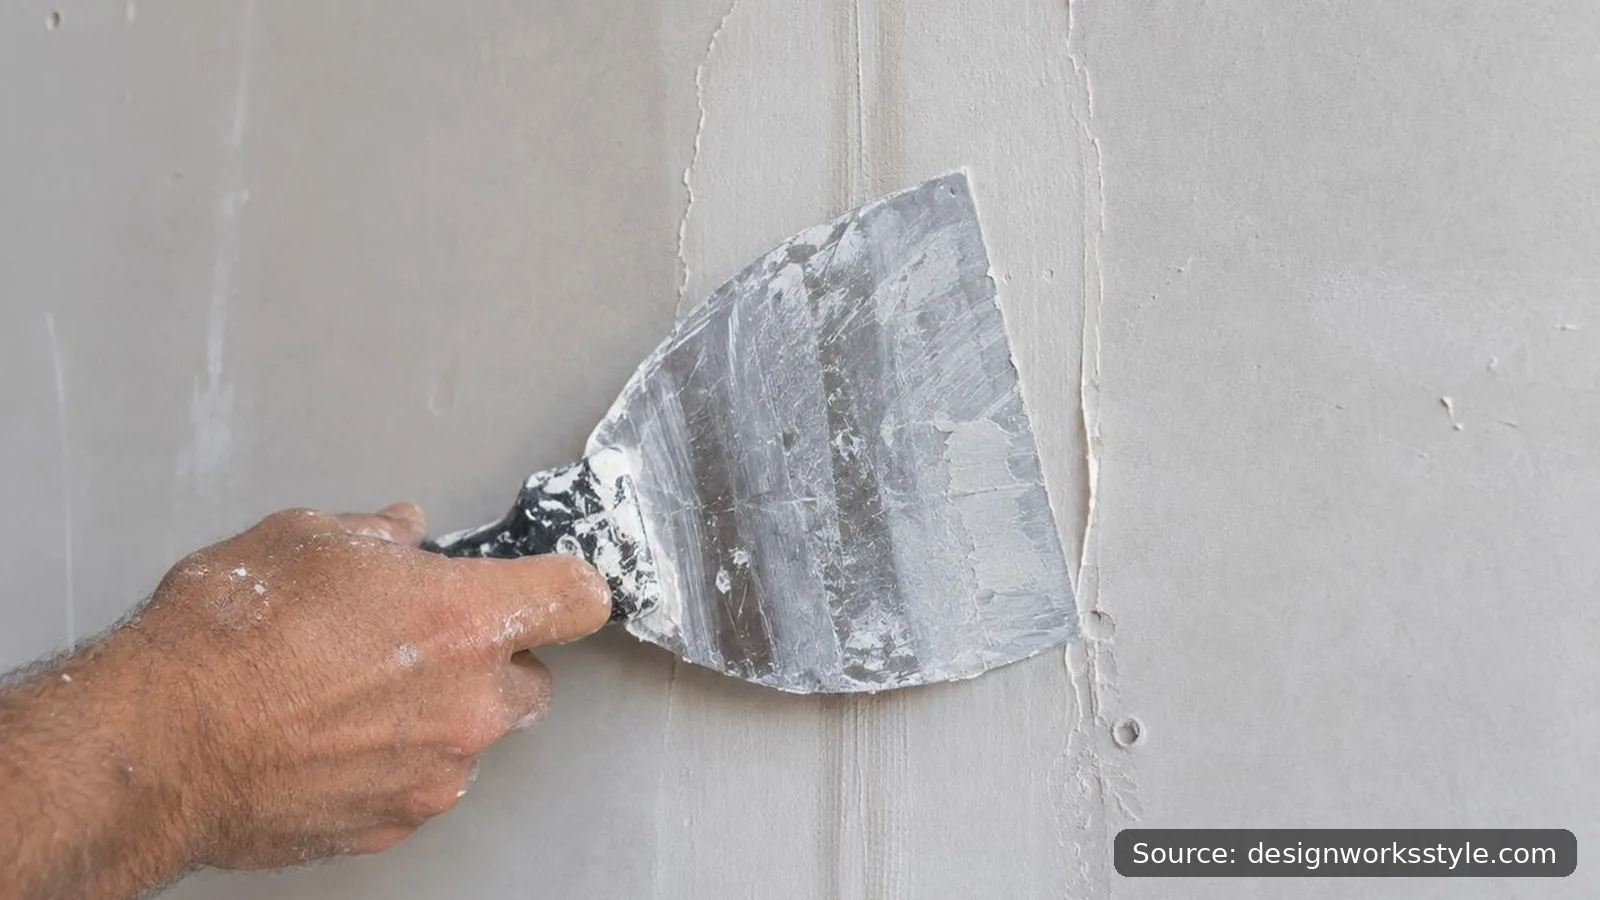
Each tool has one job. The 6-inch knife lays compound into holes and over tape. The wider knives feather edges so the patch blends into the wall; using the small knife for this step is why patches show ridges. The mud pan keeps compound workable and gives you a straight edge to load the knife cleanly. Use 120-grit to shape dried compound and 220-grit for the final smoothing pass. A sanding sponge conforms to corners and curves where flat paper cannot. The jab saw cuts the clean openings that patches need. Buy knives with comfortable handles. You will feel the difference by the second coat.
Skip the gimmicks. Spray texture cans are worth it, but avoid all-in-one patch kits with tiny compound packets; they cost more per repair than a tub of compound and a separate patch. A single gallon of pre-mixed compound handles dozens of small repairs and stays usable for months if you keep the lid sealed and store it indoors. For sandpaper, buy a multi-pack. You will use more 120-grit than you expect.
How Do You Fix Small Holes in Drywall?
Nail holes, screw holes, and small dents need only lightweight spackle and a putty knife. Press spackle into the hole, scrape the knife flat across the surface to remove excess, let it dry (about 30 minutes), and sand lightly with 120-grit paper. One application usually does it. The mistake is overfilling: a mound of spackle takes forever to sand flat, while a fill scraped flush needs almost no sanding at all. Wipe the dust with a damp cloth and the spot is ready for paint.
How Do You Patch a Medium Hole in Drywall?
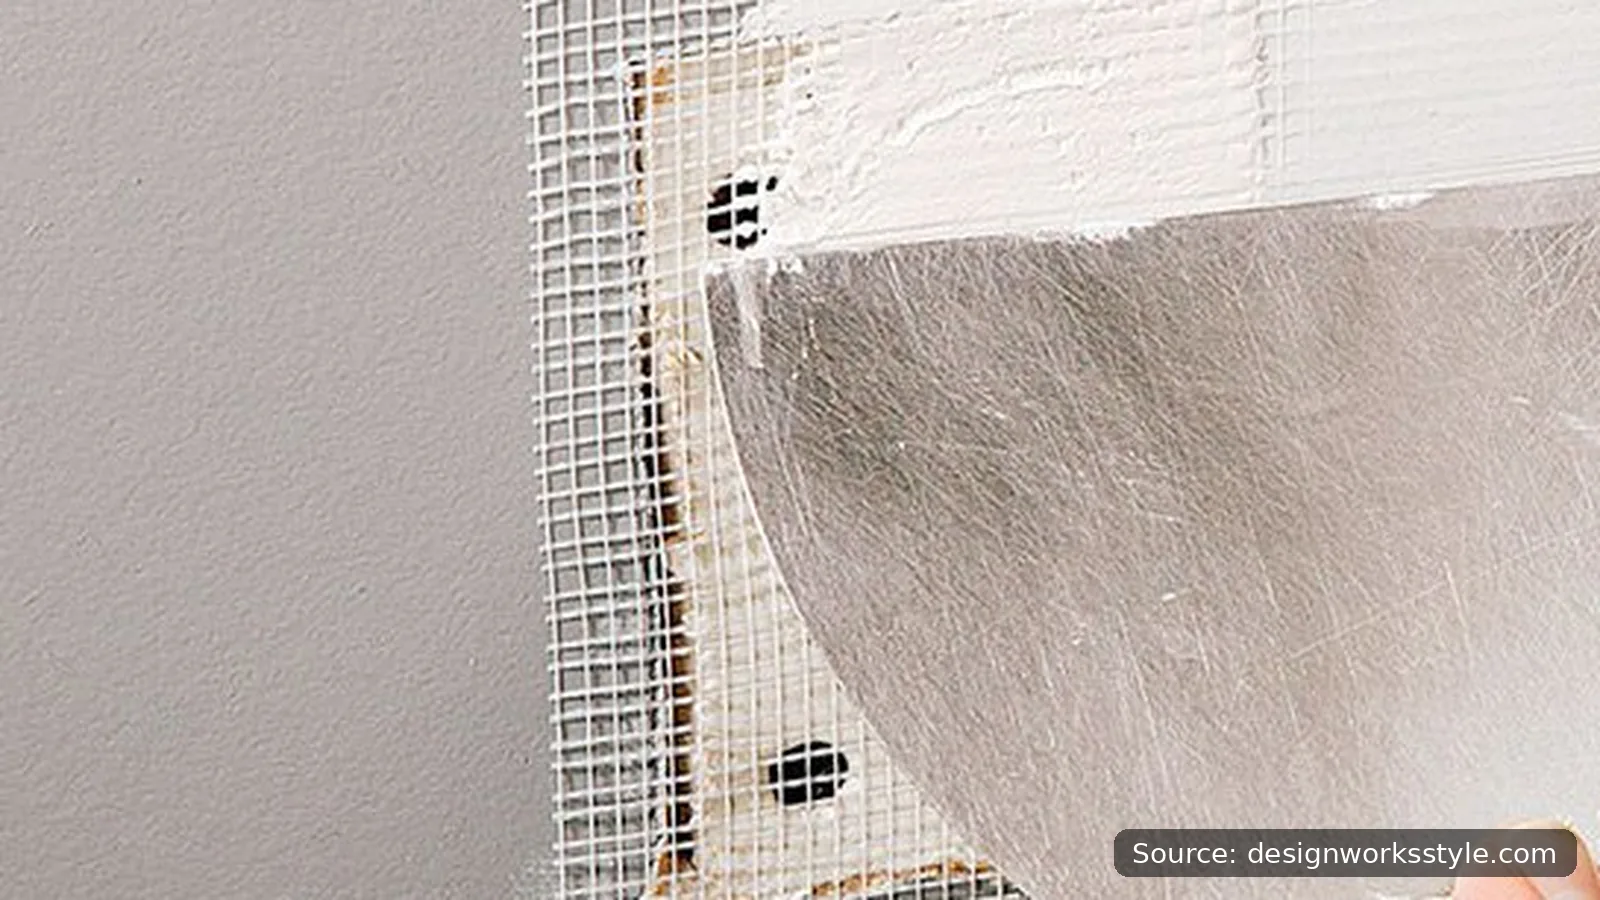
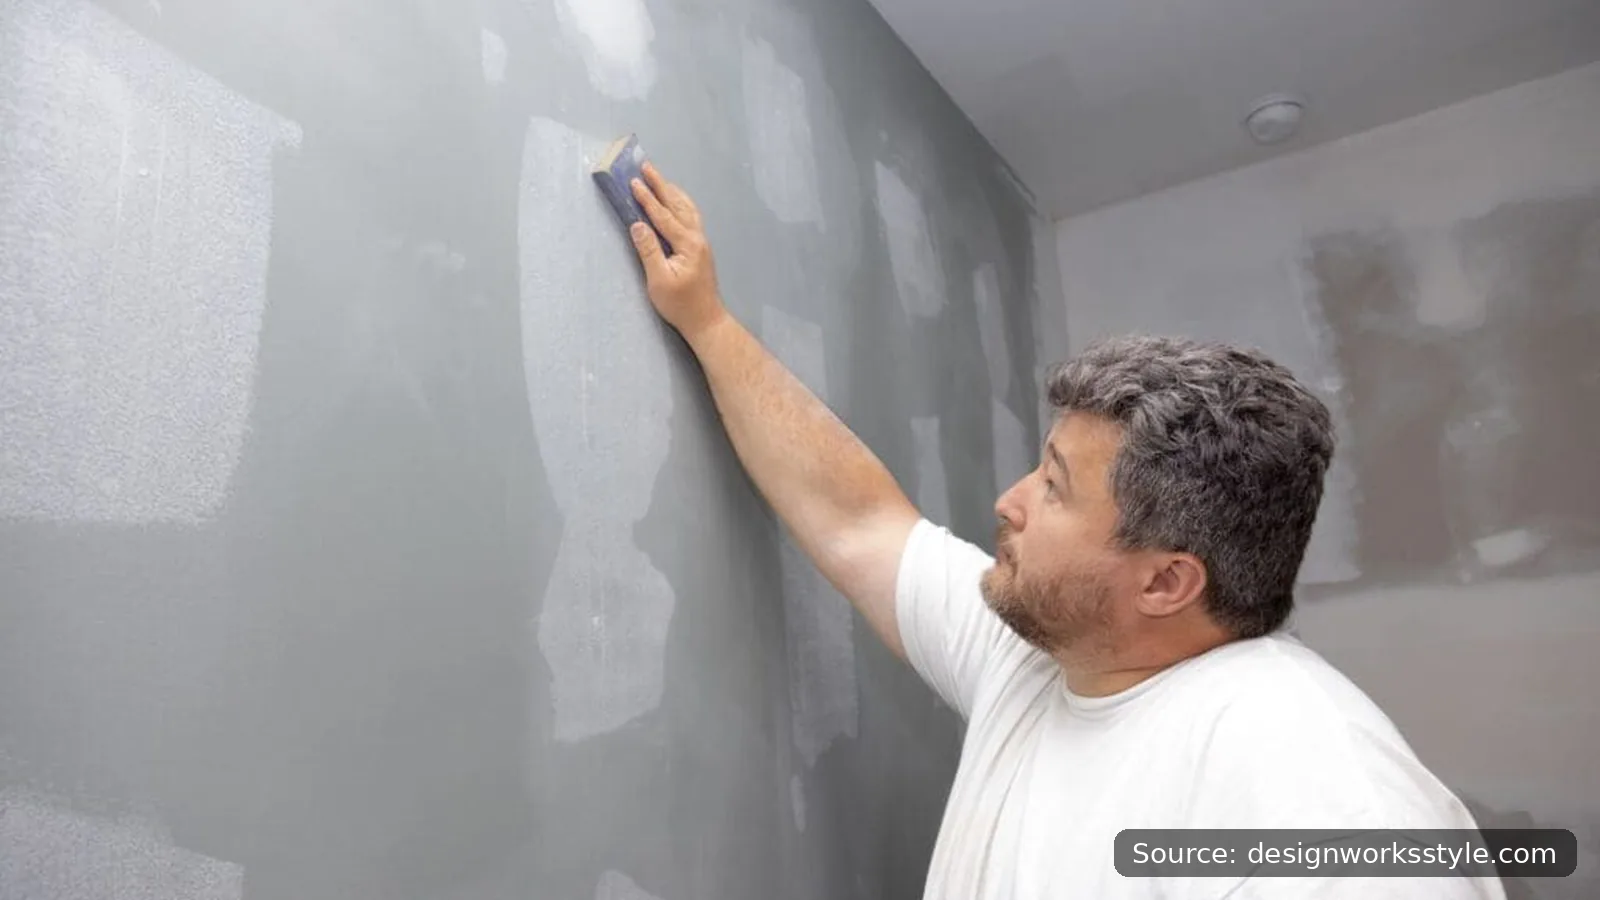
For holes from 1 to 6 inches (doorknob holes are the classic), use a self-adhesive mesh or metal patch. Stick it over the hole, then spread joint compound over the patch with a 6-inch drywall knife, feathering the edges out 2 to 3 inches beyond the patch. Let it dry completely (it turns from dark to white), then apply a second, wider coat to smooth the transition. Sand with 120-grit, then 220-grit for the final pass. The patch should be undetectable by touch before you even think about paint. Metal patches are stiffer and better for holes that might take impact; mesh is easier for beginners.
How Do You Repair a Large Hole in Drywall?
Cut the damaged area into a clean square or rectangle with a drywall saw. Cut two wood backing boards (1×3 strapping works) a few inches longer than the hole, slip them inside, and screw them to the existing drywall above and below the opening. Cut a drywall patch to fit the opening, screw it to the backing boards, then tape the seams with paper joint tape and embed it in joint compound. Apply three thin coats, each wider than the last (6-inch, then 10-inch, then 12-inch knife), letting each dry fully between coats. This graduated feathering is what makes the patch invisible. Sand, prime, paint.
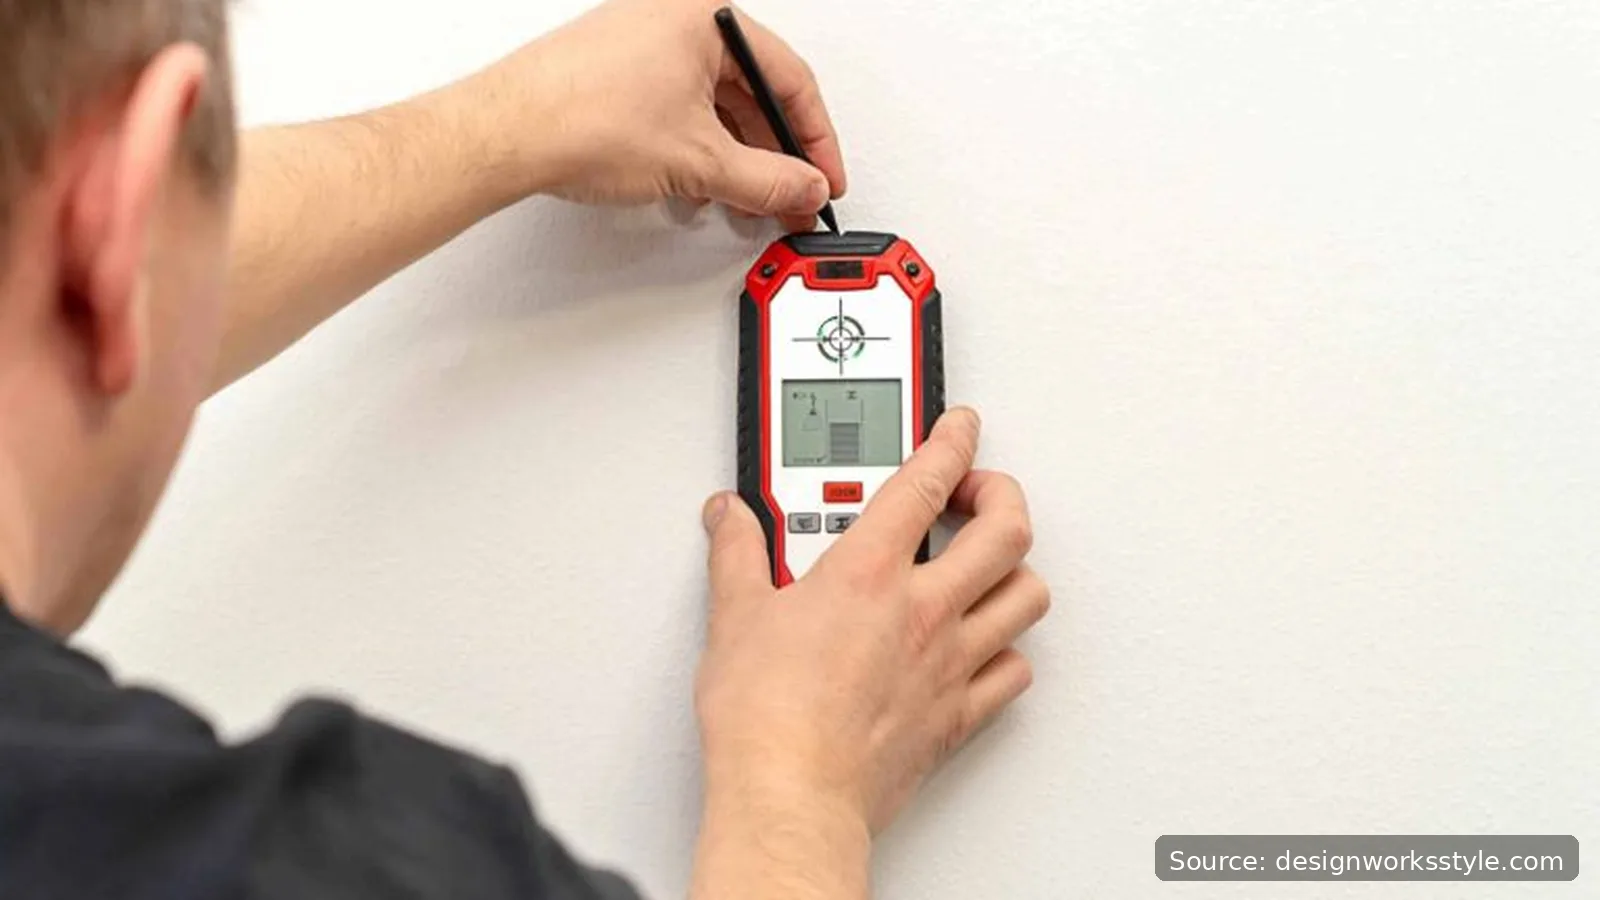
Before cutting, check what is behind the drywall. Knock on the wall to find studs, and confirm with a stud finder. If the hole is near an outlet or switch, assume wires run nearby and cut shallow until you can see inside. Pipes and wires both hide in walls, and a jab saw moves fast. Once the opening is cut, measure it and cut your patch from new drywall a quarter inch smaller on each side; the gap gets filled with compound and tape. Drive drywall screws every 8 inches along the backing boards, sinking the heads just below the surface without tearing the paper. When taping, bed the paper tape in a thin layer of compound, press it flat, and pull the knife over it firmly to squeeze out excess and air bubbles. Trapped air under tape becomes a blister that shows through paint.
How Do You Fix Drywall Cracks?
Hairline cracks get flexible paintable caulk or a thin bead of joint compound pressed in with a putty knife. Wider cracks, or any crack that keeps coming back, need paper joint tape: widen the crack slightly with a utility knife, fill it with compound, press the tape in, and skim over it. Recurring cracks at door and window corners usually mean the house is moving seasonally; tape handles the movement better than compound alone. If a crack is growing, offset, or accompanied by sticking doors, that is beyond cosmetic repair and worth a professional opinion.
How Do You Match Existing Wall Texture?
Identify the texture first, then match the technique. Orange peel, the fine dimpled finish in most modern homes, is sprayed on with thinned joint compound. Knockdown starts the same way but is lightly flattened with a knife after partial drying, creating the mottled look common in warmer climates. Smooth walls need no texture at all, just careful sanding.
For orange peel, use an aerosol texture spray can from the hardware store. Practice on cardboard first. Hold the can 24 inches from the wall and use light overlapping passes; you can add more but cannot easily remove too much. For knockdown, spray heavier, wait 10 to 15 minutes until the compound is tacky but not wet, then skim once lightly with a 10-inch knife held almost flat. For smooth walls, apply a thin skim coat over the repair, sand with 220-grit until it feels identical to the surrounding wall, and prime. Older popcorn or stomp textures are harder to match and may be worth a professional’s touch on a visible wall.
Blend the edges. New texture always looks slightly different from old, so fade your spray passes outward beyond the repair instead of stopping at a hard line. Step back and look from across the room. If the match is close but not perfect, primer often closes the gap by evening out the surfaces.
Can You Repair a Drywall Ceiling the Same Way?
Yes, with two adjustments. Use setting-type joint compound (the powdered kind you mix, like 20 or 45-minute) instead of pre-mixed, because it hardens chemically rather than by evaporation and sags less overhead. And support the patch well: ceiling patches fight gravity, so backing boards are essential even for medium holes. Wear a dust mask and eye protection. Ceiling sanding drops everything straight down onto you. A sanding sponge with a handle extension keeps the work at arm’s length and catches most of the dust.
Once the repair is sanded smooth, prime the patched area before painting. Joint compound and spackle absorb paint differently than the surrounding wall, and unprimed patches flash through the finish coat as dull spots. Spot-prime with any drywall primer, then paint. If you are repainting the whole wall anyway, our guide to how to paint a room covers the process from prep to second coat.
Frequently Asked Questions
How much does drywall repair cost?
DIY repair costs under $20 in materials for most holes: spackle or joint compound, a patch, sandpaper, and primer. Professional repair typically runs $75 to $150 for small holes and $200 to $500 for large patches, mostly labor. The materials are cheap in both cases. You are paying for the taper’s skill at making the patch disappear, which is exactly the skill the thin-coats method teaches.
Can you paint directly over a drywall patch?
Prime first, always. Joint compound is more porous than drywall paper, so paint soaks in unevenly and the patch shows as a dull spot (called flashing). One coat of drywall primer seals the repair and the surrounding area to the same absorbency, and then the paint goes on evenly. Skipping primer is the number one reason repairs remain visible after painting.
How do you repair torn drywall paper?
Seal it first. Torn drywall paper bubbles when joint compound’s moisture hits it, so brush on a coat of primer or drywall sealer and let it dry before applying any compound. Then skim-coat over the sealed area as usual. Skipping the seal step is why torn-paper repairs blister and have to be redone.
How long does joint compound take to dry?
Pre-mixed compound takes about 24 hours per coat under normal conditions, longer in humidity or for thick coats. It is dry when it turns uniformly white with no dark damp spots. Setting-type compound hardens in the time on the bag (20, 45, or 90 minutes) regardless of humidity, which is why pros prefer it for anything beyond a nail hole. Do not sand or recoat until it is fully dry.