
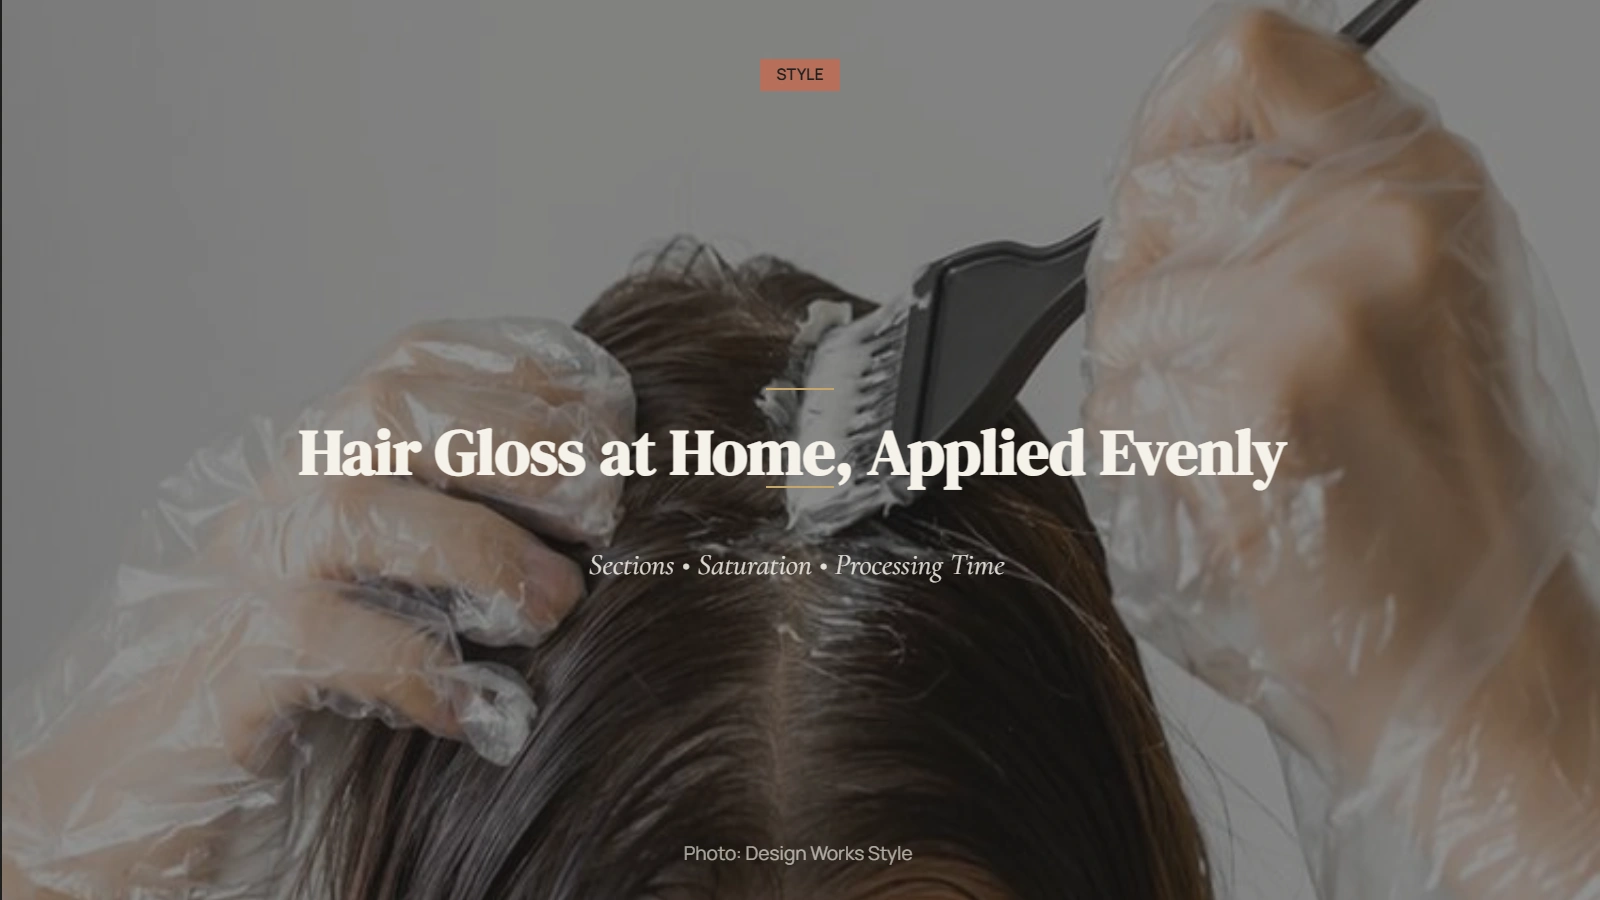
You can apply some hair glosses at home, but there is no universal hair-gloss recipe. The safest approach is to choose a shade that suits your current hair, read the complete product directions, complete any required allergy test, perform a strand test, apply enough product for even saturation, use the specified processing time, and assess the result after the hair is dry.
That matters because at-home glosses do not all work the same way. One product may be designed for clean, damp hair and a processing range of several minutes, while another may require two bottles to be mixed and a different processing time. For example, dpHUE Gloss+ currently instructs users to apply it to clean, damp hair for 3–20 minutes, while L’Oréal Paris Le Color Gloss uses a 5–15 minute window. Kristin Ess Signature Hair Gloss requires bottles 1 and 2 to be mixed and currently specifies 10–20 minutes.
The product instructions should therefore take priority over any general advice.
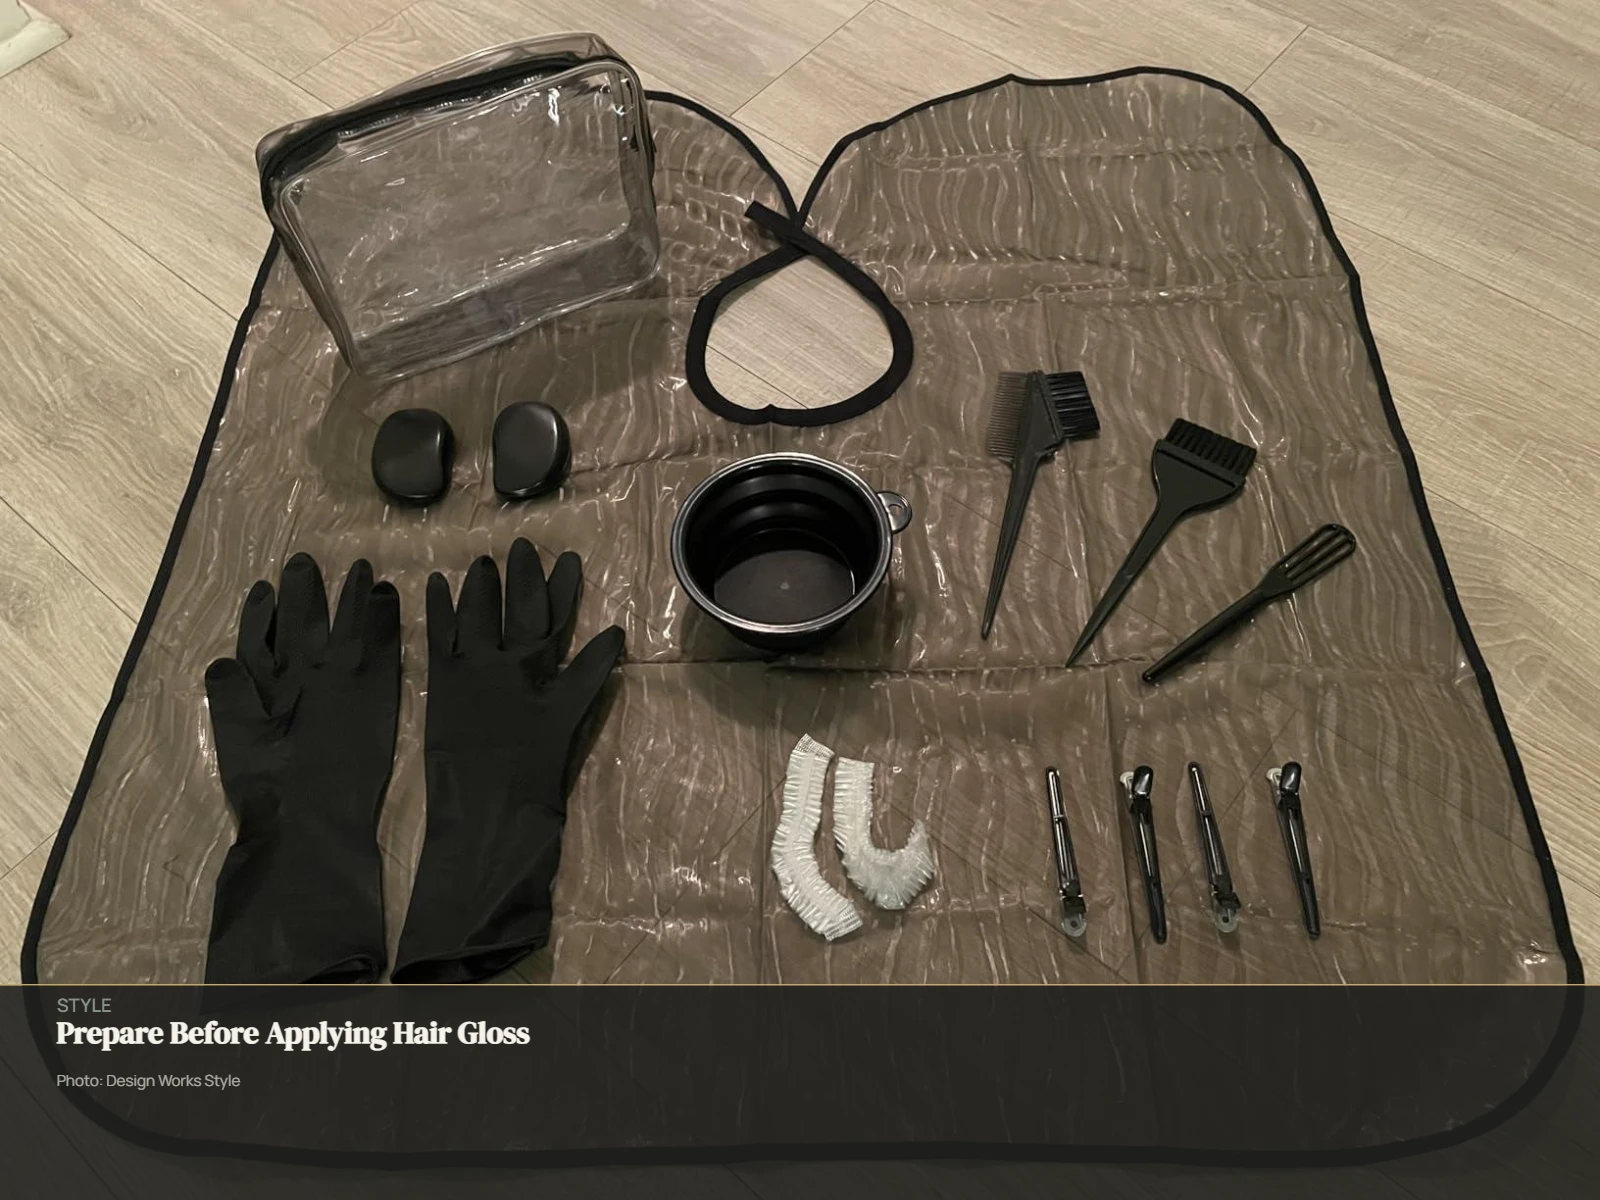
What to Prepare Before Starting
Read the entire package or manufacturer’s instructions before opening the product.
Depending on the formula, you may need:
- The gloss and any components that need to be mixed
- Gloves if required or recommended
- Clips for sectioning
- A timer
- A towel or clothing protection
- A comb if the instructions allow one
- Enough product to thoroughly saturate your hair
- A separate area for completing your strand test
Product quantity matters. If you are trying to stretch one bottle across more hair than it can adequately saturate, coverage can become uneven.
Also choose your shade based on the hair you have now, not the color you wish you could achieve through a major correction. A gloss can alter tone, depth, shine or color appearance, but it is not a substitute for substantial lightening or major color correction.
Why a Strand Test Matters
A strand test is one of the most useful steps when applying a gloss at home, particularly if your hair contains balayage, highlights or previously lightened sections.
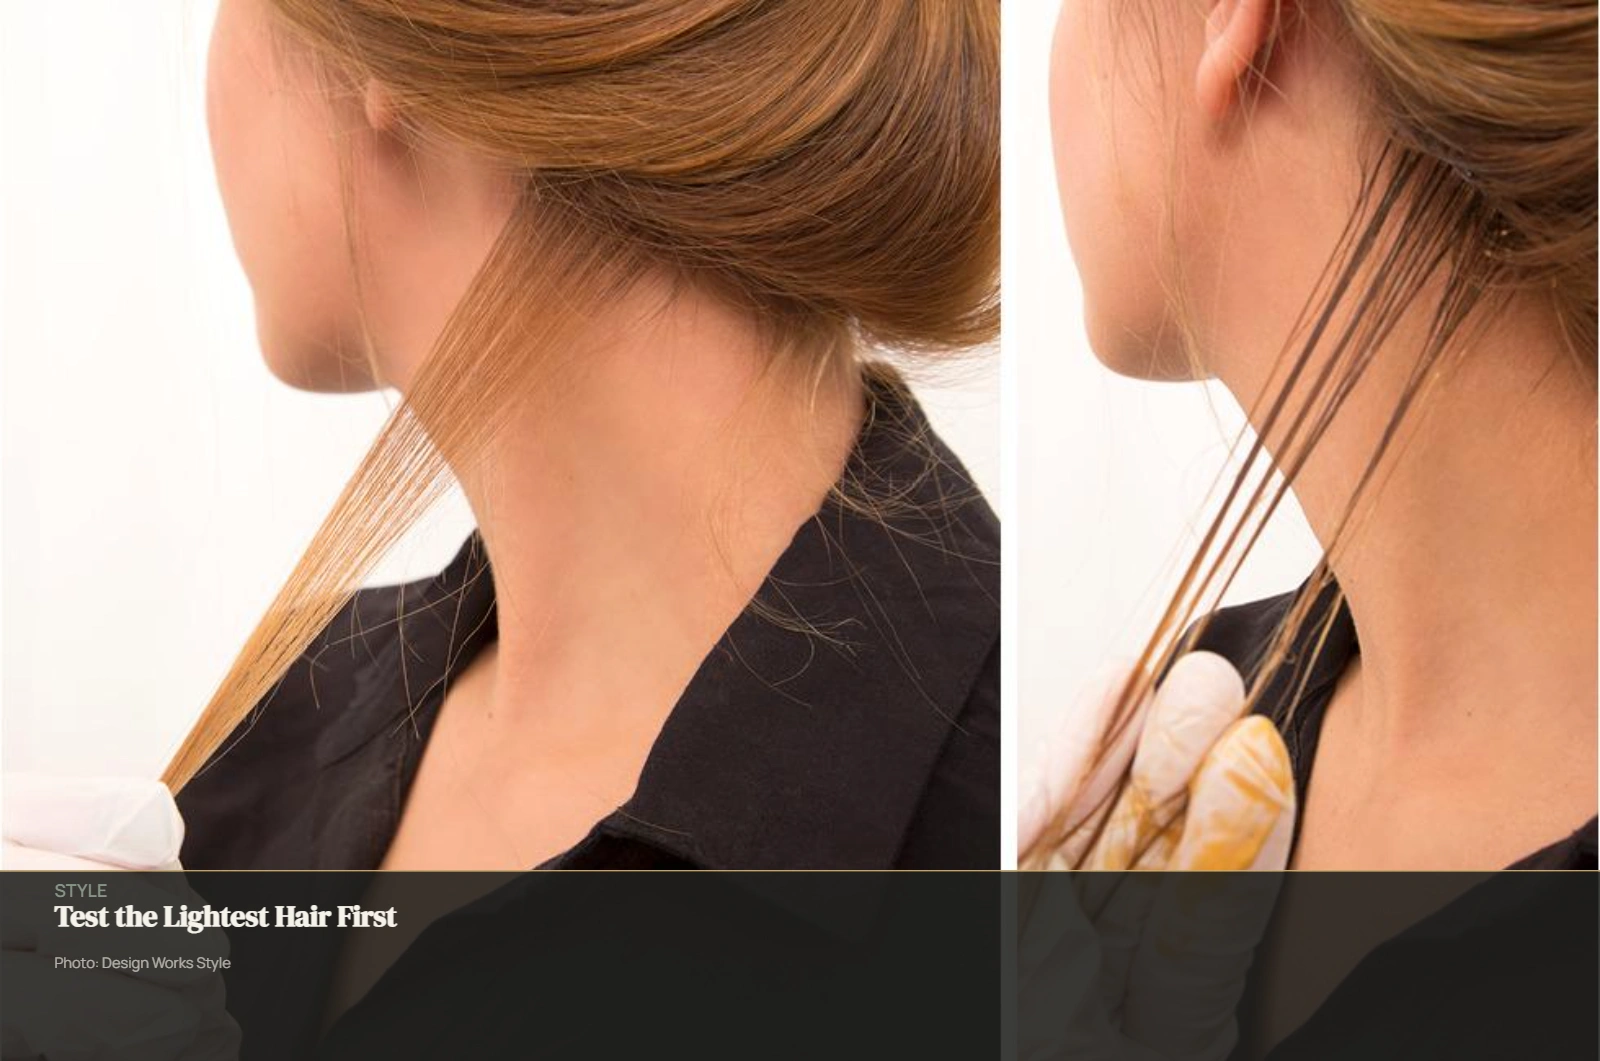
Choose a small, less-visible section that represents the most lightened or porous part of your hair. This is important because previously processed hair may respond differently from less-processed hair.
Apply the gloss according to the product’s instructions, process it for the specified time, rinse it, and allow the section to dry completely.
Then assess the result in natural light.
You are looking for more than whether you like the color. Check how strongly the lighter sections absorbed the pigment and whether the result is warmer, cooler, darker or more noticeable than expected.
A strand test cannot guarantee that the full application will be identical. Hair can vary considerably from one section to another. It does, however, give you useful information before committing the entire head.
How to Apply Hair Gloss at Home
Step 1: Read the Instructions First
Do not start with a generic processing time copied from another gloss.
The differences between products are significant. dpHUE Gloss+ currently specifies 3–20 minutes on clean, damp hair. L’Oréal Paris Le Color Gloss specifies 5–15 minutes and instructs users to distribute the formula through clean, damp hair. Kristin Ess Signature Hair Gloss currently instructs users to mix two bottles, apply the mixture to thoroughly wet hair, and leave it on for 10–20 minutes.
Those differences are exactly why a rule such as “leave every gloss on for 15 minutes” is not useful.
Read the directions for your specific product before you begin.
Step 2: Complete Any Required Allergy Test
If the manufacturer requires an allergy or patch test, follow its instructions and timetable.
Do not assume that a previous successful hair-color application means you can skip a required test. The FDA advises consumers to follow package directions and perform the required skin test before using hair dye products. It also notes that people can develop sensitivity after previous uneventful exposure.
If the product’s instructions require testing in advance, do not perform the test immediately before applying the gloss simply because you are ready to start.
If you develop a rash, itching, burning, swelling or another reaction, do not proceed with the application. Significant symptoms warrant medical attention.
Step 3: Prepare the Hair as Directed
There is no universal rule that hair gloss must always be applied to dry hair, damp hair or freshly shampooed hair.
Follow the product instructions.
For example, dpHUE Gloss+ currently calls for clean, damp hair, while L’Oréal Paris Le Color Gloss also specifies clean, damp hair. Kristin Ess Signature Hair Gloss instructs users to wet the hair thoroughly in the shower before mixing and applying the product.
Do not automatically add shampooing, conditioning or towel drying steps that are not part of the product’s directions.
Step 4: Divide the Hair Into Manageable Sections
Sectioning makes it easier to apply the product consistently.
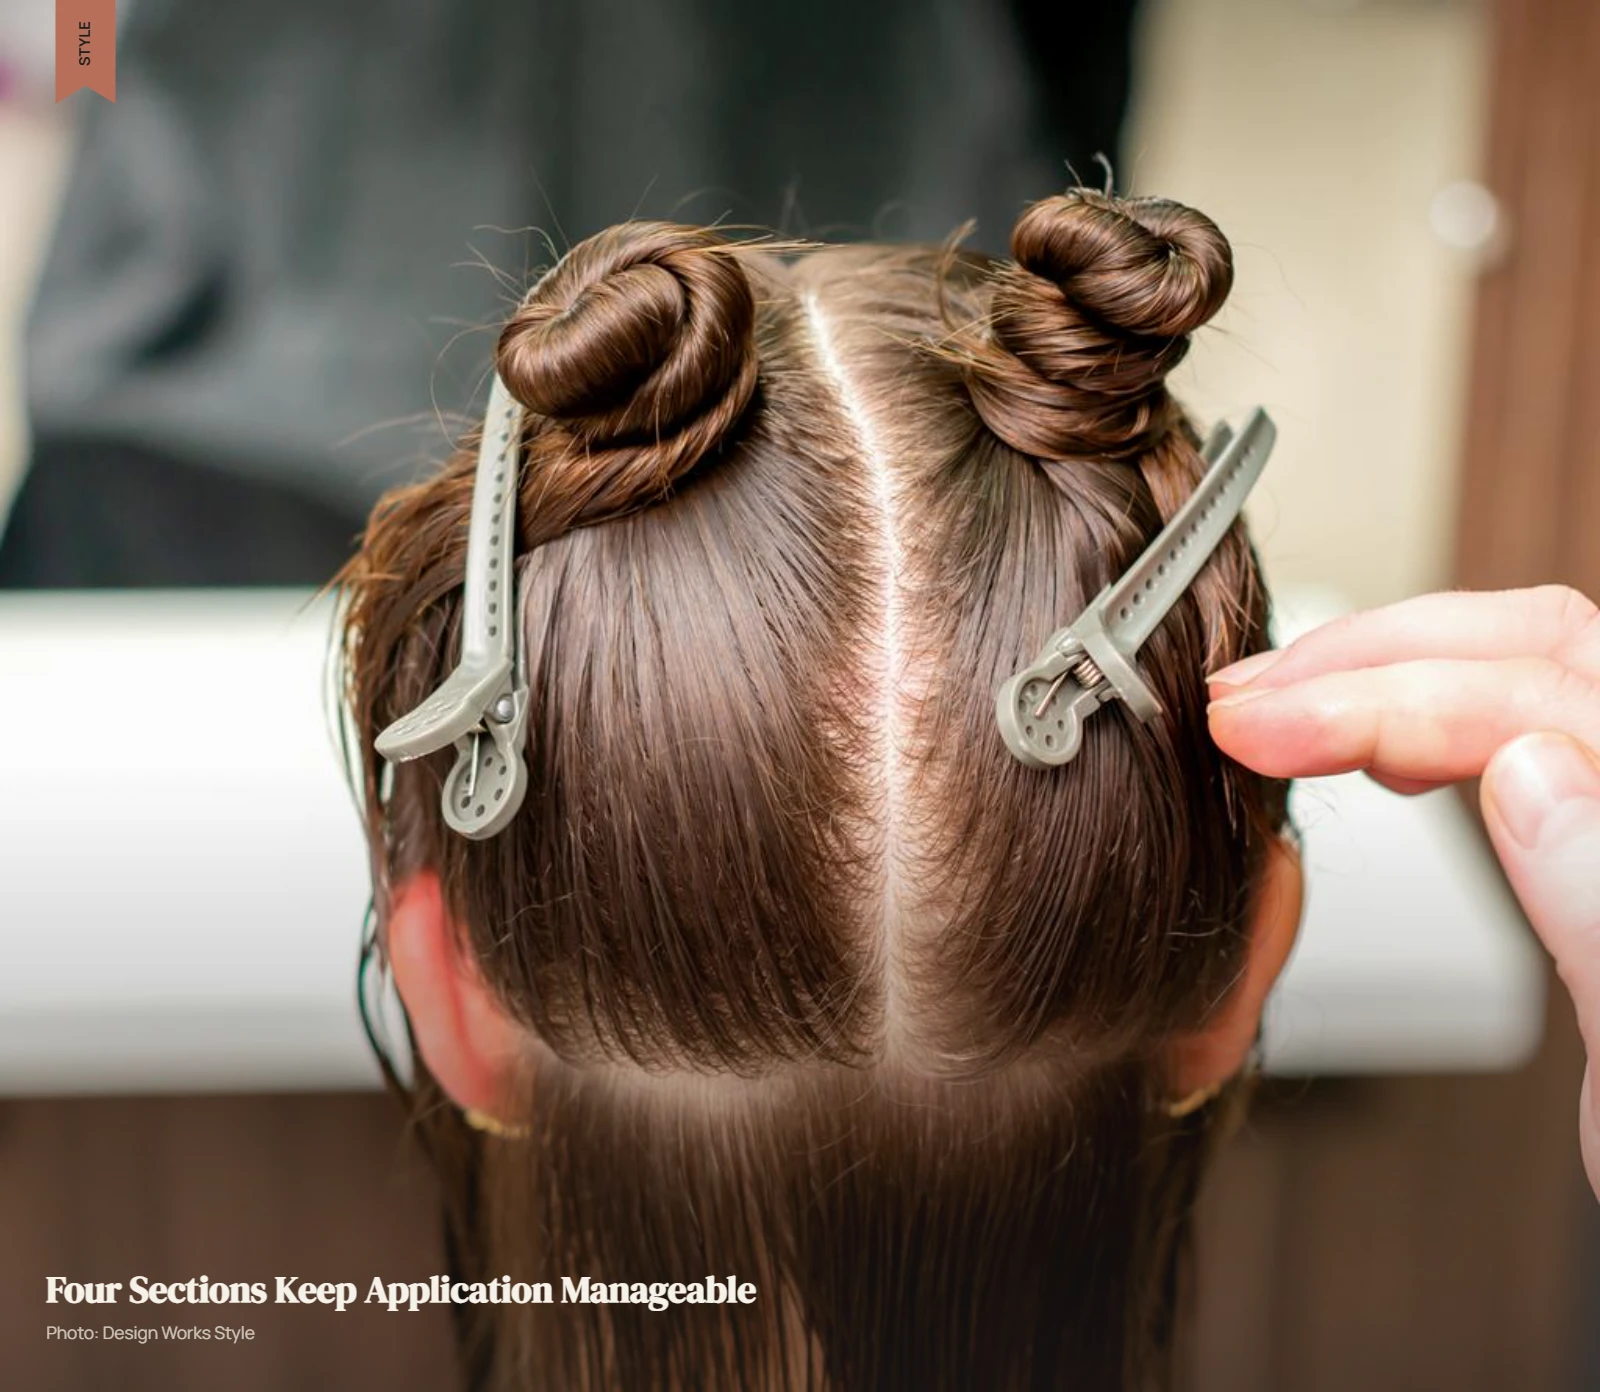
For medium-to-thick hair, a center part followed by an ear-to-ear division can create four manageable sections.
The exact number is not important.
The goal is to create sections small enough that you can control them, work through them systematically and fully saturate the hair.
Step 5: Apply the Gloss Evenly
Work through one section at a time.
Take smaller subsections and distribute the product consistently rather than applying a large amount to the outside of each section and assuming it has reached the hair underneath.
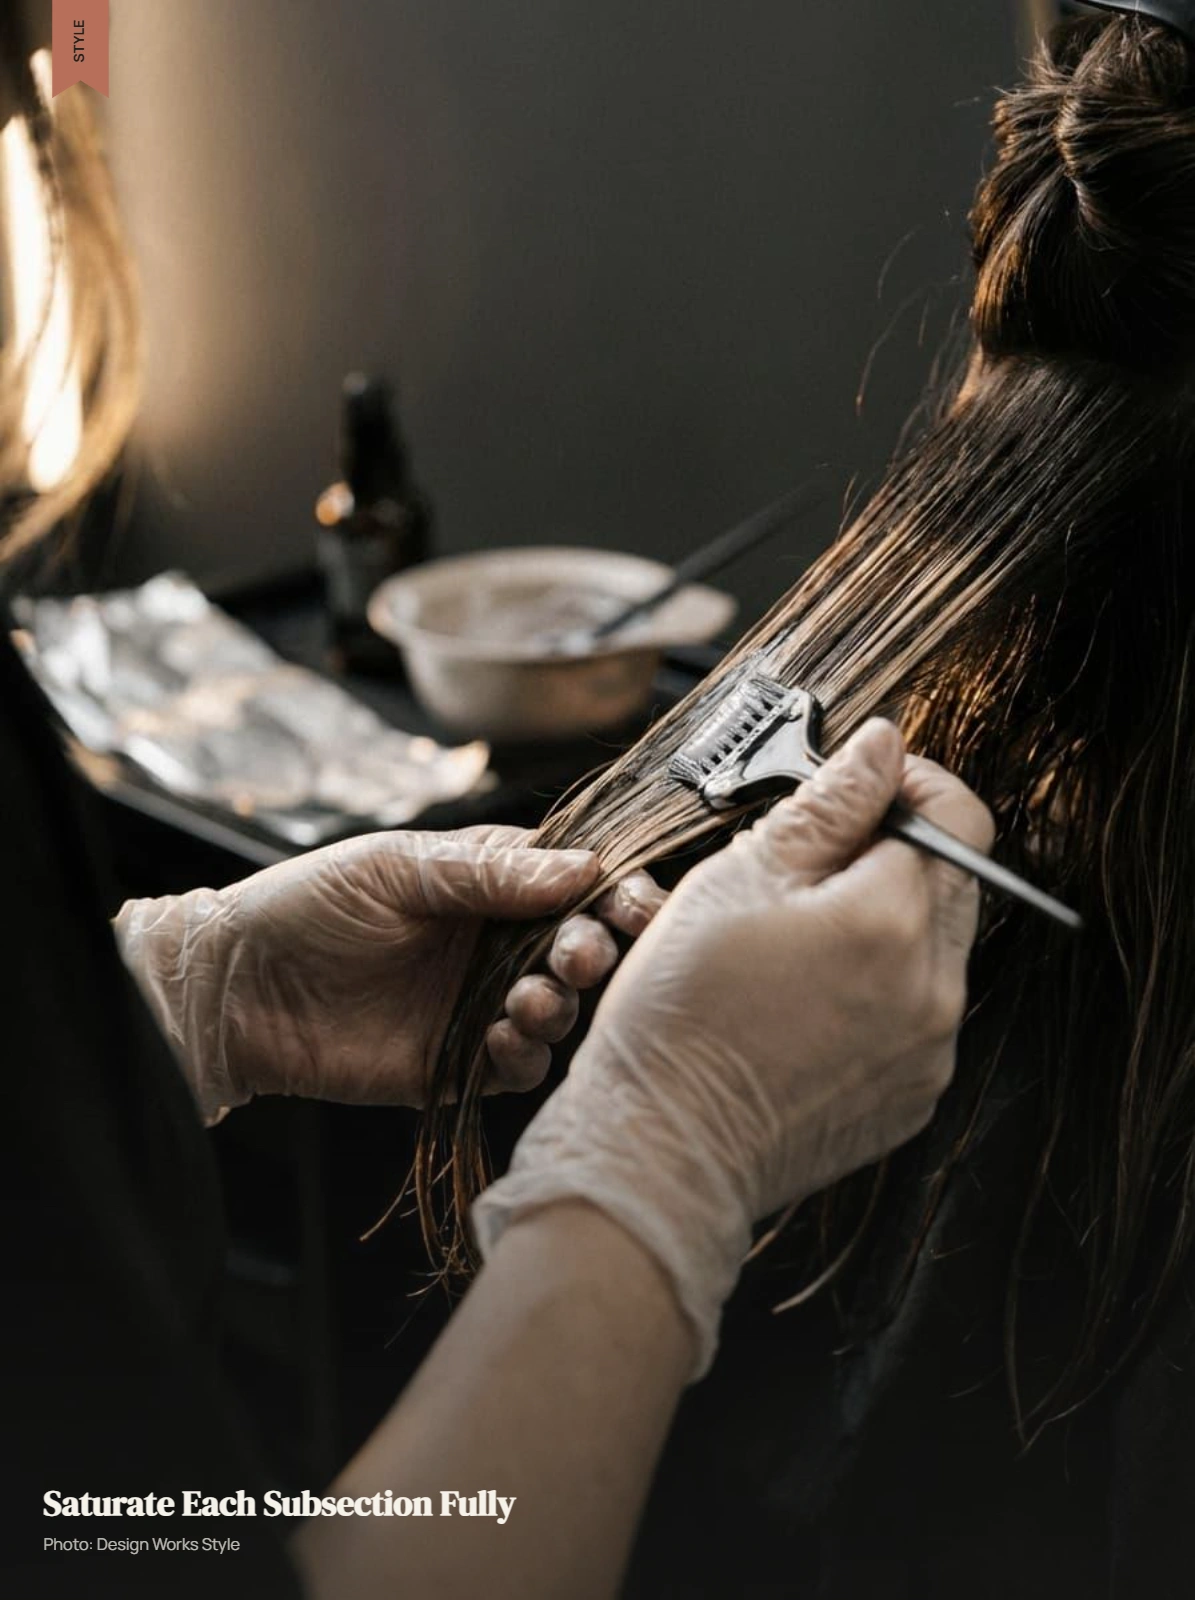
Saturation is important. The product should reach the hair throughout the section rather than simply coating the surface.
If the product instructions permit it, a wide-tooth comb or gloved fingers can help distribute the formula. L’Oréal Paris, for example, specifically suggests using a wide-tooth comb for thicker or curly textures when applying Le Color Gloss.
Keep completed sections separated so you can see which areas have already been covered.
Do not invent a different application pattern simply because it sounds more suitable for balayage. Follow the instructions for the specific formula.
Step 6: Pay Attention to Balayage and Porous Sections
Balayage creates another variable because the hair may contain sections with very different levels of processing.
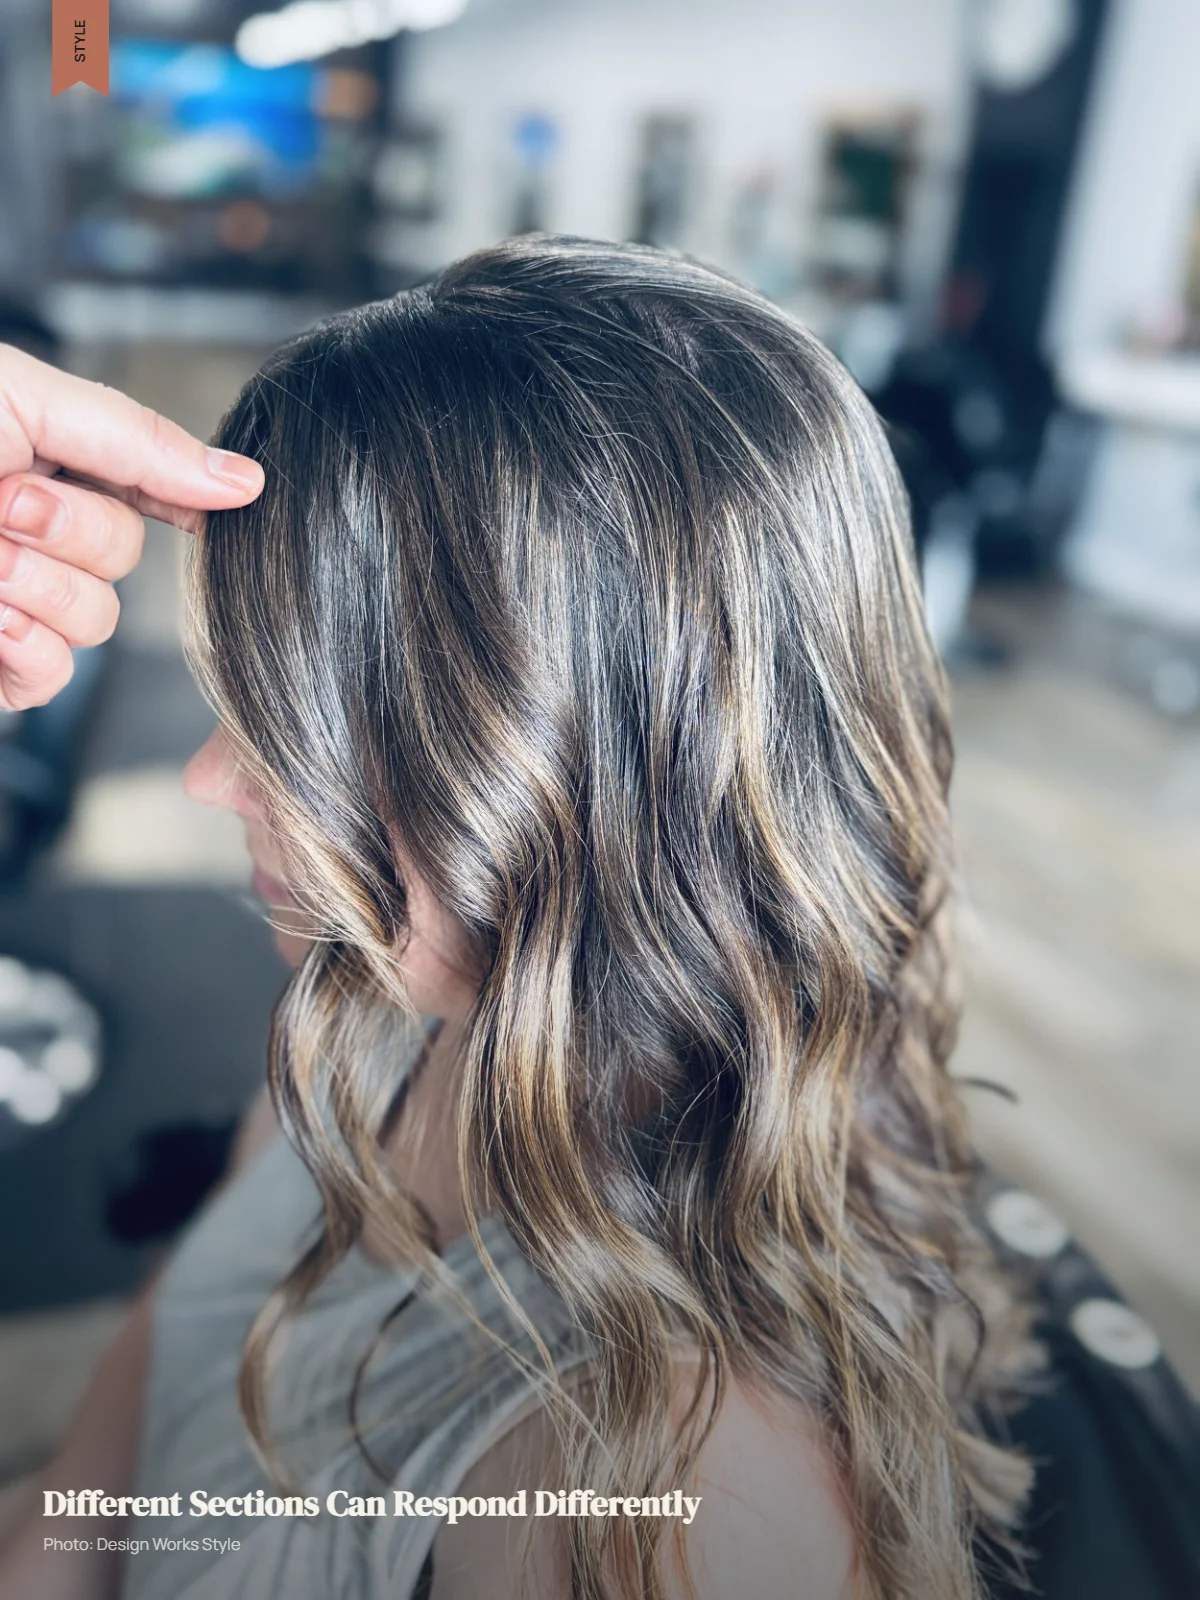
A darker natural section may respond differently from a highly lightened piece. More porous sections can also absorb deposited pigment differently.
If your strand test shows that the lightest pieces become much darker, cooler or more saturated than expected, do not compensate by adding more product or leaving the gloss on longer.
Stop and reassess the product directions and shade choice.
This is particularly important when the gloss contains noticeable pigment. A formula that looks subtle on one section of hair can appear much stronger on a porous highlighted section.
Step 7: Start the Timer
Once application is complete, use the processing time specified by the manufacturer.
Do not rely on how the product looks while it is sitting on the hair.
Do not use another brand’s processing time.
Do not assume that leaving a gloss on longer will simply produce a better version of the same result.
For example, dpHUE currently gives Gloss+ a 3–20 minute range, while L’Oréal Paris gives Le Color Gloss a 5–15 minute range. Those windows are product-specific.
Use a timer so you are not estimating.
Step 8: Rinse and Follow the Aftercare Instructions
Rinse the product according to its instructions.
Post-rinse steps can vary. Some formulas are simply rinsed thoroughly, while others specify shampooing and conditioning afterward.
Kristin Ess Signature Hair Gloss, for example, currently instructs users to rinse thoroughly and then shampoo and condition as usual.
Follow the instructions for the product you actually used rather than applying a generic aftercare routine.
Step 9: Let the Hair Dry Before Judging the Result
Do not make your final assessment while your hair is wet.
Wet hair can appear darker and more reflective than it does once dry. Allow the hair to dry fully and assess the result in natural light.
Look at the color from different angles and compare the lighter sections with the rest of the hair.
If the result is slightly different from what you expected, give yourself time to assess it before immediately applying another color product.
Even-Application Checklist
Use this checklist before you rinse:
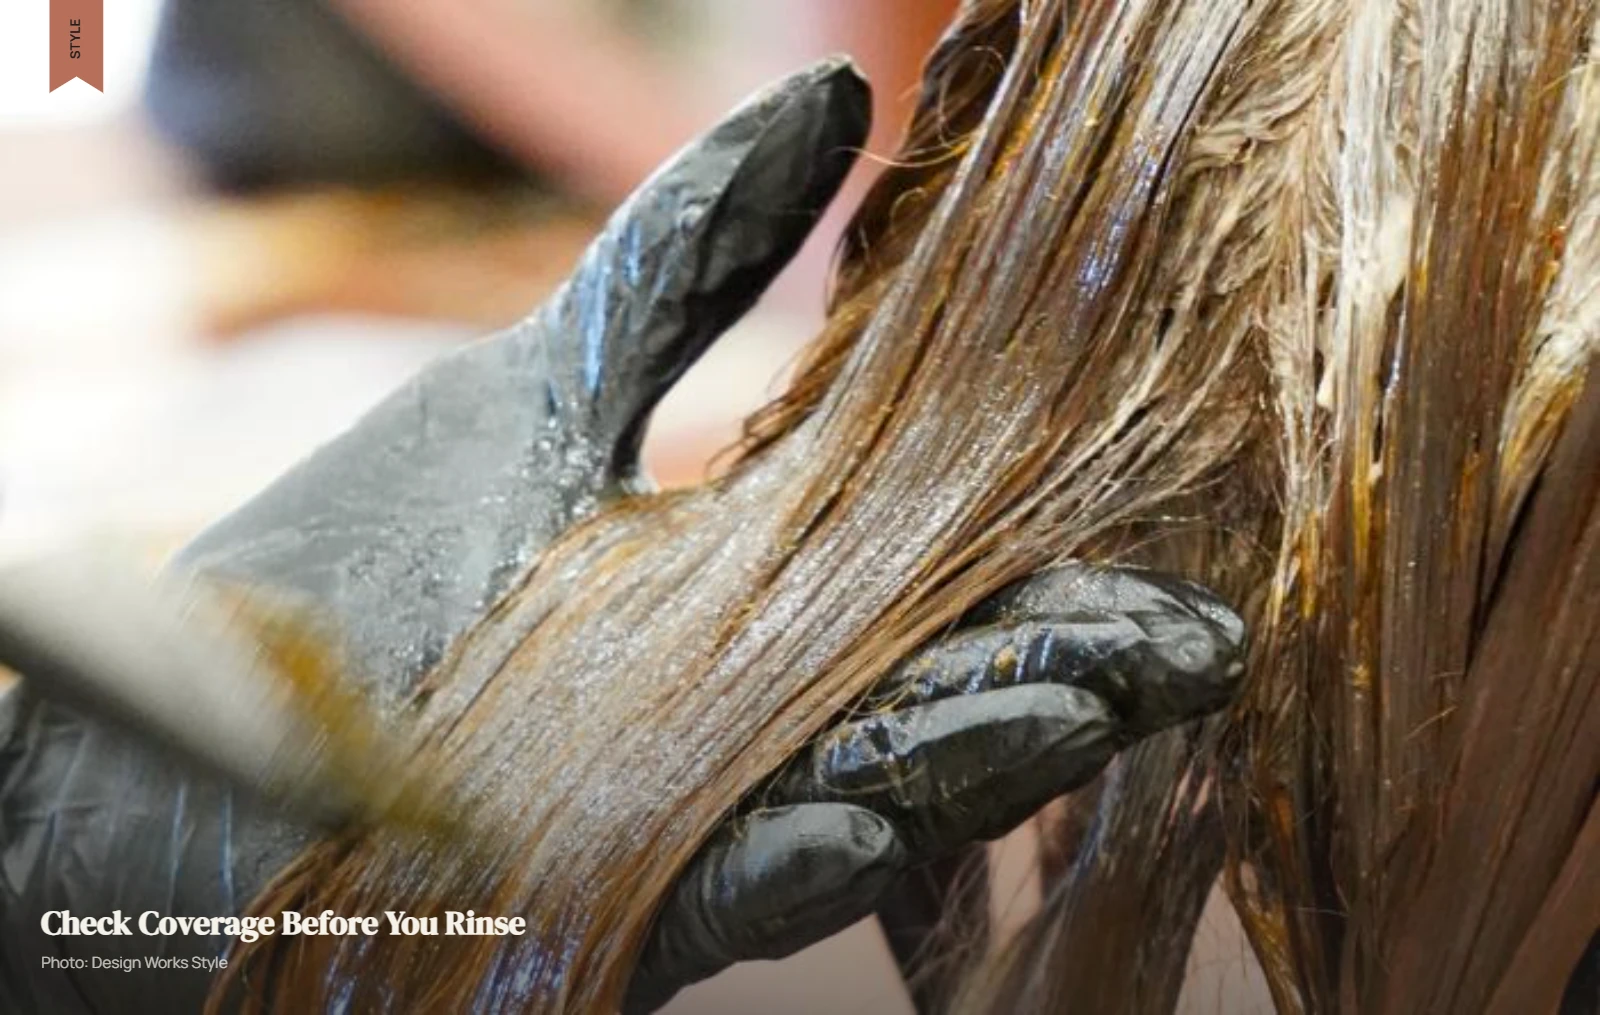
- Use enough product to fully saturate each section.
- Work through the hair in a consistent pattern.
- Keep completed sections separated.
- Use smaller subsections around the hairline, crown and nape.
- Avoid allowing the first section to process substantially longer than the last unless the product specifically instructs this.
- Use a timer.
- Start timing according to the manufacturer’s directions.
- Do not mix shades, add developer or dilute the formula unless the manufacturer specifically permits it.
- Do not save mixed two-part formulas when the instructions say to discard them.
Product Examples: Why Instructions Cannot Be Generalized
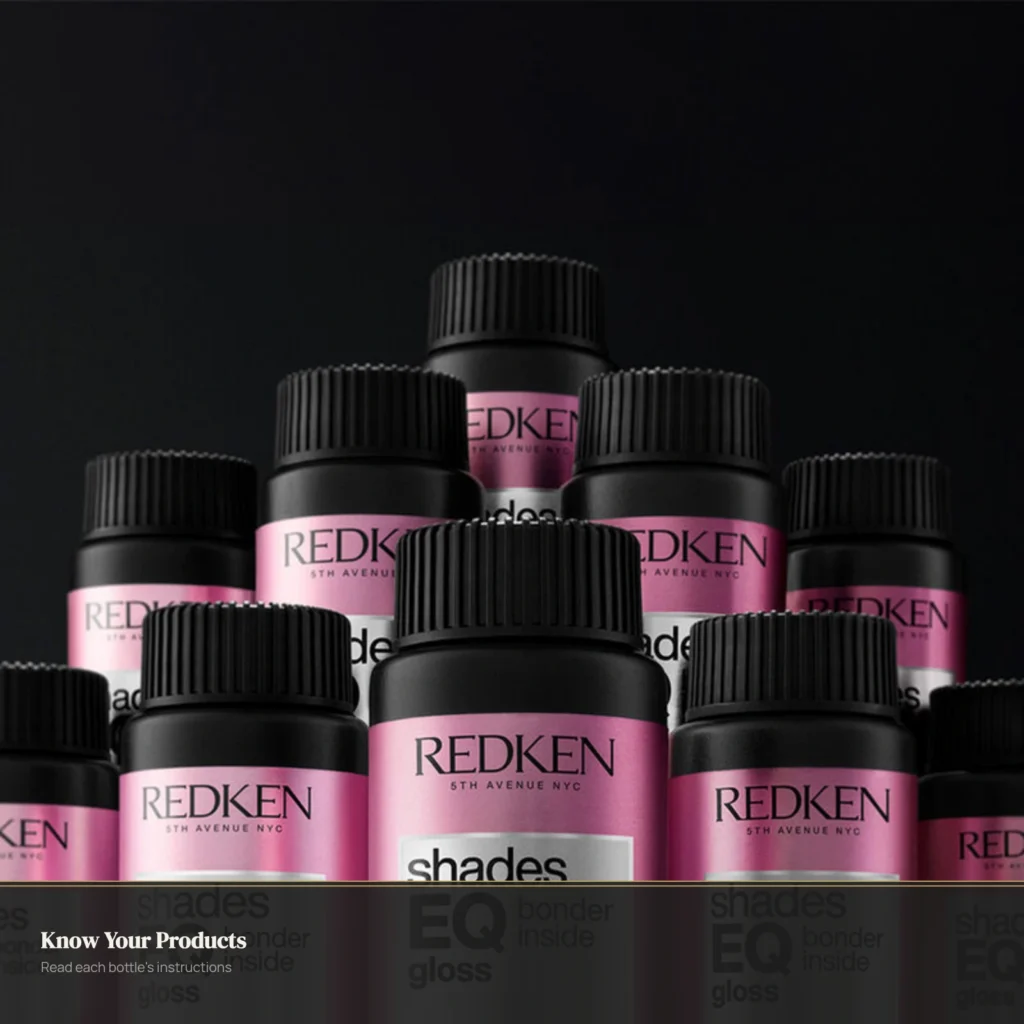
Different at-home glosses illustrate why you should not create one universal application routine.
| Product | Format | What it demonstrates |
|---|---|---|
| dpHUE Gloss+ | Semi-permanent color-depositing gloss | Clean, damp application with a 3–20 minute processing range |
| dpHUE Gloss+ Toning | Toning gloss | Targeted toning with a much shorter maximum processing time |
| dpHUE Glossy Glaze | Short-contact shine and color-refresh treatment | A different format with a 2–3 minute application |
| L’Oréal Paris Le Color Gloss | One-step in-shower toning gloss | Clean, damp application with a 5–15 minute range |
| Kristin Ess Signature Hair Gloss | Two-part gloss | Mixing bottles before application and a 10–20 minute processing range |
The differences are not minor. dpHUE’s current Gloss+ Toning instructions specify no more than five minutes, while dpHUE’s Glossy Glaze instructions specify two to three minutes. Kristin Ess requires its two bottles to be mixed before application.
These products therefore work well as examples of why the manufacturer’s instructions should control the application.
If you are still deciding whether a gloss is appropriate for your hair, see our guide to what hair gloss can and cannot do.
What to Do If the Result Is Uneven or Unexpected
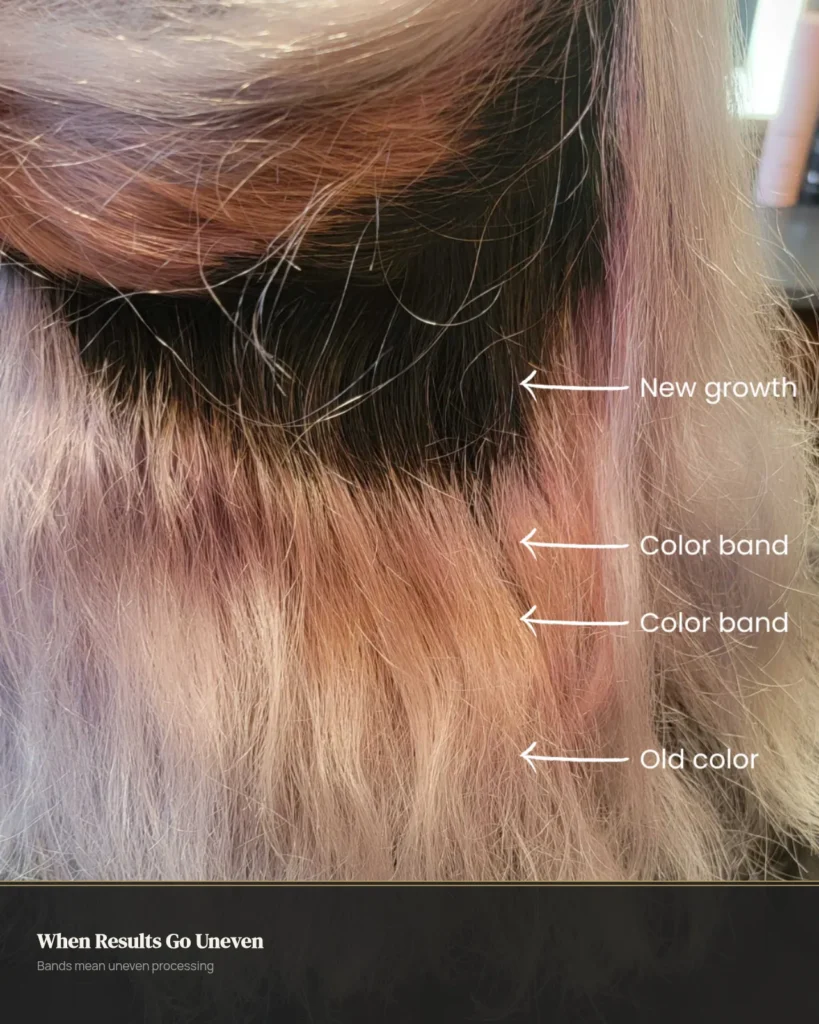
An unexpected result does not always mean the gloss itself was defective. Hair condition, porosity, application, product quantity, shade selection and processing time can all affect the result.
| What you notice | What may have happened | Sensible next step |
|---|---|---|
| The color is darker than expected | Porous sections absorbed more pigment, or the shade/process was too strong | Follow your normal washing routine and avoid immediately layering another color product |
| Blonde pieces look gray, violet or muddy | The toner was too strong for the hair or was left on too long | Pause toning products and reassess before applying another formula |
| The result is patchy | Uneven saturation, sectioning, product quantity or different porosity | Assess the hair in daylight rather than immediately applying another full-head gloss |
| There is very little visible change | The formula may be sheer or the result may be subtle | Allow the hair to dry fully before deciding whether more is needed |
| Hair feels coated or flat | Product buildup or heavy aftercare may be contributing | Follow the product’s aftercare directions and consider whether buildup is actually the issue |
| Burning, swelling, rash or persistent irritation occurs | Possible irritation or allergic reaction | Stop using the product and seek appropriate medical advice |
The final row is different from a normal color result. A reaction should not be treated as a color-correction problem. FDA guidance recommends stopping use and seeking medical help when an adverse reaction occurs.
Common At-Home Gloss Mistakes
Skipping the strand test
A shade that looks appropriate on the bottle may behave differently on porous or highlighted hair.
Better approach: Test a representative section first.
Using another product’s processing time
Five, 10, 15 and 20 minutes are not interchangeable.
Better approach: Use the timing specified for your exact formula.
Using too little product
Trying to stretch a small amount across too much hair can make even saturation difficult.
Better approach: Have enough product to thoroughly cover the hair.
Ignoring porosity
Lightened sections may take up pigment differently from darker natural hair.
Better approach: Use the strand test to see how your hair actually responds.
Judging the result while the hair is wet
Wet hair does not show the final result reliably.
Better approach: Dry the hair completely before deciding whether the color needs attention.
Reapplying immediately
A result that looks too dark or too cool while wet may look different once dry.
Better approach: Let it dry and assess it before doing anything else.
Mixing products without instructions
Adding another shade, developer or diluting agent can change how the formula behaves.
Better approach: Only mix products or components when the manufacturer specifically instructs you to do so.
What Hair Gloss Cannot Reliably Fix at Home
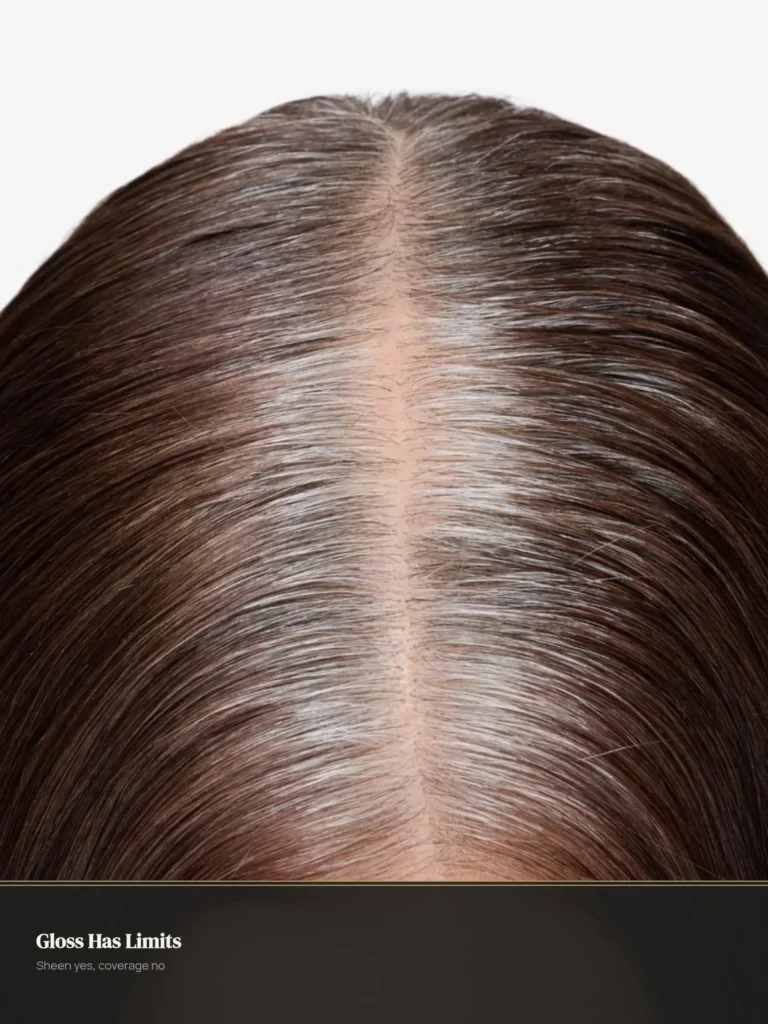
A gloss is not the right solution for every color problem.
Be cautious about continuing with DIY applications when you are dealing with:
- Major unevenness
- Significant color correction
- Large differences between sections
- Severe bleach-related hair damage
- A result that requires substantial lightening
- A result that requires substantial darkening
- A color outcome you cannot confidently identify or correct
The more complicated the existing color becomes, the harder it can be to predict how another layer of pigment will behave.
If the result is substantially different from what you intended, professional assessment may be more appropriate than repeatedly applying another gloss.
The Simple Rule for Hair Gloss at Home
There is no universal hair-gloss-at-home recipe.
Choose a formula that suits the hair you have now. Read its complete instructions before starting. Complete any required allergy test, then perform a strand test on representative hair. Section the hair so you can work systematically, use enough product for even saturation, follow the specified processing time, and rinse according to the manufacturer’s instructions.
Most importantly, do not assume that another brand’s application method will work the same way.
The best DIY gloss application is not about following a generic recipe. It is about understanding the specific formula, seeing how your own hair responds, and making the application controlled enough that you can assess the result before making another change.
Frequently Asked Questions
Is at-home hair gloss safe?
Generally yes for demi-permanent gloss, which is low-commitment and washes out. Do a strand test and an allergy patch test first, and follow the timing on the instructions exactly.
What is a strand test and why does it matter?
A trial on a hidden section of hair that shows you the real color result before you commit your whole head. Skipping it is how most at-home surprises happen.
What if my at-home gloss turns out uneven?
Do not immediately reapply. Wait, assess the result in daylight, and call the product helpline or a salon. Layering more product on a mistake usually makes it worse.
How long does at-home gloss last?
About three to four weeks, fading a little with each wash. It is a refresh, not a replacement for salon color when you need real change.