
Sectioning hair for highlights means dividing the hair into controlled working areas so you can plan where highlights will go and keep the process organized. A basic sectioning pattern can make the work easier to manage, but the final result also depends on highlight placement, section thickness, hair length, density, natural parting, existing color, hair condition, and application technique.
Before you begin, read the instructions for your highlighting product and follow its testing and application requirements. If your hair has a complicated color history, significant damage, or you cannot comfortably see and control the back of your head, professional color help may be a better option.
Quick Answer: How Should You Section Your Hair for Highlights?
Start with a clean reference part, then divide the hair into front and back working areas. From there, create smaller, manageable sections and secure the hair you are not currently working on.
The exact pattern does not need to be identical for every head. Your sectioning should give you clear working areas, consistent control, and a repeatable sequence.
The key is to separate the hair deliberately rather than picking up random pieces as you go.
What You Need Before Sectioning Hair for Highlights
You do not need a large collection of styling tools to create useful sections. A few basic items can make the process much easier to control.
- Tail comb: The pointed end helps create clean partings and separate individual sections.
- Sectioning clips: These keep unused hair out of the active working area.
- Mirror: A second mirror can help you see the back of your head if you are working alone.
- Protective towel or clothing: Useful for protecting your clothing while you prepare to work.
- Gloves and highlighting materials: Use the equipment specified by your chosen highlighting product.
A tail comb is particularly useful because sectioning depends on being able to create controlled lines rather than grabbing uneven handfuls of hair.
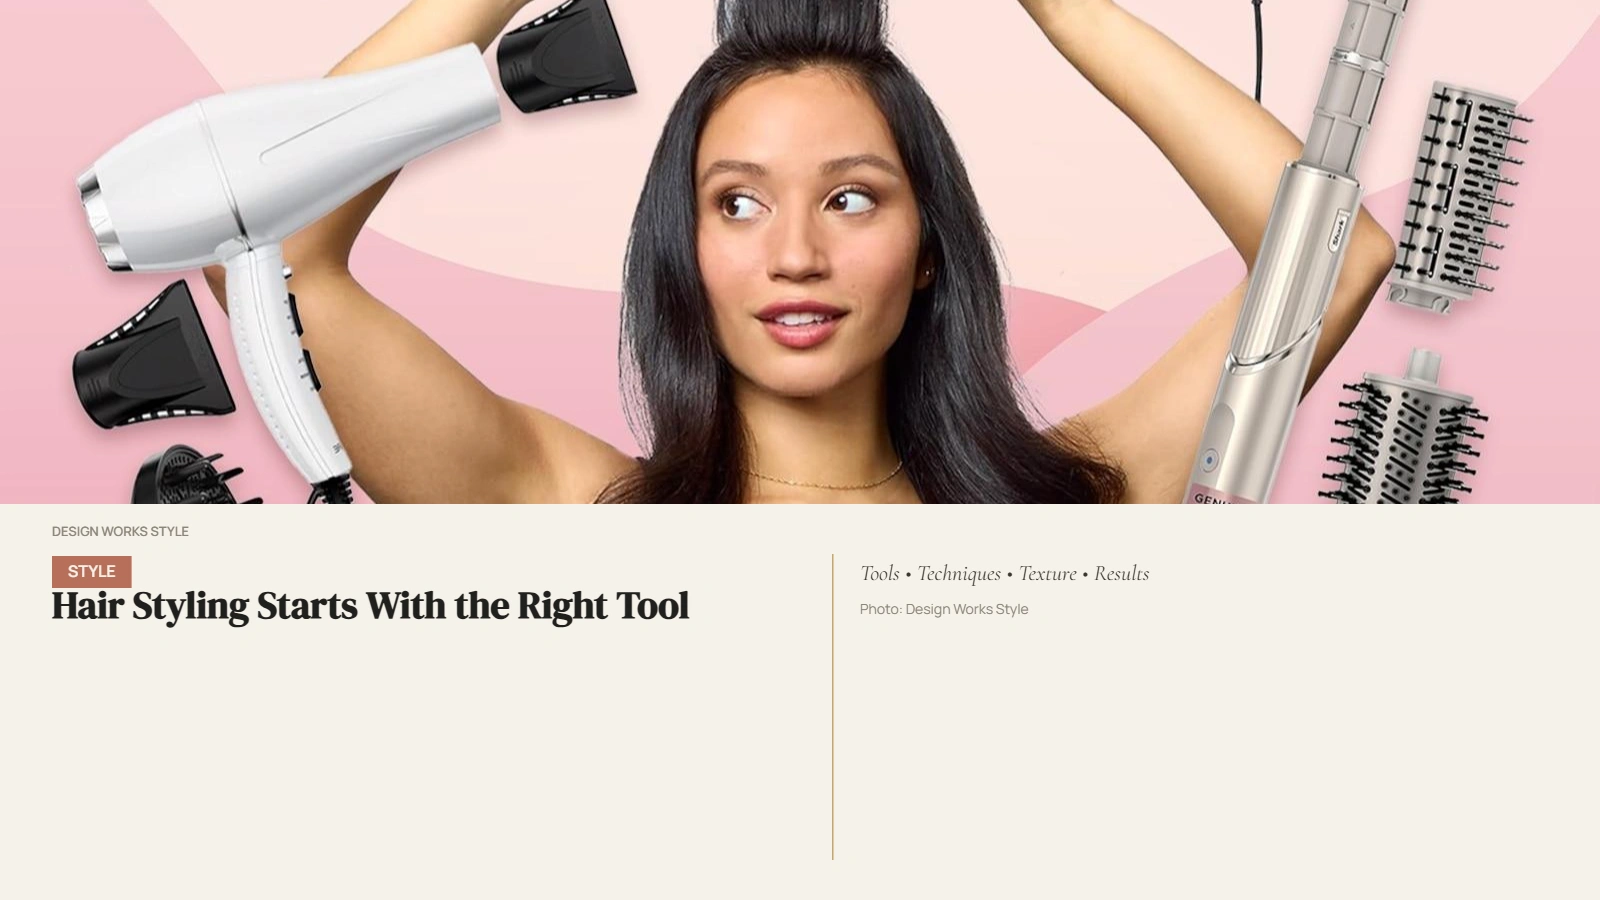
Sectioning is also part of the broader styling process. If you want more background on preparation, tools, and related techniques, see our hair styling guide.
Prepare Your Hair Before You Start
Good sectioning starts before you pick up the comb.
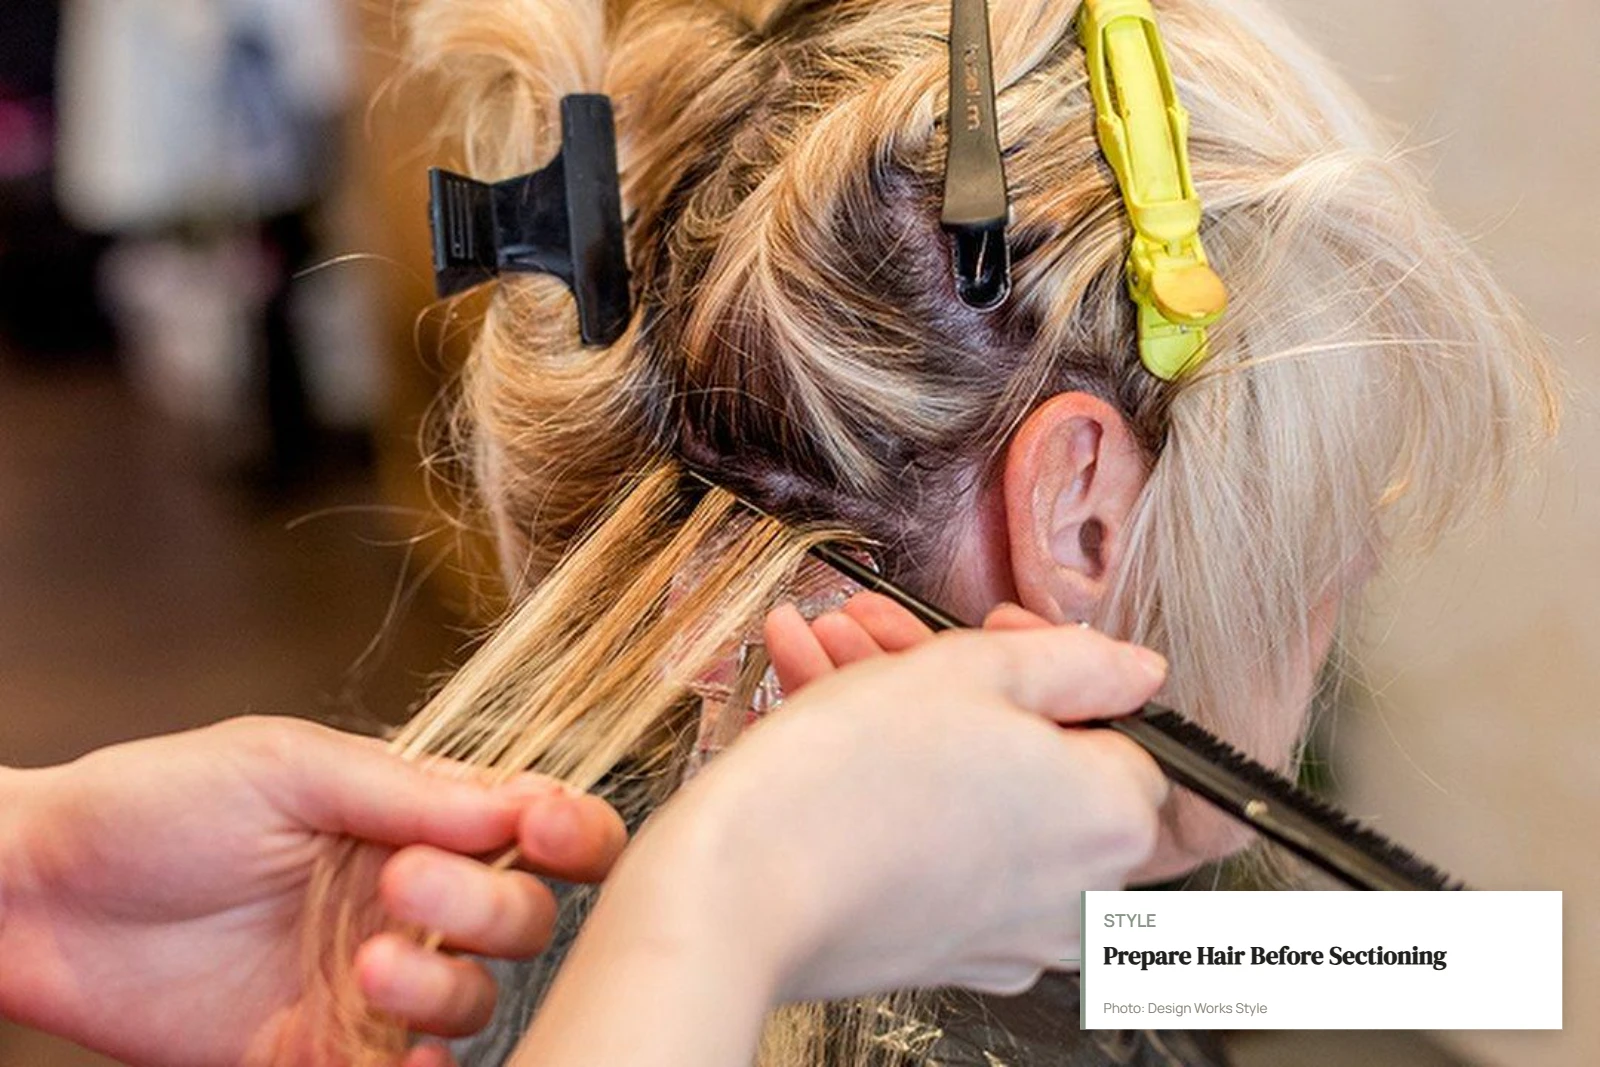
First, read the instructions supplied with the highlighting product you plan to use. Different products can have different preparation, testing, application, and safety requirements.
Depending on the product, preparation may include:
- Completing an allergy or sensitivity test when required.
- Performing a strand test where recommended.
- Considering your current hair color.
- Considering previous permanent color, bleach, or other chemical services.
- Assessing whether the hair is in suitable condition for the planned service.
- Preparing a well-lit workspace.
- Making sure you can see and reach the areas you plan to section.
Do not use a generic online guide as a replacement for the instructions supplied with your specific product.
Once the preparation is complete, the goal of sectioning is simply to create organized working areas.
How to Divide Hair for Highlights
The following process gives you a practical starting point for organizing the hair before highlight placement.
Step 1: Create a Clean Center Part
Begin at the front hairline and use the tail of a comb to create a clean part through the hair.
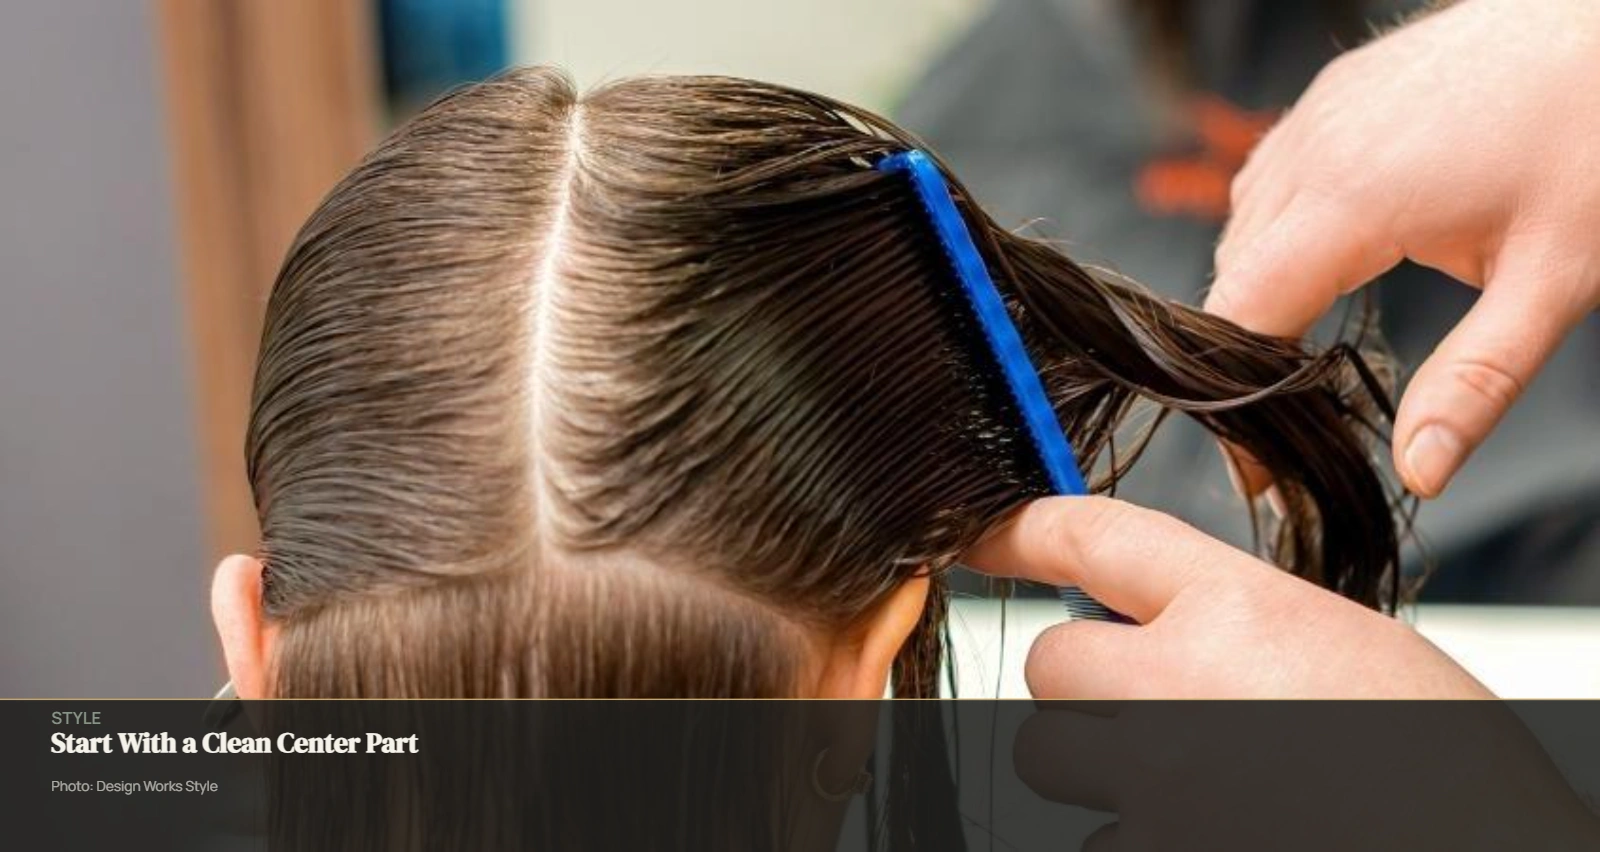
A center part gives you a useful reference point for organizing both sides of the head. It does not have to be mathematically perfect. The goal is to establish a repeatable line that makes the rest of the sectioning easier to follow.
If the hair naturally falls into a strong side part, take that into account when planning the visible top sections. The natural way the hair falls can affect how the finished highlights are seen.
If you are unfamiliar with creating clean working sections, our guide to how to section hair covers the broader fundamentals. For this article, the focus is specifically on adapting those principles for highlight placement.
Step 2: Separate the Front and Back
Once you have established your main reference part, divide the hair into front and back working areas.
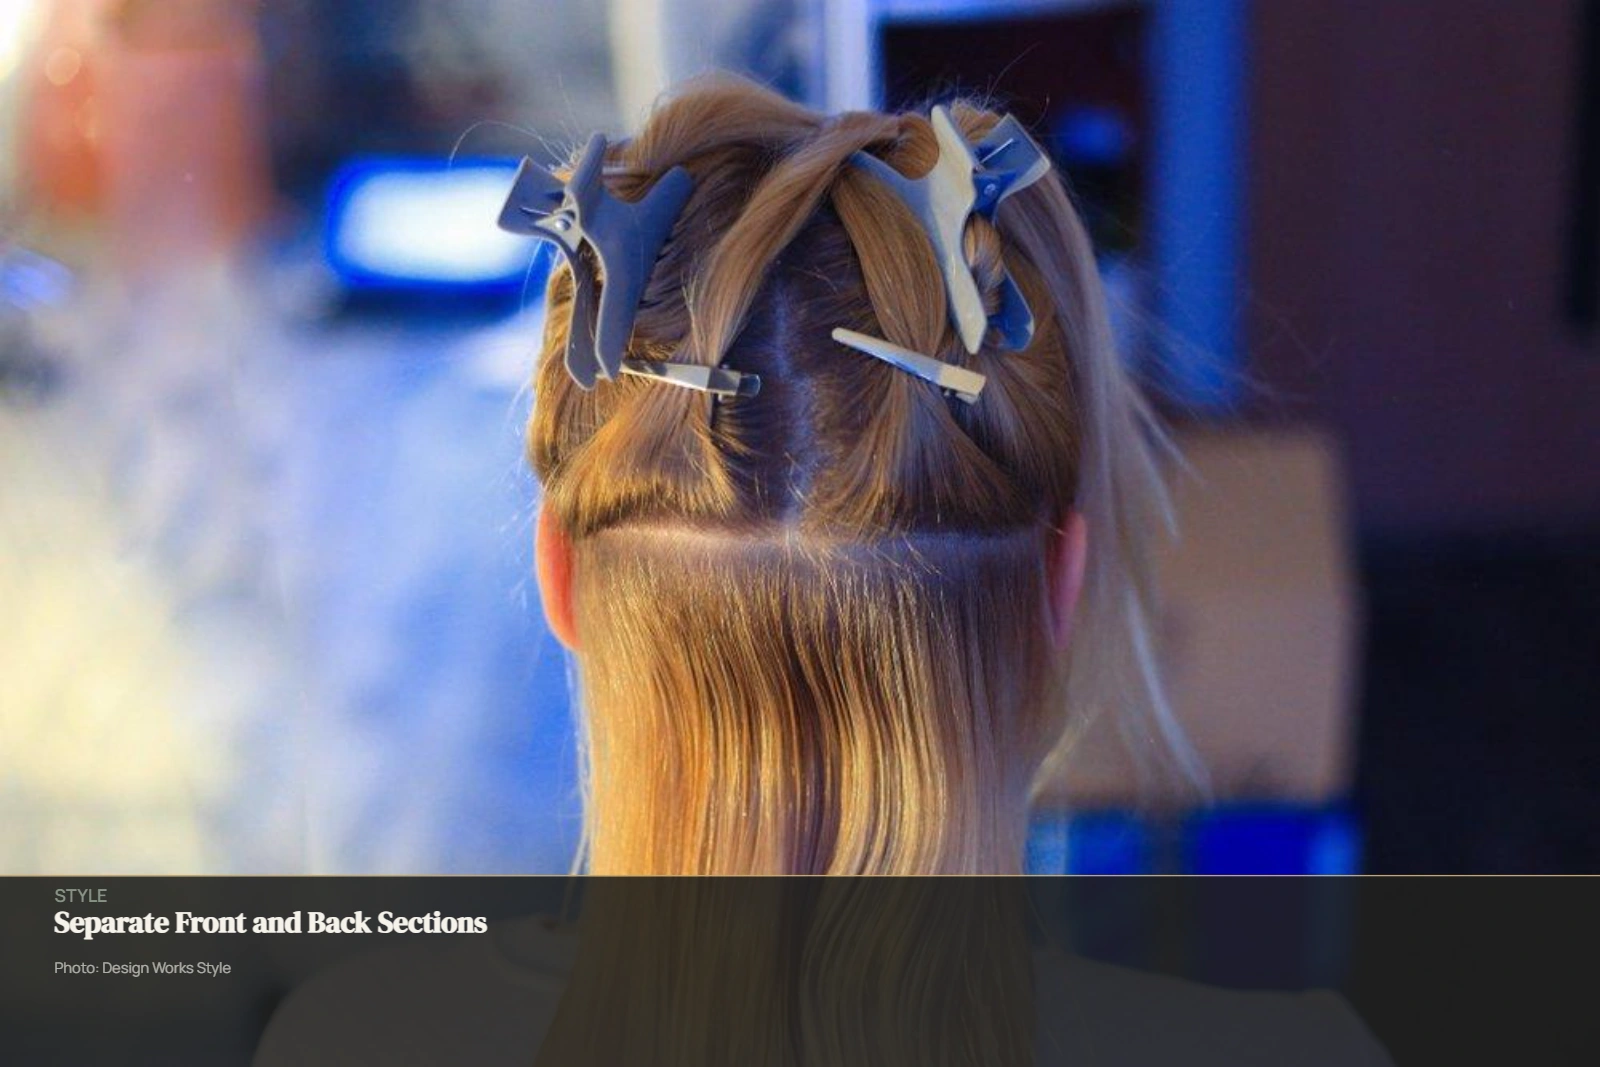
This reduces the amount of loose hair you need to control at one time and makes it easier to follow a consistent sequence.
The exact dividing line can vary depending on hair length, density, haircut, and the highlighting style you want to create.
The important thing is to create areas that are easy to identify and control.
Step 3: Create Manageable Working Sections
Large sections can quickly become difficult to control, particularly when working on your own hair.
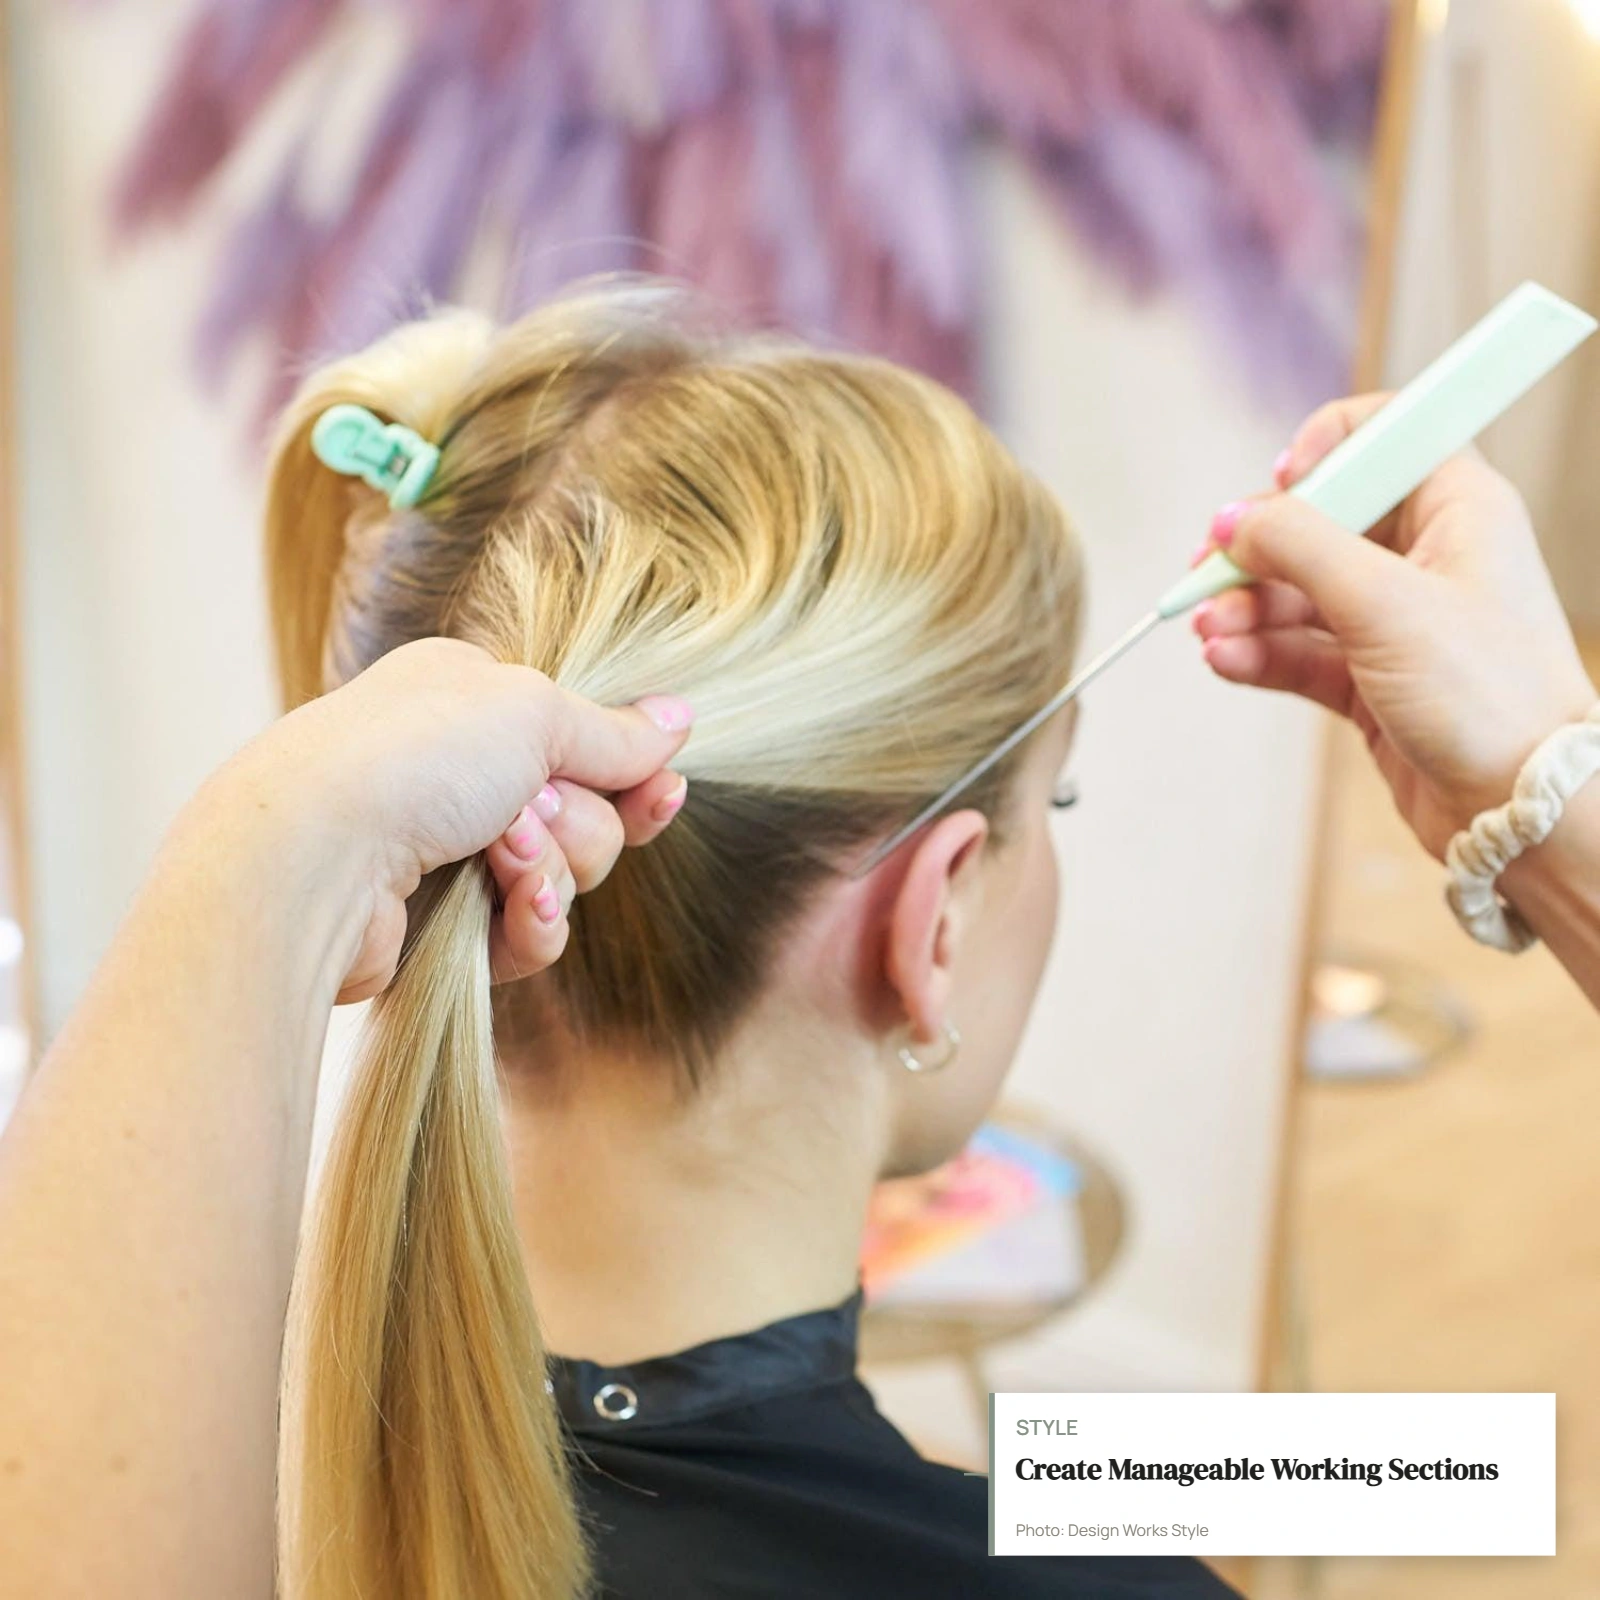
Create smaller working sections that are appropriate for the technique and the amount of hair you can comfortably manage.
Keep the size reasonably consistent as you move around the head. However, section size is a working decision, not a universal measurement. There is no single width that works for every head of hair or every highlighting technique.
Consider:
- Hair density.
- Hair length.
- The desired highlight pattern.
- The location of the section.
- How easily you can control the hair.
- Whether the section contains visible surface hair or underneath layers.
The goal is to create sections that are clear enough to work with without losing track of the overall pattern.
Step 4: Secure Unused Sections
Use sectioning clips to keep inactive hair separated from the area you are working on.
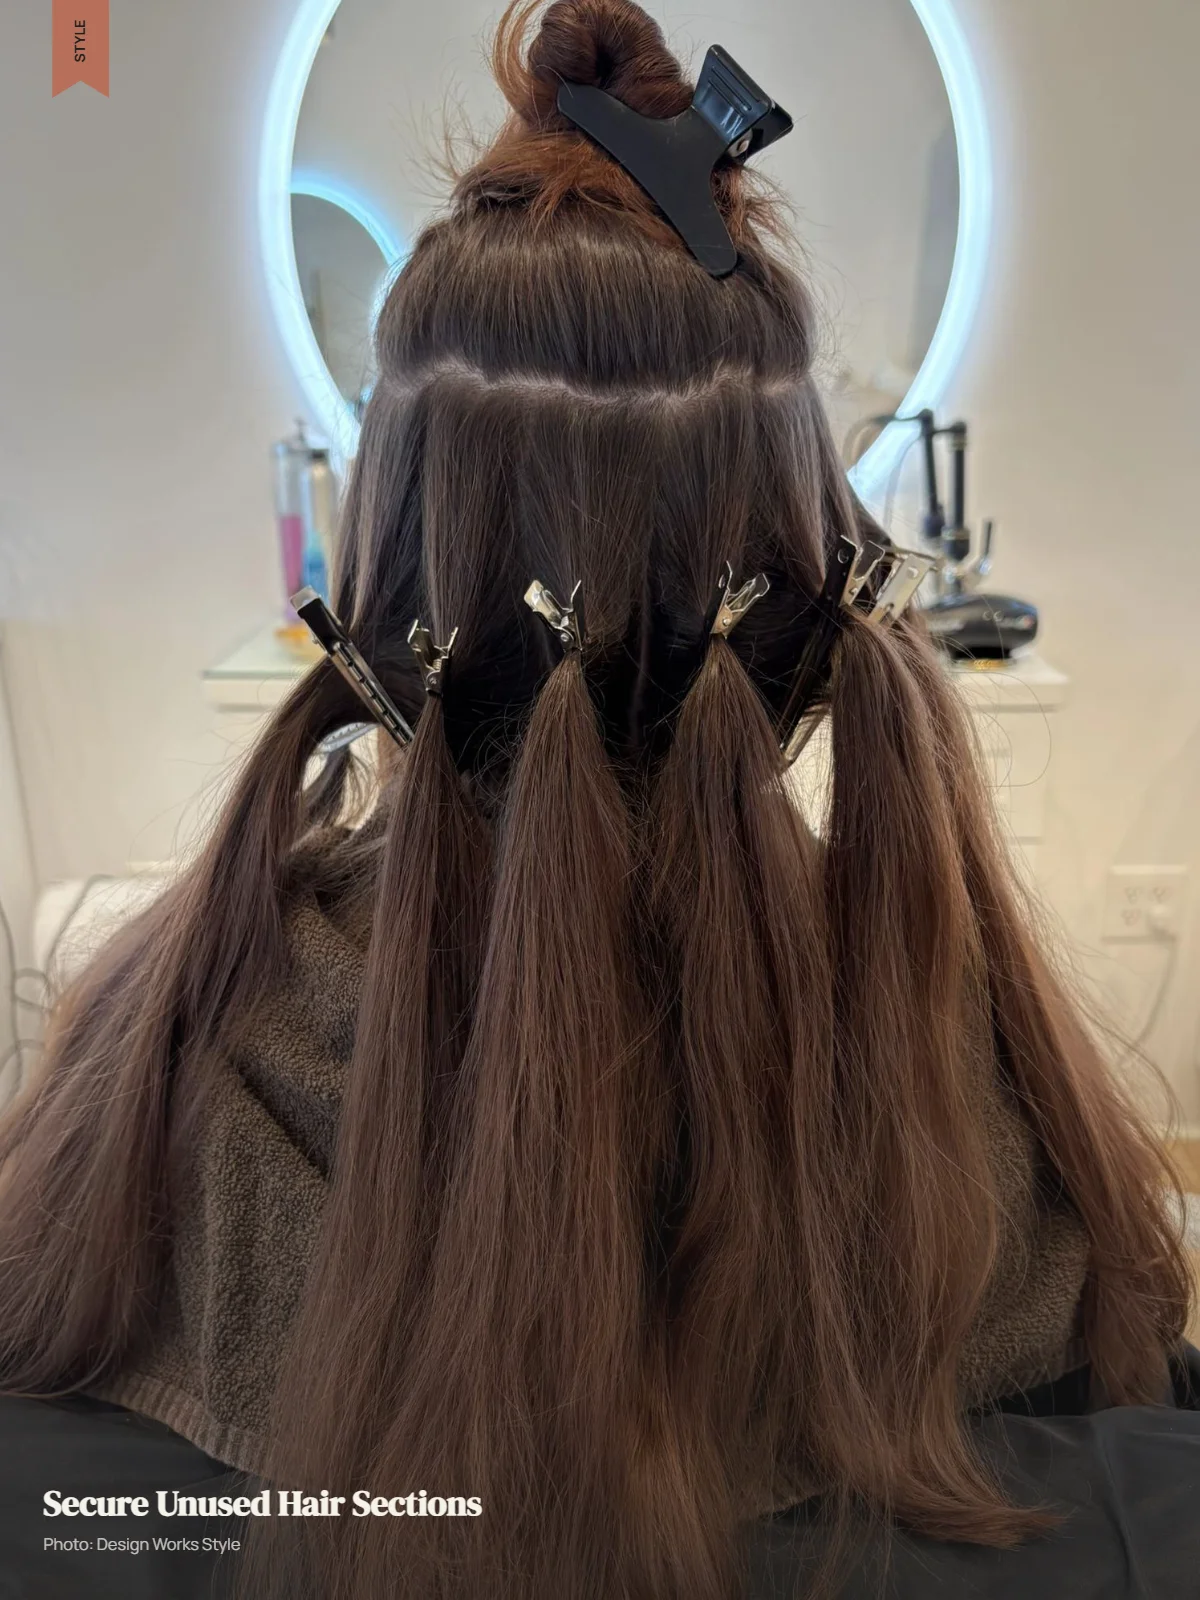
A secure section should stay out of the way without creating excessive tension. If loose pieces continually fall back into your working area, stop and reorganize the section rather than continuing with a messy division.
Keeping inactive hair secured also makes it easier to remember which areas you have already organized.
Step 5: Work Through the Sections Systematically
Choose a sequence before you begin and follow it.
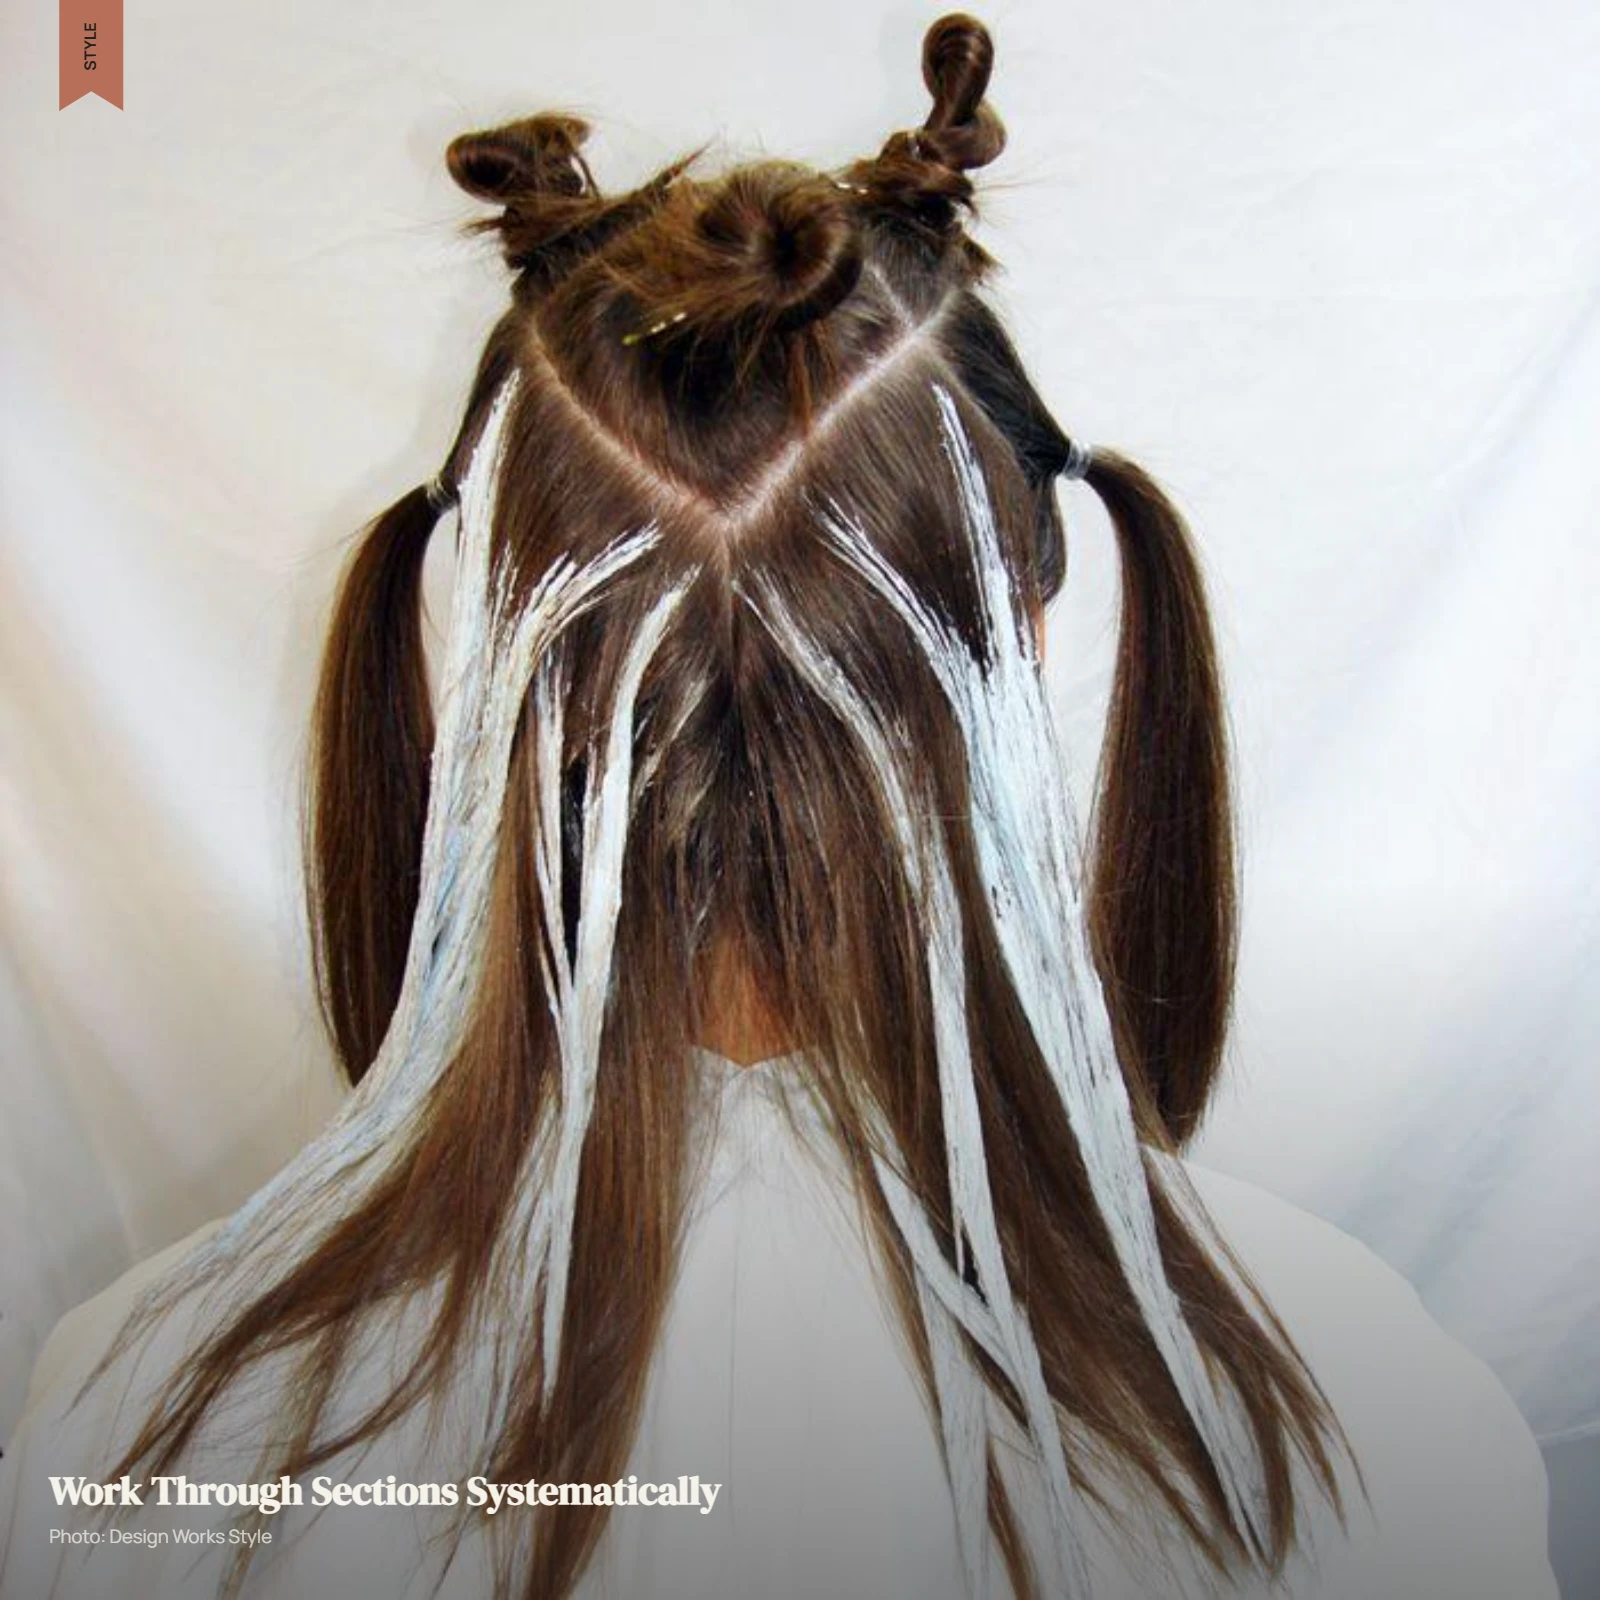
You might work:
- From the front toward the back.
- From one side to the other.
- From upper sections toward lower sections.
There is no requirement to use one specific sequence for every head.
Consistency matters more than the particular order.
A repeatable sequence helps prevent you from randomly moving around the head, revisiting the same area, or overlooking another section.
The major working areas should be clearly separated before moving into individual highlight placement.
How Sectioning Affects Highlight Placement
Sectioning and highlight placement are related, but they are not the same thing.
Sectioning divides the hair into manageable areas.
Placement determines which pieces within those areas will receive highlights.
Application is the process of applying the chosen product to those selected pieces.
This distinction matters because the same general sectioning pattern can produce different results depending on which strands are selected, how much hair is included, how the pieces are distributed, and where they are positioned.
For example, two people might divide their hair into similar front, crown, side, and back areas but choose different pieces within those sections. One may create a more noticeable pattern while the other creates a softer distribution.
Sectioning gives you the structure. It does not automatically determine the finished color pattern.
How to Section the Hair Around the Face
The hair around the face deserves extra planning because it is among the most visible parts of the finished style.
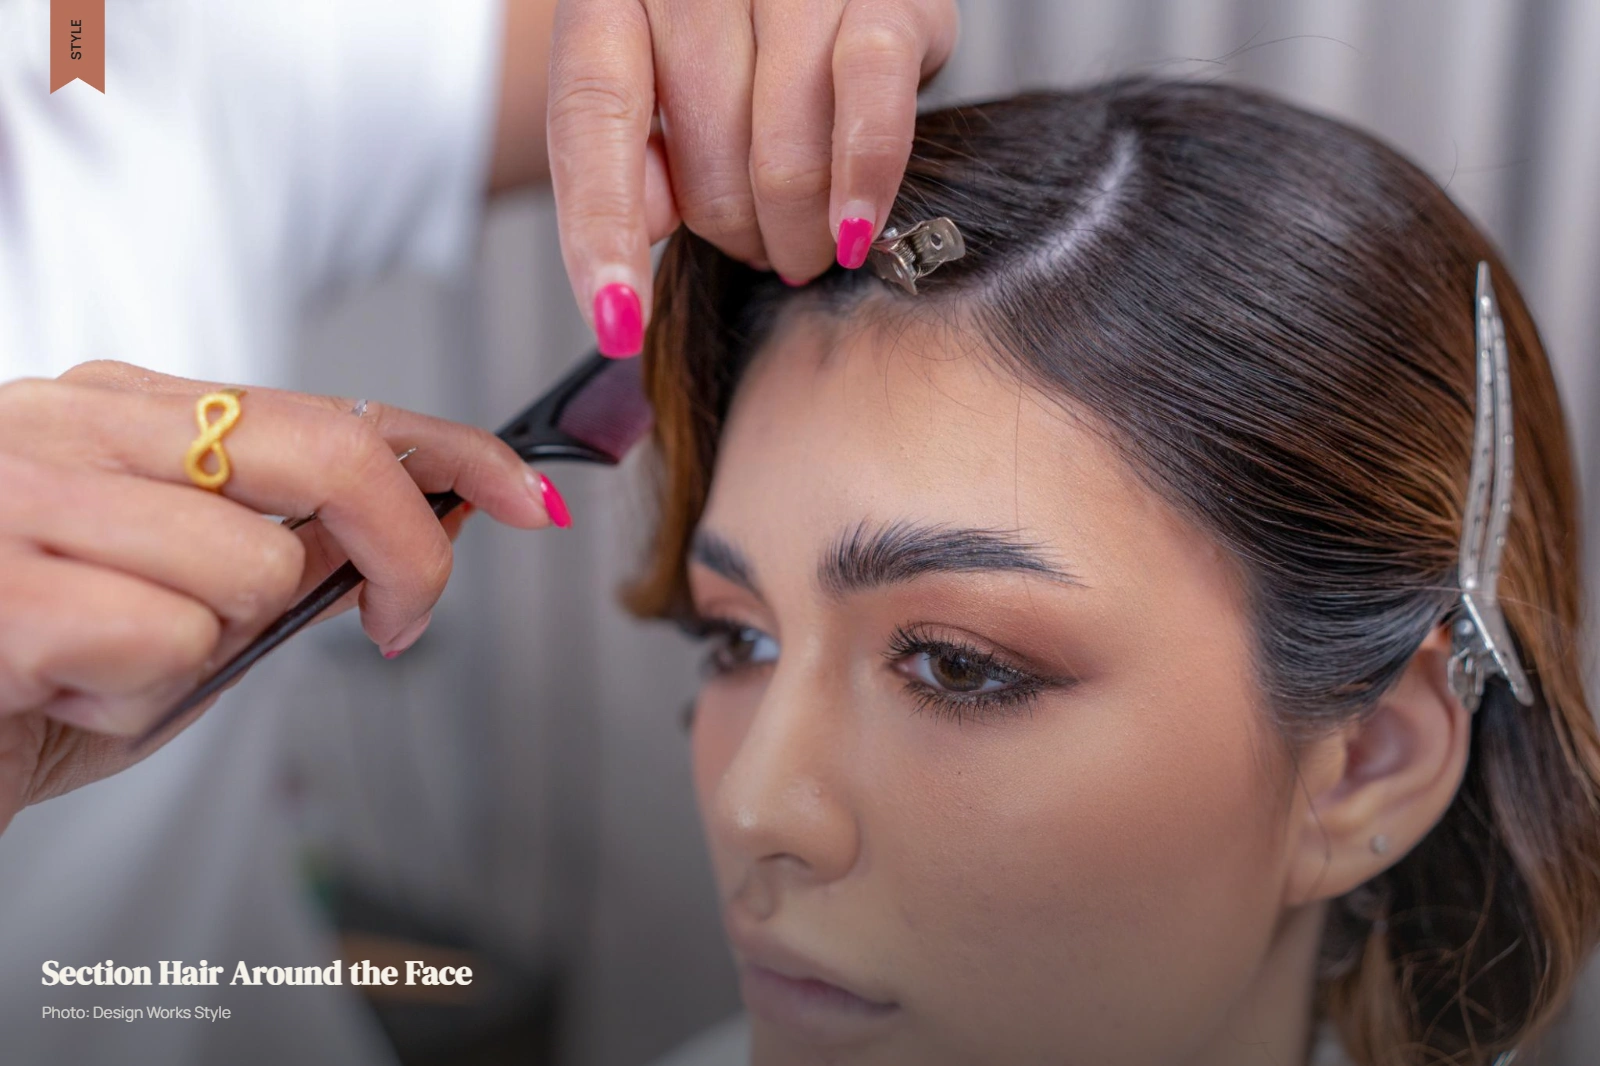
Start by identifying the front sections and consider how the hair normally falls around the face.
Pay attention to:
- The natural part.
- The hairline.
- The width of the front sections.
- How the hair falls when worn normally.
- Visual balance between the two sides.
- How prominent you want the face-framing pieces to appear.
Avoid assuming that both sides must contain perfectly identical sections. Hair is not always naturally symmetrical, and mechanically matching every piece can sometimes look less natural.
The goal is visual balance and intentional placement rather than perfect mathematical symmetry.
The front section should be clearly separated so face-framing placement can be planned before application.
How to Section the Crown and Top of the Hair
The crown and top of the head often have a strong visual impact because these areas are visible when the hair is worn down.
Start by considering the natural part and direction of hair growth.
Then organize the top into manageable working sections while keeping the spacing reasonably consistent.
Avoid concentrating every section in one small area. Instead, think about how the visible hair will fall and how the selected pieces will relate to the surrounding sections.
The crown does not need to be divided into identical geometric shapes. What matters is having enough control to make deliberate placement decisions.
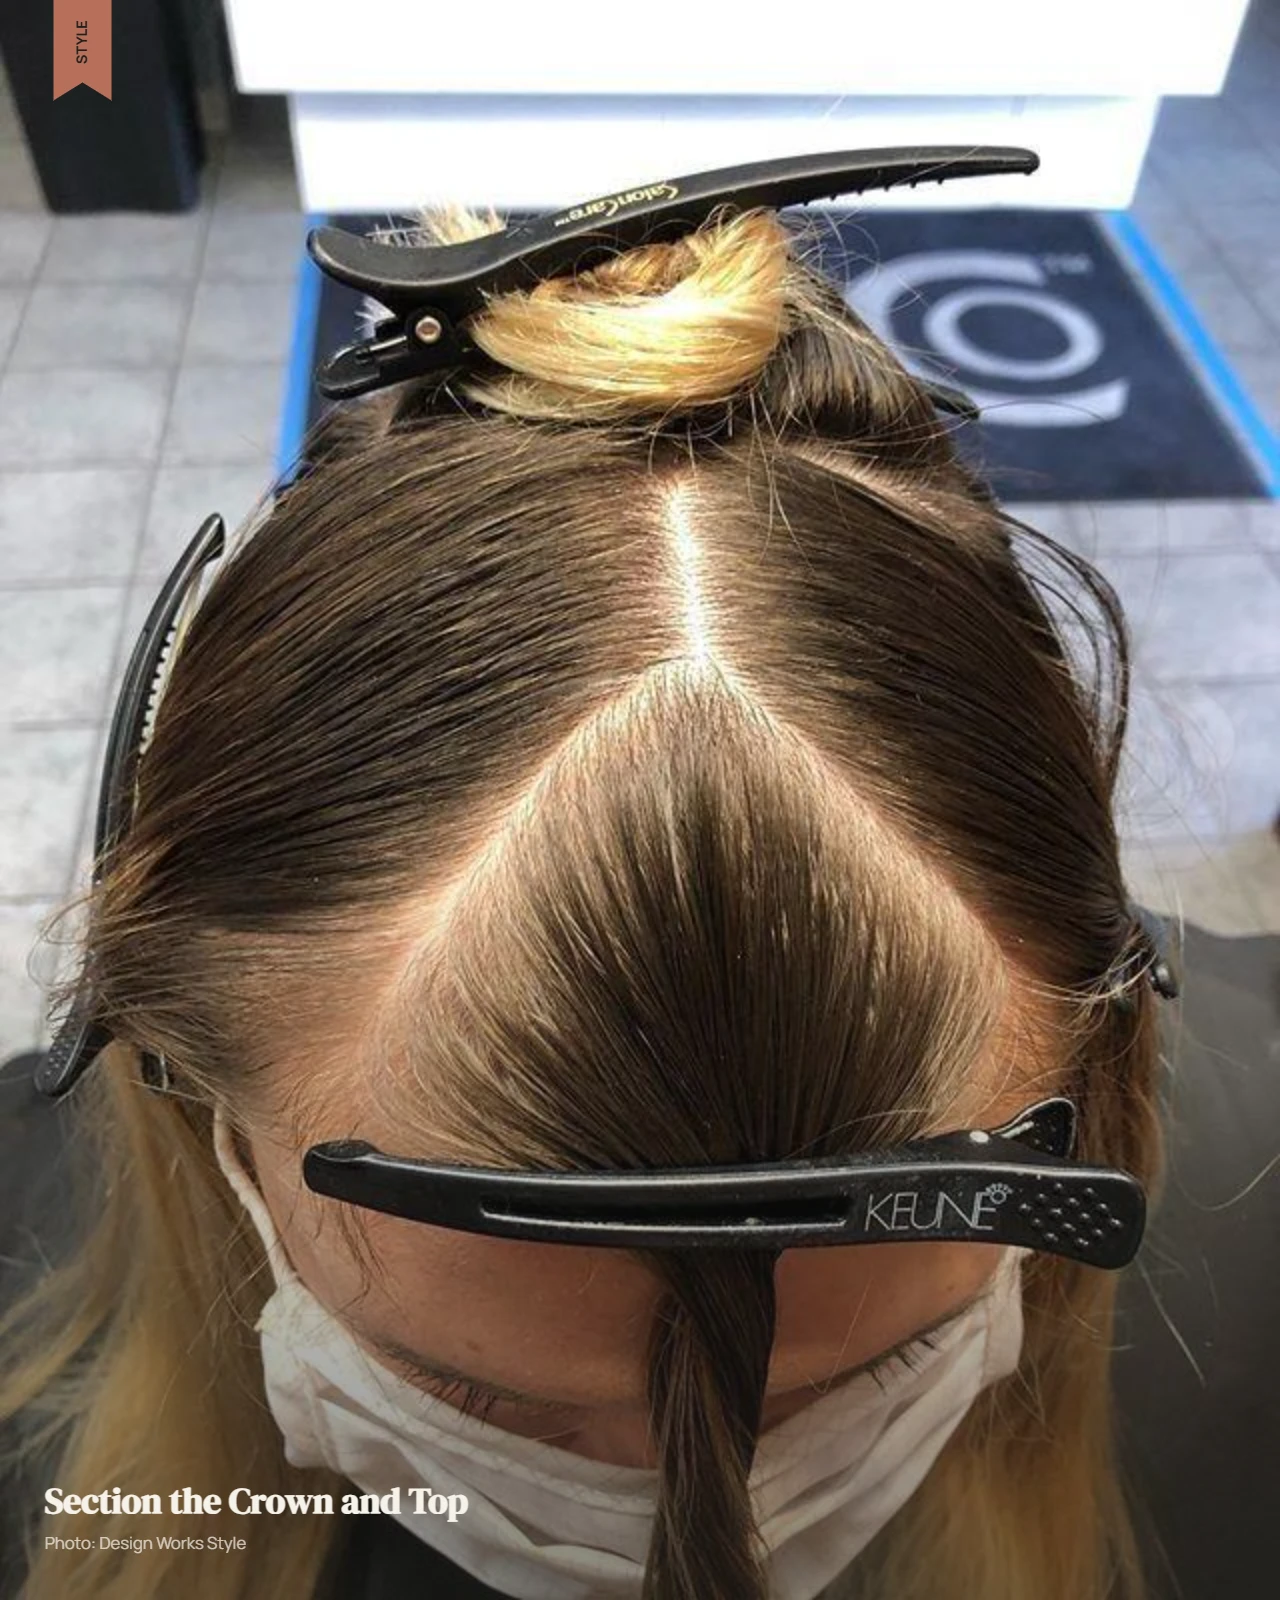
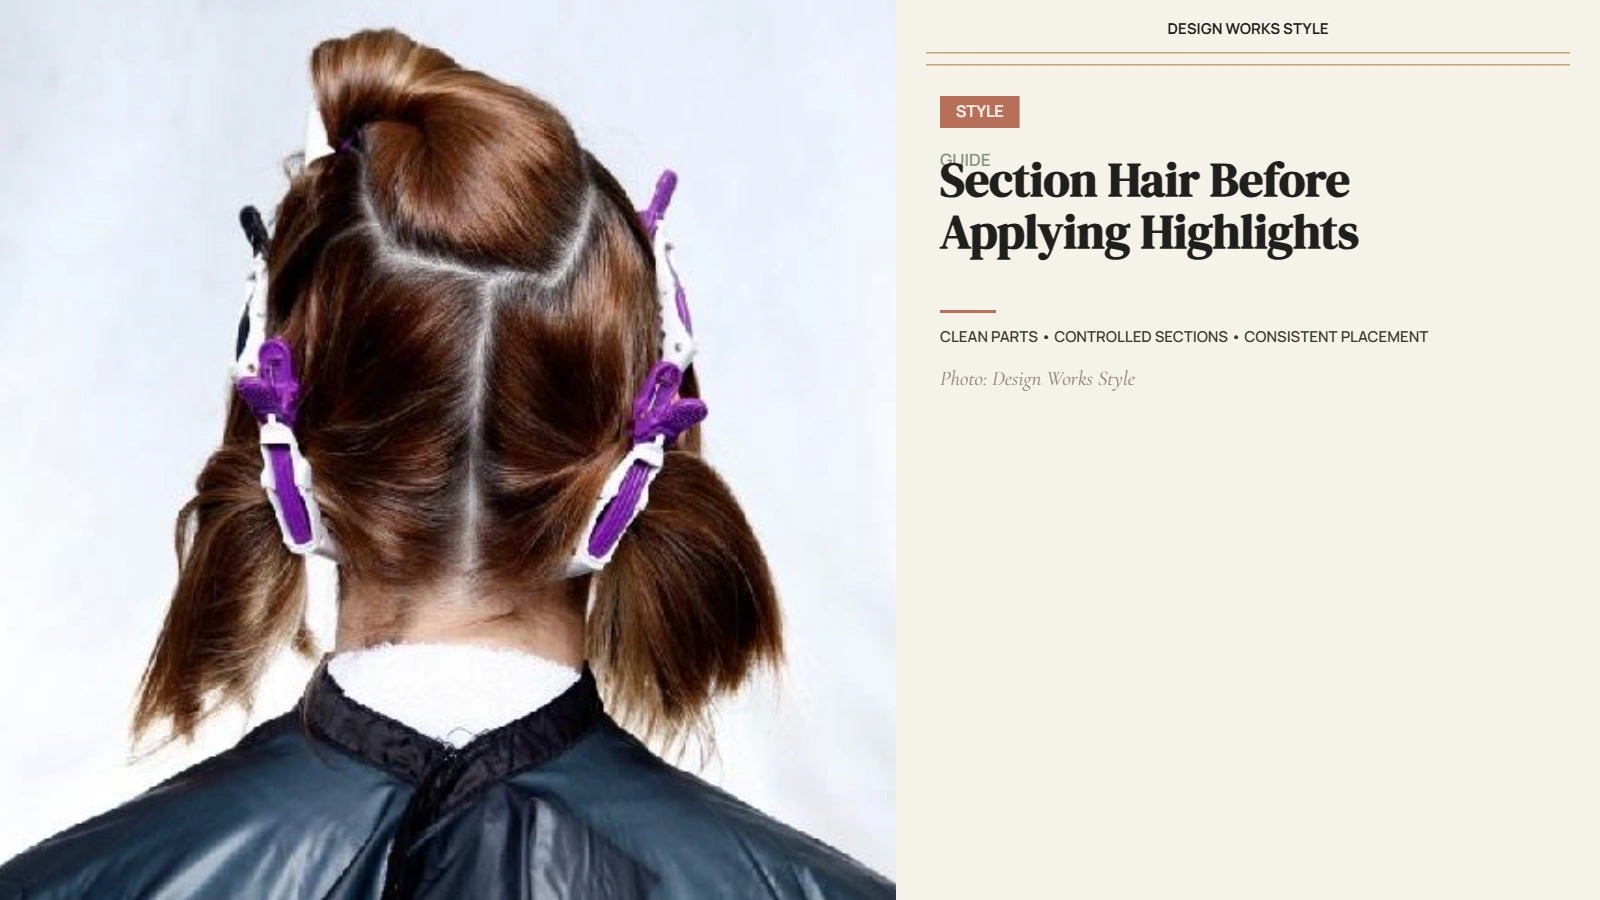
The crown can be divided into controlled working areas while following the hair’s natural part and direction.
How to Section the Back of the Hair
The back of the head can be the most difficult area to section when working alone.
Use mirrors to improve visibility and keep your working sequence consistent. Avoid repeatedly moving between unrelated areas because it becomes easier to lose track of what you have already organized.
As you work through the back:
- Keep sections clearly separated.
- Use clips to control inactive hair.
- Check both sides periodically.
- Avoid repeatedly disturbing completed sections.
- Keep the section sizes reasonably consistent.
- Make sure you can safely see and reach the area.
If you cannot confidently see or control the back of your head, getting assistance may be more practical than trying to work blindly.
The completed sectioning pattern should leave the major working areas organized and easy to identify.
How Thick Should Highlight Sections Be?
There is no universal section thickness that is correct for every highlighting technique.
Thinner sections can allow for a more distributed or delicate pattern, while wider sections can create a more noticeable effect. The appropriate choice depends on the intended look, hair density, length, and placement strategy.
Think about section thickness in relation to the finished result rather than treating it as a fixed measurement.
For example, a technique designed around closely distributed highlights may require a different approach from a partial service that focuses on selected visible areas.
Consistency is generally more important than finding one supposedly perfect measurement.
How to Keep Highlight Sections Even
Controlled sectioning does not mean every piece has to be perfectly identical.
To maintain consistency:
- Start from the same reference point.
- Use comparable section sizes.
- Follow the same sequence around the head.
- Keep unused hair secured.
- Check both sides periodically.
- Separate completed and uncompleted areas.
- Avoid creating new sections randomly halfway through the process.
Natural-looking highlights do not require mechanical symmetry. The objective is controlled, intentional placement that works with the way the hair naturally falls.
How Sectioning Changes for Different Highlight Styles
Different highlighting approaches can require different ways of organizing the hair.
Traditional Highlights
A more consistent sectioning pattern can support a more uniform distribution. The sections still need to be adapted to the individual’s hair density, length, and desired placement.
Partial Highlights
Only selected areas may need to be organized because the entire head is not being addressed.
This can make the sectioning pattern more focused around areas such as the top, crown, or face-framing sections.
Face-Framing Highlights
The front sections require additional planning because they have a strong visual effect.
The natural part, hairline, haircut, and desired brightness around the face can all influence how these areas are organized.
Balayage-Style Placement
Balayage is a placement technique rather than another name for sectioning.
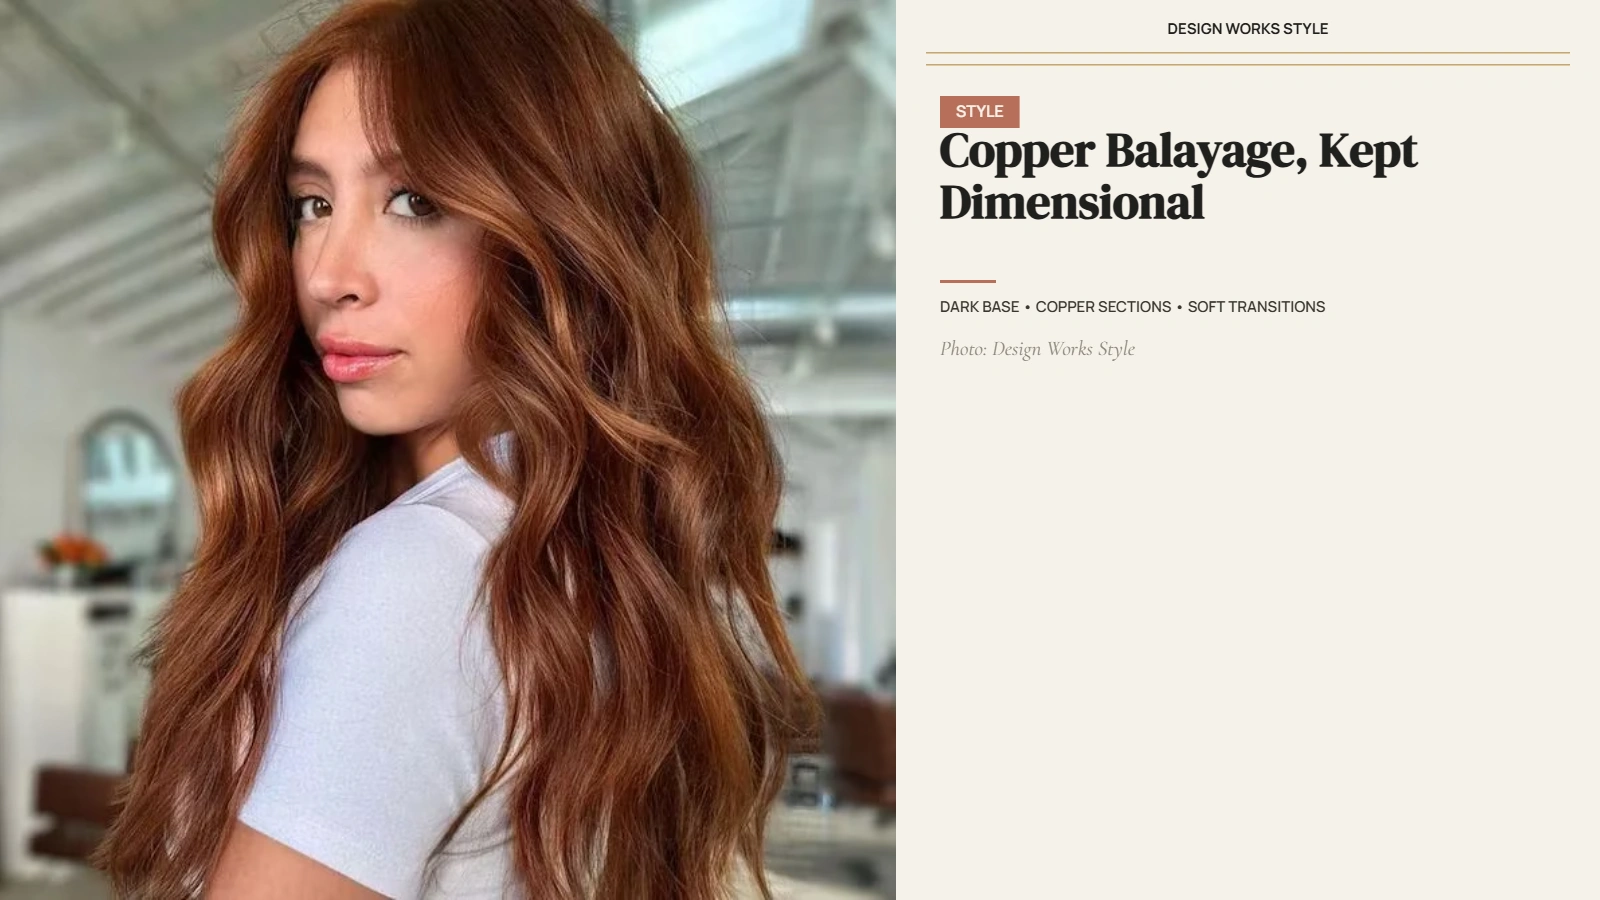
The hair can still be divided into working areas, but the placement strategy within those areas differs from a more uniform highlighting pattern. This article focuses on organizing the hair, not providing a complete balayage application tutorial.
Sectioning Is Not the Same as Applying Highlights
Keeping these stages separate makes the process easier to understand.
| Stage | Purpose |
|---|---|
| Sectioning | Organizes the hair into manageable working areas |
| Placement | Determines which pieces are selected |
| Application | Applies the chosen product according to the method |
| Processing | Allows the product to work according to its instructions |
This article focuses primarily on sectioning and placement planning.
When you move to the chemical application stage, follow the exact instructions supplied with your chosen product. Do not substitute a generic online processing method, formula, or timing recommendation.
Common Sectioning Mistakes
Good sectioning is less about perfect lines and more about keeping the hair organized, visible, and easy to control.
Sections Are Too Large
Too much hair becomes difficult to control, which can make placement less precise.
Create smaller working sections that you can comfortably manage for the technique you are using.
Section Sizes Vary Too Much
Large differences between sections can make your overall placement pattern inconsistent.
Use a repeatable pattern and aim for reasonably comparable working areas.
There Is No Defined Starting Point
Without a reference point, it becomes harder to remember which areas you have already organized.
Start with a main part or another clear reference line, then build smaller sections from there.
Face-Framing Sections Are Too Wide
Very wide front sections can make the face-framing pieces more prominent than intended.
Plan the front separately and consider how the hair naturally falls around the face.
The Natural Part Is Ignored
Top sections may not fall the way you expect once the hair returns to its normal position.
Consider the natural part and direction of growth when organizing the visible top sections.
Completed Areas Are Hard to Track
You may accidentally revisit an area or overlook another section.
Choose a sequence and follow it. Keep inactive sections clipped away as you work.
The Back Is Difficult to See
Limited visibility can make the back difficult to section evenly and confidently.
Use suitable mirrors to improve visibility. If you cannot comfortably see or reach the area, consider getting assistance.
What to Check Before Applying Highlight Product
Before moving from sectioning into product application, pause and check the overall setup.
Make sure you have:
- Read the instructions for the specific product.
- Completed any required allergy or sensitivity testing.
- Performed a strand test where recommended.
- Considered previous color treatments.
- Considered the current condition of the hair.
- Organized your tools and working area.
- Created a clear sectioning pattern.
- Planned the visible face-framing area.
- Considered the natural part.
- Secured unused hair.
- Confirmed that the back can be seen and reached safely.
If you experience unexpected irritation or another concerning reaction, stop and follow the product’s safety instructions.
For complicated color histories or significantly compromised hair, professional assessment can help determine whether the planned service is appropriate
Final Sectioning Checklist
Before applying any highlighting product, run through these checks to make sure your sections, tools, visibility, and placement plan are ready.
Frequently Asked Questions
What is the easiest way to section hair for highlights at home?
Start with a clean reference part, divide the hair into front and back working areas, and then create smaller sections that you can comfortably control. Secure unused hair with clips and follow the same sequence around the head rather than moving randomly between areas.
Should I section my hair in four parts for highlights?
Four main areas can provide a useful starting structure, but there is no universal sectioning pattern. Hair length, density, natural parting, haircut, and highlighting technique can all affect how the hair should be organized. The important goal is to create clear, manageable working areas.
How thick should each section be for highlights?
There is no single correct section thickness. Smaller sections may support a more distributed pattern, while wider sections can create a more noticeable effect. The appropriate size depends on the technique, desired result, hair density, and placement strategy.
Should highlight sections be perfectly even?
No. Consistent and controlled sectioning is useful, but natural-looking highlights do not require every section to be mechanically identical. Visual balance, deliberate placement, and a repeatable working pattern are more important than perfect symmetry.
How do I section the back of my hair by myself?
Use mirrors to improve visibility and work through the back in a consistent sequence. Keep unused sections clipped away and avoid repeatedly disturbing areas you have already organized. If you cannot clearly see or reach the back, assistance may be safer and more practical.
Is sectioning the same as applying highlights?
No. Sectioning divides the hair into manageable working areas, while placement determines which pieces receive highlights. Application is the separate step of applying the chosen product according to its instructions.
Can I use the same sectioning pattern for balayage and traditional highlights?
Not necessarily. Both techniques can use organized working sections, but their placement strategies differ. Traditional highlights may use a more consistent distribution, while balayage relies on a different approach to placement. Sectioning should support the specific technique rather than dictate it.
Can I use hair rollers after sectioning my hair?
Rollers are a separate styling consideration and are not necessary for creating highlight sections. If rollers are part of your normal styling routine, choosing the appropriate type and size can affect how the finished hair sits and moves. See our guide to the best hair rollers for more information.
Conclusion
Good sectioning gives you a controlled starting point for highlight placement. Begin with a clear reference part, divide the hair into manageable working areas, secure unused sections, and follow a consistent sequence.
The goal is not to create perfectly symmetrical geometry. It is to organize the hair well enough that you can make deliberate placement decisions and keep track of where you are working.
Remember that sectioning is only one part of the process. Hair density, length, natural parting, existing color, condition, placement, and the specific highlighting technique all affect the finished result. When you move beyond preparation and into chemical application, follow the instructions supplied with your chosen product rather than relying on generic online formulas or processing advice.